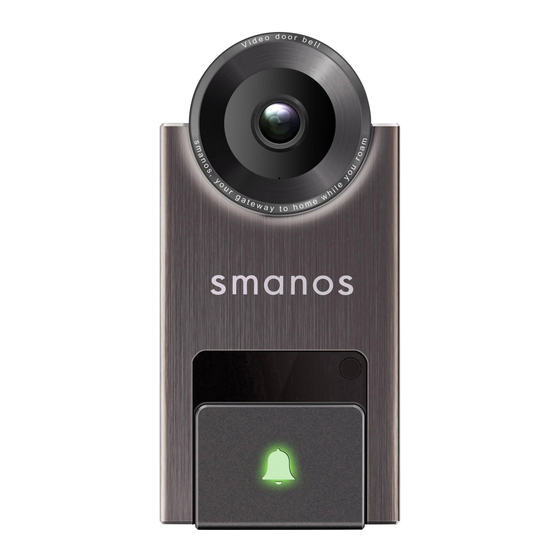
Summary of Contents for Smanos DB-20
- Page 1 Install scheme with existing chime Note: Please check the following indoor chime diagrams on the next page and determine which installation mode that suits you the best.
- Page 2 This line is connected by default For mechanical doorbells commonly used in Europe Transformer of Chime (8~24VAC) *Power Regulator: This is used to ensure your existing door chime continues to work and receives enough power Power Regulator when the DB-20 bell button is pressed. -01-...
- Page 3 For mechanical doorbells commonly used in America Transformer of Chime (8~24VAC) Transformer Rear Front *Power Regulator: This is used to ensure your existing door chime continues to work and Power Regulator receives enough power when the DB-20 bell button is pressed. -02-...
- Page 4 The DB-20 should only be connected to a low voltage 8~24VAC transformer or an existing internal mechanical chime with a voltage of 8~24VAC. Do a Wi-Fi speed test to make sure that the location has an upload speed of at least 2Mbps. (Use a Wi-Fi/Internet speed test app to test your upload and download rate).
- Page 5 Step 1: Install the power regulator 1. Internal Chime nstallation of the power regulator is required to ensure proper function of your internal chime and DB-20 video doorbell. WARNING: Shut off power to your existing chime from the breaker panel or fuse box.
- Page 6 Inside the internal chime, if you see four terminals, two of them should be connected by default. Disconnect the wire on the left nonconnected terminal. Then using one of the supplied wire connectors, attach wire with the black wire from the power regulator. Finally, place the O-shape ring attached to wire to the left nonconnected terminal and tighten the screw.
- Page 7 Disconnect the wire on the right nonconnected terminal. Then using one of the supplied wire connectors, attach wire with the white wire from the power regulator. Finally, place the O-shape ring attached to wire to the right of nonconnected terminal and tighten the screw. Note: If your internal chime has a different terminal setup please refer to the manufacturer or consult a professional.
- Page 8 Front View Rear View Step 2: Identify Your Video Doorbell Button Bell Button LED Indicator Status Solid red light (lasts for 30 seconds) Powered on Flashing green light (once every 0.2s) Searching for WiFi network Alternating green and red light On standby for WiFi configuration Solid green light Live streaming...
- Page 9 Step 3: Replace your old bell button IMPORTANT: Confirm that power is disconnected to the internal chime. Remove your existing bell button. Allow the doorbell wires to go through the wire hole and place the video doorbell mounting bracket on the wall. Then install the mounting bracket with the provided screws.
- Page 10 3 seconds until it beeps. Then place the video doorbell on the mounting bracket. Download and install the smanos Home app from the App Store or Google Play. Follow the additional steps in the app to connect the video doorbell to your Wi-Fi network. Once connected, press the "bell button"...
- Page 11 Use the provided security screws and screwdriver to secure the video doorbell at the bottom. Snap the waterproof cover on for extra protection against inclement weather. Thank you for choosing smanos, your smart portal to home while you roam. -10-...
- Page 12 1. Internal Chime nstallation of the power regulator is required to ensure proper Rear Trans Front function of your internal chime and DB-20 video doorbell. WARNING: Shut off power to your existing chime from the breaker panel or fuse box.
- Page 13 Inside the internal chime, if you see four terminals, two of them should be connected by default. Disconnect the wire on the left nonconnected terminal. Then using one of the supplied wire connectors, attach wire with the black wire from the power regulator. Finally, place the O-shape ring attached to wire to the left nonconnected terminal and tighten the screw.
- Page 14 Verify that the wiring does not interfere with its operation. Step 2: Identify Your Video Doorbell Button (Page 7) Step 3: Replace your old bell button (Page 8-10) The installation of the DB-20 is the same with European one. Please check above. -13-...
- Page 15 Please go to the "Help" section in the app or scan the QR code to read more instructions: Support Help center: support@smanos.com +31 (0)23-7271570 -14-...


Need help?
Do you have a question about the DB-20 and is the answer not in the manual?
Questions and answers