
Related Manuals for ATOMSTACK A 5 Pro


Summary of Contents for ATOMSTACK A 5 Pro
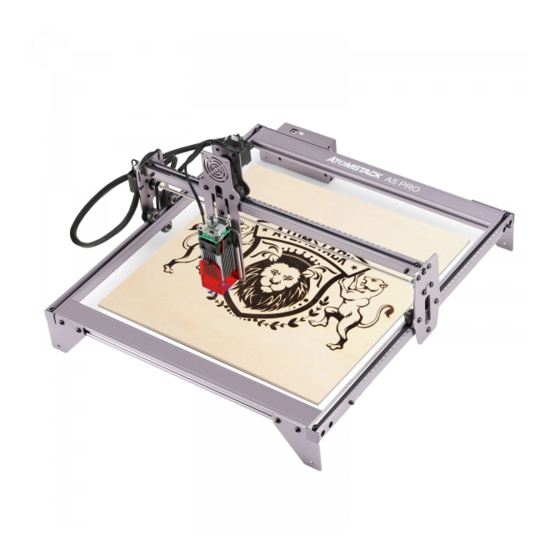
- Page 1 AT O M S T A C K A 5 P r o L a s e r E n g r a v e r I n s t a l l a t i o n M a n u a l English Deutsche Français...
- Page 2 Part 1: Security statement and warning Before Using the laser engraving, please read this safety guide carefully, it mentions situations that require special attention and includes warnings of unsafe practices that can cause damage to your property or even endanger your personal safety. 1.This product is a laser engraver system components, must be installed in other manufacturers of laser engraver for use.And the product belongs to Class 4 laser products, the laser system itself must meet the requirements of IEC 60825-1 latest version, otherwise the product is prohibited to be used.
-
Page 3: Part 2: Disclaimer And Warning
AtomStack may establish. You understand and agree that AtomStack may not be able to provide you with the cause of the damage or accident and provide you with AtomStack's after-sale service unless you provide the original engraving or cutting files, engraving software configuration parameters used, operating system information, video of the engraving or cutting process, and operational steps prior to the occurrence of a problem or failure. - Page 4 P a r t 3 : I n s t a l l a t i o n S t e p s S t e p 1 . I n s t a l l t h e c o n t o u r o f t h e e n g r a v i n g m a c h i n e S t e p 2 .
- Page 5 S t e p 1 Step1 Required components: Tick mark font direction Installation Manual: 1. Find the four large profiles in the picture above, place the four profiles as shown, and pay attention to the direction of the profiles. 2. Tighten the M5 screw in the shaft, and judge whether you have installed it correctly Cut side through the enlarged view details.
- Page 6 S t e p 2 Step2 Required components: Control box *1 Support gasket M5 screws*8 X-axis components*1 Installation Manual: 1.Push the X-axis component into the base frame in the direction shown in the figure. Adjust The guide rail passes through the eccentric nut appropriately.
- Page 7 S t e p 3 Type T Nut *4 Type T Nut Lock Synchronous belt *2 Profile end cover *4 screws*4 Step3 Required components: Installation Manual: Tighten the T nut and cut off the 1. Install two synchronous belts as shown in the figure. excess belt.
- Page 8 S t e p 4 Step4 Required components: Front protective Protective covers on both sides Laser head *1 cover *1 M5*14 Flat round head screw*1 M5*8 Countersunk screw Installation Manual: 1. Fix the laser head on the slider board with M5*8 countersunk head screws. The screws must be tightened.
- Page 9 S t e p 5 Step5 Required components: M3*14Screw*2 Y-axis limit column *2 Use a wrench to turn the eccentric nut to adjust the tightness of the guide wheel and the guide rail Installation Manual: 1. As shown in the figure, fix the Y-axis limit column with M3*14 screws on the left slide rail.
- Page 10 S t e p 6 I n s t a l l a t i o n o f t e r m i n a l b l o c k s a n d c a b l e b u n d l e Installation Manual: 1.
- Page 11 Part 4:Cautions L A S E R B E A M C A N D A M A G E E Y E S Laser Light can damage the human eyes and skin. Do not expose the eye or skin to laser light directly.
- Page 12 P a r t 5 : M a i n t e n a n c e i n s t r u c t i o n s a n d w a r n i n g T h i s p r o d u c t u s e s a h i g h l y i n t e g r a t e d d e s i g n a n d r e q u i r e s n o m a i n t e n a n c e . H o w e v e r , i f t h e l a s e r s y s t e m i n s t a l l e d w i t h t h i s p r o d u c t n e e d s t o b e r e p a i r e d o r t u n e d , p l e a s e : 1 .
-
Page 13: Customer Service
Manufacturer: Shenzhen AtomStack Technologies Co., Ltd. Address: AB301,New Chabridge Industrial Park,No.3,Baolong 6th Rd.,Longgang Dist,Shenzhen,Guangdong,CHINA 518116 View the multilingual instructions here: Scanner APP: QR Code Reader /Barcode Scanner or any APP with Customer Service: scanner Ø For detailed warranty policy,please visit our official website at: www.atomstack3d.com...
Need help?
Do you have a question about the A 5 Pro and is the answer not in the manual?
Questions and answers