Advertisement
Available languages
Available languages
Advertisement
Table of Contents

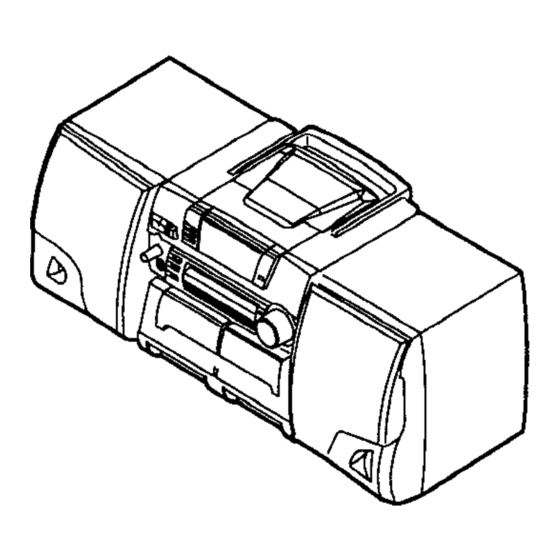
Summary of Contents for Aiwa CA-DW530
-
Page 2: Owner's Record
(you will find it at the bottom of the unit) and serial number (you will find it in the battery compartment) in the space provided below. Please refer to them when you contact your AIWA dealer in case of difficulty. ‘ode’No ‘erial”o Precautions... -
Page 3: Power Supply
Power Supply OPE/BATT—> FUNCTION ilrrn hlllllll IMPORTANT Make sure that FUNCTION is set to POWER Cl STANDBY before connecting the AC cord or inserting batteries. Connect the AC cord as illustrated below. @) to the AC inlet of the unit CAUTION Use only the supplied AC cord. -
Page 4: Set Function
“i TUNER MOOE/ OSC/REPEAT ‘. -TUNING+ MEMORY PRESET STOP PLAY/PAUSE SKIP/SEARCH —. — /-F-n -Ill II w II H ‘J FUNCTION Set FUNCTION to CD. Press OPEN to open the disc compartment and place a disc with the printed side up. Total number of tracks and total playing time are displayed. - Page 5 o–9, +10 Set FUNCTION to RADIO. Select aband with BAND. Select astation with+, -TUNINGi During FM stereo reception, the FM STEREO indicator lights up. Turn VOLUME to adjust the volume. After listening, set FUNCTION to POWER (!) STANDBY. For better reception Extend the rod antenna and The antenna is inside the unit.
- Page 6 ROCK, Use Type I (normal) tapes only. Set FUNCTION to TAPE/POWER Press W= STOP/EJECT to open the cassette holder and insert a tape with the exposed side down and the side to be played facing out. Deck 1 Press > PLAY to start play.
-
Page 7: Maintenance
Set FUNCTION to TAPE. Insert a tape to be recorded on into deck 1 with the side to be recorded facing out. Insert a tape to be played into deck 2 with the side to be played facing out. Press 11 PAUSE then press to enter recording pause mode. - Page 8 ADVERTENCIA PARA REDUCIR EL RIESGO DE INCENDIOS O SACUDIDAS NO EXPONGA ESTE APARATO A LA LLUVIA NI A LA HUMEDAD. &!!!!!sA “CAUTION: TO REDUCE THE RISK OF ELECTRIC SHOCK, DO NOT REMOVE COVER (OR BACK) NO USER-SERVICEABLE PARTS INSIDE. REFER SERVICING TO QUALIFIED SERVICE PERSONNEL.”...
- Page 9 Fuentes de alimentacih OPEIBATT FUNCTION IMPORTANTE Cerciorese de que FUNCTION este en POWEFI (!) STANDBY antes de conectar el cable de alimentacion o de insertar Ias pilas. Conecte el cable de alimentackh de CA como se muestra en la ilustracion. ~ ala toma de CA de la unidad + @ ~eu;:macorriente Cable de alimentacion...
- Page 10 Ponga FUNCTION en CD. Presione OPEN para abrir el compartimiento del disco, y coloque un disco con la cara impress hacia arriba. APEN Se visualizara el ntimero total de canciones tiempo total de reproduction. Presione I PLAY/PAUSE reproduction. Se visualizara et ntimero de la cancion que esta reproduciendose y el tiempo de reproduction...
- Page 11 o–9, +-lo Ponga FUNCTION en RADIO. Seleccione la banda con BAND. FM + AM Seleccione unaetnisora con+, Durante la recepcion de FM en estereo, el indicador FM STEREO se iluminara, Gire VOLUME para ajustar el volumen. Despues de la escucha, ponga FUNCTION en POWER O STANDBY.
- Page 12 DUBBING SPEED HI-SPEED DUBBING MIC VOL PO,, ,:: ROCK, FUNCTION Jtilice solamente cintas de tipo I (normales). Ponga FUNCTION en TAPE/POWER STANDBY. Presione STOP/EJECT portacasete, e inserte un casete con la cinta al descubierto hacia abajo y la cara que desee reproducer hacia afuera.
-
Page 13: Power Standby
Tenga en cuenta que la grabacion solamente en una cara. Bobine la cinta hasta el punto donde puede grabarse. Ponga FUNCTION en TAPE. Inset-te la cinta en la que quiera grabar en la platina 1 con la cara a grabar miran(do hacia fuera. - Page 14 Noter clansI’espace reserve a cet effet ci-dessous Ie numero de modele (indique au dos de I’appareil) et Ie numero de serie (indique compartment a piles). Toujours mentioner ces numeros clans toutes Ies relations avec Ies revendeurs AIWA en cas de probleme. ‘“demodele~””deserie~ Precautions ‘...
-
Page 15: Alimentation Electrique
Alimentation electrique OpE’BATT7@iF~ FUNCTION IMPORTANT Verifier que la commande FUNCTION est reglbe sur POWER U STANDBY avant de raccorder Ie cable electrique — . ~ ou d’inserer Ies piles. Raccorder Ie cable en procedant comme ilhstre, I!!!ri?l @ Prise electrique Cordon electrique fourni ATTENTION... - Page 16 ‘n TUNER MOOE/ OSC/REPEAT MEMORY PRESET --nGi&==l$! Regler la commande FUNCTION Appuyer sur OPEN pour ouvrir Ie compartment a disque et inserer c&e imprime en haut. Le nombre total de plages et Ie temps total d’ecoute s’affichent. Appuyer sur la touche W1 I PLAY/PAUSE pour commencer la lecture.
- Page 17 o–9, +10 Regler la commande FUNCTION Choisir une bande de frequencies a I’aide de la commande BAND. Choisir une station a I’aide de la commande - TUNING. En reception stereo FM, Ie temoin FM STEREO s’allume. Tourner la commande VOLUME volume sonore.
- Page 18 DUBBING SPEED HI-SPEED DUBBING ROCK, POP, FUNCTION i ‘k d’utiliser que des cassettes de type I (normal). Regler Iacommande FUNCTION POWER (!) STANDBY. Appuyer sur la touche WA ouvrir Ie porte-cassette et inserer une cassette c6te bande apparente face a Iire vers soi. Platine 1 Appuyer sur sur la touche E PLAY pour commencer...
- Page 19 Noter que I’enregistrement ne peut s’effectuer seule face. Enrouler la bande jusqu’au point ou I’enregistrement doit commencer. Regler la commande FUNCTION Irtserer la cassette a copier clans la platine 1, c~te a enregistrer vers I’exterieur. Inserer la cassette source clans la platine 2, c(ite a copier vers I’exterieur.
-
Page 20: Specifications
DERECHOSDE AUTOR CompruebeIas Ieyessobrederechosde autoren relationcon Ias grabaciones de la radio, disco o cinta externa del pais donde vaya a utilizarse el aparato. AIWA CO.,LTD. Printed in China Fiche technique Partie tuner Rod antenna, AM: Gamme de frequencies, antenne —...


Need help?
Do you have a question about the CA-DW530 and is the answer not in the manual?
Questions and answers