Advertisement
Quick Links
Advertisement

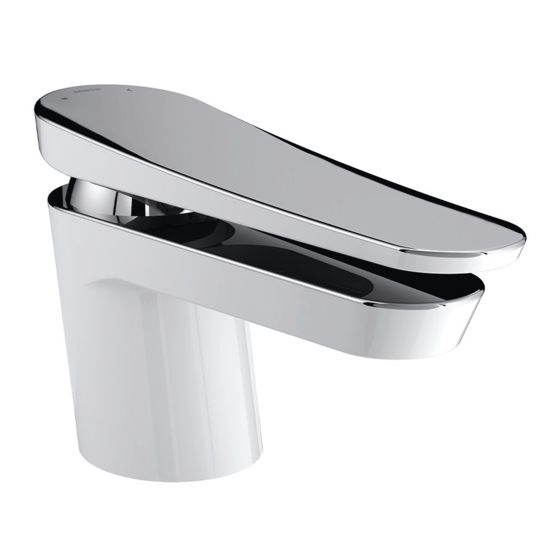
Summary of Contents for Bristan Claret CLR BASNW C/WHT
- Page 1 Installation Instructions and User Guide Claret Tap Range Models Covered: CLR BASNW C/WHT CLR 1HBF C/WHT CLR WMBAS C CLR WMBF C/WHT CLR WMBSM C Please keep this booklet for future reference. Installer, when you have read these instructions please ensure you leave them with the user.
-
Page 2: Table Of Contents
Contents Thank you for choosing Bristan, the UK’s leading taps and showers expert. We have designed this product with your enjoyment in mind. To ensure that it works to its full potential, it needs to be fitted correctly. These fitting instructions have been created to give you all of the information you need and, if you need any further help, please do not hesitate to contact us. -
Page 3: Important Safety Information
Local Water Authority or the Secretary of the • All products manufactured and supplied Institute of Plumbing, address as follows:- by Bristan are safe provided they are installed, used correctly and receive regular maintenance The Institute of Plumbing, in accordance with these instructions. -
Page 4: Specifications
Specifications Product Code Working Pressure 1 Hole Bath Filler Basin Mixer (No waster) Wall Mounted Basin Mixer Wall Mounted Basin Filler Wall Mounted Bath Shower Mixer Maximum static pressure- 10.0 bar NOTE:- Nominally equal (balanced) inlet supply pressures are recommended for optimum Performance of mixer taps. -
Page 5: Dimensions (Mm)
Dimensions (mm) Basin Mixer 1 Hole Bath Filler Need help? Give us a call on 0330 026 6273 and speak to one of our trained advisors. - Page 6 Dimensions (mm) Wall Mounted Basin Mixer Wall Mounted Bath Filler 50 62 Wall Mounted Bath Shower Mixer 100 100 50 60 Need help? Give us a call on 0330 026 6273 and speak to one of our trained advisors.
-
Page 7: Installation
Installation Basin Mixer (No Waste) & 1 Hole Bath Filler 1. Grub Screw 2. Lever Handle 3. Lever Handle Spacer 4. Shroud 5. Cartridge Retaining Nut 6. Cartridge 7. Tap Body 8. Anti-Splash Assembly 9. Washer 10. ‘C’ Shaped Rubber Washer 11. - Page 8 Installation Cont. Wall Mounted Basin Mixer/ Bath Filler 1. Handle 11. O-Ring 2. Cartridge Retaining Nut 12. Screw & Wall Plug Pack 3. Shroud 13. Nut & Olive 4. Cartridge 14. Spout Connection Kit 5. Mixer Body Sleeve 15. Locking Grub Screws 6.
- Page 9 Installation Cont. Wall Mounted Basin Mixer/ Bath Filler 1. Identify all components are present 4. Push concealing plate (8). complete prior to starting installation using with seal (9), over the valve body and the diagram overleaf, and be sure to push towards the tiled surface.
- Page 10 Installation Cont. Wall Mounted Bath Shower Mixer 1. Handle 13. Hose 2. Shroud 14. Handset 3. Retaining Nut 15. Spout Connections 4. Cartridge 16. Spout Locking Pins 5. Sleeve 17. Spout 6. 0-Ring 18. Grub Screw 7. Mixer Body 19. Anti-Splash 8.
- Page 11 Installation Cont. Wall Mounted Bath Shower Mixer 1. Identify all components are present 5. Push the spout on to the body prior to starting installation using ensuring both O-rings locate within the diagram overleaf, and be sure to the spout, and both locking pins refer to the dimensions on pages 4 (16) lock into place, via the 2 small &...
- Page 12 Installation Cont. Wall Outlet B. Without rear access once wall is finished: There are two methods of fixing the wall outlet depending on the type of Fit a ‘wall plate elbow’ (not supplied) wall. within the wall cavity and plumb in from the shower valve.
-
Page 13: Maintenance
Cleaning the Showerhead: CLR WMBSM C Your Bristan showerhead has rub-clean nozzles for easy cleaning. Simply rub your fingers across the rubber spray jets regularly and before you turn the shower on to remove any scale or debris. - Page 14 Maintenance Cont. Cleaning the Cartridge If your fitting begins to leak the following should be carried: Isolate both hot and cold water supplies to the tap by either: • Turning the water supplyoff at the mains stopcock or • Turning off the isolation valves to the tap.
-
Page 15: Troubleshooting
Troubleshooting Symptom Cause Remedy No flow or poor flow Partially closed stop or service Open stop or service valve. rate. valve in water supply pipework to the tap. Head of water is below the Refer to the specification minimum distance required. section for minimum pressures required. - Page 16 A Masco Company At Bristan, we want to make things as easy as possible for our customers. That’s why we o er solid guarantees on all our products, e ective from the date of purchase, to give you peace of mind.


Need help?
Do you have a question about the Claret CLR BASNW C/WHT and is the answer not in the manual?
Questions and answers