
Related Manuals for Panasonic NN-CD87KS


Summary of Contents for Panasonic NN-CD87KS
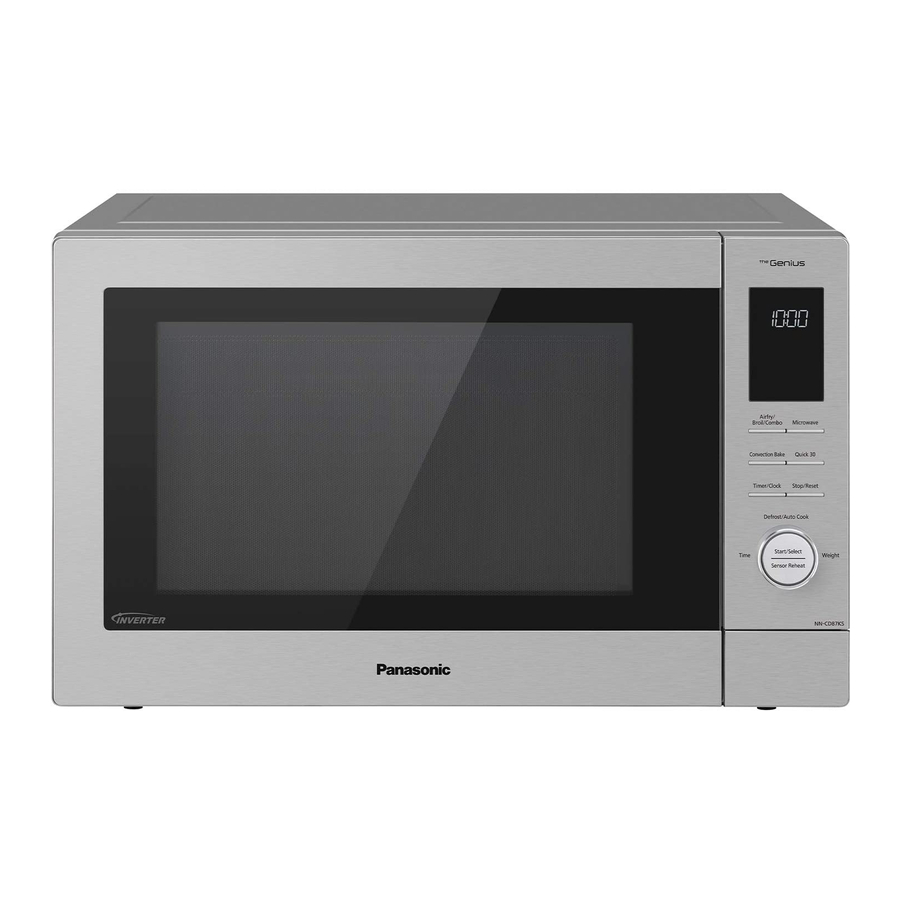
- Page 1 Operating Instruction and Cook Book Convection/Grill/Microwave Oven Household Use Only NN-CD87KS Model No. NN-CD87KS Please read these instructions carefully before using this product, and save this manual for future use. – 1 –...
- Page 2 We are glad you have chosen to purchase a PANASONIC microwave oven. Before operating this oven, please read these instructions carefully and completely, and keep them for further reference. If you have only used a microwave oven for reheating and defrosting, with Panasonic’s Inverter Technology you can be reassured of excellent results when cooking a variety of foods, as the ‘soft’...
-
Page 3: Table Of Contents
Junior menu programs ............................39 Auto Combi/Roast Programs Setting ......................40 Auto Sensor Programs ..........................41-43 Maintenance Before Requesting Service ........................45-46 Care of your Microwave Oven ........................47 Technical Specifications..........................48 Panasonic Warranty (for Australia) .........................49 Panasonic Warranty (for New Zealand) ......................50 – 3 –... -
Page 4: Quick Guide To Operation
Quick Guide to Operation Feature How to Operate To Set/Cancel Child To set: Display: To Cancel: Display: Safety Lock )page 17( Colon or time Key appears of day appears in the display in the display window. window Press 3 times Press 3 times To Set Clock )page 18(... - Page 5 Quick Guide to Operation (continued) Feature How to Operate To Use Convection Without preheating: )page 26-27( Select temperature Set time Press once With preheating: NN-CD58JS After preheating, the oven will beep and the “P” will flash. Press once Select Press once Set time temperature NN-CD58JS...
- Page 6 Quick Guide to Operation (continued) Feature How to Operate To Use Auto program Without preheating: )page 35-36( Turn dial to select menu Press the dial to confirm the program NN-CD58JS NN-CD58JS Select desired weight Press once With preheating: NN-CD58JS Turn dial to select menu Press the dial to confirm Press dial to preheat the program...
- Page 7 Quick Guide to Operation (continued) Feature How to Operate To Set Standing Time )page 32( Set the desired cooking programme )up to 2 stage(. Press once Set time Press once To Set Delay Start NN-CD58JS )page 32( Set the desired cooking programme )up to 2 stage(.
-
Page 8: Important Safety Instructions
Important Safety Instructions READ CAREFULLY AND KEEP FOR FUTURE REFERENCE 13. It is hazardous for anyone other than a competent Precautions to be taken when person to carry out any service or repair operation using Microwave Ovens for that involves the removal of a cover which gives Heating Foodstuffs protection against exposure to microwave energy. - Page 9 Important Safety Instructions (continued) Do not let cord hang over edge of table or counter. Earthing Instructions 10. To reduce the risk of fire in the oven cavity: This microwave oven must be earthed. In the event )a( Do not overcook food. Carefully attend of an electrical short circuit, earthing reduces the risk microwave oven if paper, plastic, or other of electric shock by providing an escape wire for the...
-
Page 10: Installation And General Instructions
In case of fitting into an oven housing, please use 10. Do not cook food directly on Glass Tray unless Panasonic’s Trim Kit, NN-TK81KCSCP. indicated in recipes. )Food should be placed in a Microwave ovens should not be built into a unit suitable cooking utensil.(... -
Page 11: Microwaves And How They Work
Installation and General Instructions (continued) Potatoes, apples, egg yolks, chicken wings, whole for a few more minutes at the recommended squash and sausages are examples of foods with power level. It is important to ensure that meat nonporous skins. This type of food must be pierced and poultry are thoroughly cooked. -
Page 12: Cookware And Utensils Guide
Cookware and Utensils Guide It is important to use the correct container when Cooking Bags designed to withstand boiling, cooking in a microwave oven. The following will help freezing, or conventional heating are microwave safe. you make the right selection. Prepare bags according to manufacturer’s directions. -
Page 13: Cookware And Utensil Chart
Cookware and Utensil Chart Combination Combi 1 Combi 2/3/4/5 Microwave Grill Convection (Grill + (Convection + Microwave) Microwave) Enamel tray )oven accessories( Wire rack )oven accessories( Aluminium foil for shielding for shielding for shielding Ceramic Plate Browning Dish Brown paper bags Dinnerware oven/microwave safe non-oven/microwave... -
Page 14: Feature Diagram
Feature Diagram Door Release Button Roller Ring and Glass Tray should be used at Push to open the door. Opening the door during the same time. cooking will stop the cooking process without Heating Elements cancelling the program. Cook resumes as soon Warning Label ... -
Page 15: Control Panel
Control Panel Display Window )pg. 16( Convection Button )pg. 26-27( Grill Button )pg. 24-25( Micro Power Button Timer/Clock Button )pg. 20( )pg. 18, 32( Combination button )pg. 28-31( Stop/Reset Button Before cooking: One tap clears all your instructions. During cooking: One tap temporarily stops the cooking process. -
Page 16: Display Window
Display Window To help you operate the oven conveniently, the present state will appear in the display window. Temperature Display Preheating Child Lock Setting Auto Beverage Number/Character Program Defrost Mode Time Display (Minute/Second) Weight Display (g) Multistage Display Junior Menu Program Convection Mode Auto Weight Program Start... -
Page 17: Let's Start To Use Your Oven
Let’s Start To Use Your Oven! 1. Plug in. Plug into a properly earthed electrical outlet. "REFER TO OPERATING INSTRUCTIONS BEFORE USE" will appear in the display window, then you can start to operate. 2. Press twice to set clock. Set clock as a 12 hour clock. -
Page 18: To Set Clock
To Set Clock 1. Press twice. “SET TIME” will appear in the display window, and the colon starts to blink. 2. Turn dial. Enter the time by turning the dial. The time appears in the display. NN-CD58JS 3. Press The colon stops blinking. Time of day is now locked into the display. Notes If you want to reset time, please repeat step 1-3. -
Page 19: Cooking Modes
Cooking Modes The diagrams shown below are examples of the accessories. It may vary depending on recipe/dish used. Further information can be found in the Cooking Guide section. Recommended Cooking Modes Uses Containers Accessories • Defrosting. • Reheating. • Melting: butter, chocolate, cheese. Use your own MICROWAVE •... -
Page 20: To Cook/Reheat/Defrost On Micro Power By Time Setting
Micro Power by Time Setting To Cook/Reheat/Defrost on This feature allows you to set the desired power and time for cooking by yourself. 1. Open Door. Open the door and place container with food on the glass tray. Then close the door. 2. -
Page 21: Defrosting Using Defrost Microwave And Time
Defrosting Using Defrost Microwave and Time Select Defrost microwave. The times given below are a guideline only. Always check the progress of the food by opening the oven door and then re-starting. For larger quantities adjust times accordingly. Food should not be covered during defrosting. Food Defrosting Time Method... -
Page 22: To Defrost Using Turbo Defrost
To Defrost Using Turbo Defrost This feature allows you to defrost meat, poultry and seafood automatically by just setting the weight. The serving/ weight is 0.1 kg to 3.0 kg. The weight can be programmed in grams. The weight starts from the minimum weight. 1. -
Page 23: To Use The Add Time Feature
To Defrost Using Turbo Defrost (continued) Defrosting Guidelines For Best Results: Place foods in a suitable container. Meat joints and chickens should be placed on an upturned saucer or on a plastic rack if you have one. Check food during defrosting, as foods vary in their defrosting speed. It is not necessary to cover the food. -
Page 24: To Cook On Grill By Time Setting
To Cook on Grill by Time Setting The grill system on the oven gives fast efficient cooking for a wide variety of foods e.g. chops, sausages, steaks, toast, etc. There are 3 different grill settings available. The glass tray must always be in position when using the oven. - Page 25 To Cook on Grill by Time Setting (continued) Oven Accessories to Use When grilling foods the glass tray should be in position, with the enamel tray and the wire rack on top. Place food on wire rack on the enamel tray on the glass tray. The wire rack will allow fat to drip through into the enamel tray to reduce excess splatter and smoke when grilling steaks, chops and other fatty foods.
-
Page 26: To Cook On Convection By Time Setting
To Cook on Convection by Time Setting Your microwave oven can be used in convection mode which incorporates a heating element with a fan. For best results always place food in a preheated oven. The enamel tray must be on the glass tray when preheating. Without Preheating: 1. - Page 27 To Cook on Convection by Time Setting (continued) Notes For quick selection of the most commonly used cooking temperatures, the oven starts at 150 °C and then for each press the temperature will count up in 10 °C stages to 220 °C, then to, 40 °C, 100 °C, 110 °C etc.
-
Page 28: To Cook On Combination By Time Setting
To Cook on Combination by Time Setting Your oven has two methods of cooking by Combination. 1. Grill and Microwave )preheat is not possible( 2. Convection and Microwave )with and without preheat( Combination cooking is ideal for many foods. The microwave power cooks them quickly, whilst the convection or grill gives the traditional browning and crispness.All this happens simultaneously resulting in most foods being cooked in ½ - ⅔ of the conventional cooking time. - Page 29 To Cook on Combination by Time Setting (continued) Oven Accessories to Use When using Combination cooking the glass tray should be in position and must have the enamel tray on top, unless otherwise stated. Food should be placed directly onto the wire rack on the enamel tray. This is then placed on the glass tray. When cooking fish or small items, food can be placed directly on the enamel tray on top of the wire rack.
- Page 30 To Cook on Combination by Time Setting (continued) With Preheating: 1. Press Press to select combination levels. )There is a choice of 4 levels available(. 2. Press to Preheat Oven. A “P” will appear in the display window. When the oven is preheated the oven will beep and the “P” will flash. Then open the door and place the food inside. Note: Open the door using the door release, because if the Stop/Reset button is pressed the program may NN-CD58JS be cancelled.
- Page 31 To Cook on Combination by Time Setting (continued) Oven Accessories to Use When using Combination cooking the glass tray should be in position and must have the enamel tray on top, unless otherwise stated. Items of food can be placed onto the wire rack on the enamel tray on the glass tray. Heatproof dishes of food should be placed directly onto the enamel tray on the glass tray.
-
Page 32: To Use Timer (Kitchen Timer/Standing Time/Delay Start)
To Use Timer (Kitchen Timer/Standing Time/Delay Start) This feature allows you to program the oven as a kitchen timer. It can be also used to program a stand time after cooking is completed or to program a delay start. To Set Kitchen Timer. Press once. -
Page 33: 3-Stage Setting
3-Stage Setting This feature allows you to program 3-Stage continually. E.g.: To cook on 600 W for 2 minutes, cook on 180 °C for 15 minutes and cook on Grill 1 for 10 minutes. Press Micro Power Set the cooking time Press Convection button 4 times to to 2 minutes using... -
Page 34: One Push Reheating
One Push Reheating This unique feature ‘the Genius’ built in sensor allows you to reheat a chilled meal with one push of the dial. It is not necessary to select the power level or cooking time. The built-in sensor measures the humidity of the food and calculates the microwave power level together with a cooking time. -
Page 35: Auto Weight Program Setting
One Push Reheating (continued) Notes This feature is not suitable for foods that cannot be stirred eg. lasagne / shepherds pie. Do not reheat bread or pastry products )raw or uncooked(, or beverages. The oven automatically calculates the reheating time or the remaining reheating time. The door should not be opened before the time appears in the display window. - Page 36 Auto Weight Program Setting (continued) This feature allows you to cook or reheat foods by setting the weight only. The oven determines the Microwave power level and/or Convection and/or Combination setting, then the cooking time automatically. Select the category of food and then just enter the weight. The weight will be entered in grams. Auto Programs with Preheating It is necessary to preheat the oven for Re-Bake Bread programs 5 (Baguette/Crusty Rolls), 6 (Croissants);...
-
Page 37: Auto Weight Programs
Auto Weight Programs Minimum/Maximum Weights for Auto Weight Programs Program Minimum weight Maximum weight 2. Tea/Coffee 200 g 400 g 3. Milk/ Hot Chocolate/ Milky Coffee 200 g 600 g 4. Soup 200 g 1000 g Program Minimum weight Maximum weight 5. -
Page 38: Auto Weight Beverage Programs Setting
Auto Weight Beverage Programs Setting 2. Tea/Coffee 4. Soup For reheating one beverage with a fixed weight of For reheating tetra, canned or homemade soups. 200 g or two beverages of 200 g each from room Soup should be at room or refrigerator temperatures. temperature eg. -
Page 39: Junior Menu Programs
Junior menu programs The Junior Menu offers a range of programs catering Other ingredients may be added such as ham, tuna for babies, toddlers and older children - great for time and sweetcorn. In this case substitute some of the saving and convenience. -
Page 40: Auto Combi/Roast Programs Setting
Auto Combi/Roast Programs Setting 22. Frozen Pizza 26. Whole Chicken For reheating and browning frozen, purchased pizza. To cook whole fresh unstuffed chickens. Cook stuffing Turn the dial to select program 22, Frozen Pizza. separately. Turn the dial to select program 26, Whole Press the dial to confirm the program. -
Page 41: Auto Sensor Programs
Auto Sensor Programs This feature allows you to cook or reheat foods without entering the weight. The built-in sensor measures the humidity of the food and calculates the recommended microwave power level together with a suggested cooking time. How it works Once the food has been selected and Start pressed The remaining cooking time will appear in the display the food is heated up. - Page 42 Auto Sensor Programs (continued) Notes For the Auto Sensor Programs it is not necessary to enter the weight of the food. They must only be used for foods described. Only cook foods within the weight ranges described )See table below(. Only use the accessories as indicated on pages 43.
- Page 43 Auto Sensor Programs (continued) It may be necessary to adjust the water to your 7. Fresh Vegetables personal preference. Soak in water for 10-15 To cook fresh vegetables. Place prepared vegetables minutes. Always allow at least ½ depth of volume for into a suitable sized container.
-
Page 44: Ingredient Conversion Chart
INGREDIENT CONVERSION CHART INGREDIENT CONVERSION CHART ¼ cup 60 ml ¼ teaspoon 1 ml ⅓ cup 85 ml ½ teaspoon 2 ml ½ cup 125 ml 1 teaspoon 5 ml ⅔ cup 165 ml 2 teaspoons 10 ml ¾ cup 190 ml 3 teaspoons 15 ml... -
Page 45: Before Requesting Service
Before Requesting Service ALL THESE THINGS ARE NORMAL: The oven causes Some radio, TV, Wi-Fi, cordless telephone, baby monitor, blue tooth interference with my TV. or other wireless equipment interference might occur when you cook with the oven. This interference is similar to the interference caused by small appliances such as mixers, vacuums, blow dryers, etc. - Page 46 Before Requesting Service (continued) PROBLEM POSSIBLE CAUSE REMEDY The oven is not plugged in Remove plug from outlet, wait securely. 10 seconds and re-insert. Circuit Breaker or fuse is tripped Oven will not turn on. Reset circuit breaker or replace fuse. or blown.
-
Page 47: Care Of Your Microwave Oven
Failure to maintain the oven in a clean condition could lead to deterioration of the surface that could adversely affect the life of the appliance and possibly result in a hazardous situation. When it becomes necessary to replace the oven light, please consult the service center specified by Panasonic. – 47 –... -
Page 48: Technical Specifications
Technical Specifications NN-CD87KS Model Power Supply: 230 - 240 V, 50 Hz Power Consumption*: Microwave 4.8 A 1110 W Grill 5.7 A 1350 W Convection 5.7 A 1350 W Combination 8.9 A 2130 W Power Requirement: (Maximum) 2130 W Output power*:... -
Page 49: Panasonic Warranty (For Australia)
Panasonic Warranty (for Australia) – 49 –... -
Page 50: Panasonic Warranty (For New Zealand)
Panasonic Warranty (for New Zealand) – 50 –...
Need help?
Do you have a question about the NN-CD87KS and is the answer not in the manual?
Questions and answers