
Related Manuals for A&D GXA-14


Summary of Contents for A&D GXA-14
- Page 1 DENSITY DETERMINATION KIT GX-124AE/GX-224AE/GX-324AE GX-124A/GX-224A/GX-324A GF-124A/GF-224A/GF-324A 1WMPD4003962...
- Page 2 This Manual and Marks Product Safety Signs and Labels All safety messages are identified by the following, “WARNING” or “CAUTION”, of ANSI Z535.4 (American National Standard Institute: Product Safety Signs and Labels). The meanings are as follows: A potentially hazardous situation which, if not avoided, could WARNING result in death or serious injury.
-
Page 3: Table Of Contents
Contents INTRODUCTION..............................2 1-1. Precautions ............................2 UNPACKING THE KIT ............................2 DENSITY MEASUREMENT PRINCIPLES ......................3 3-1. Density ............................... 3 3-2. Specific Gravity ..........................3 3-3. Archimedes’ Principle Of Density Measurement ................3 3-4. Density Of A Solid ..........................3 3-5. Density Of A Liquid........................... 3 ERROR FACTORS ..............................4 4-1. -
Page 4: Introduction
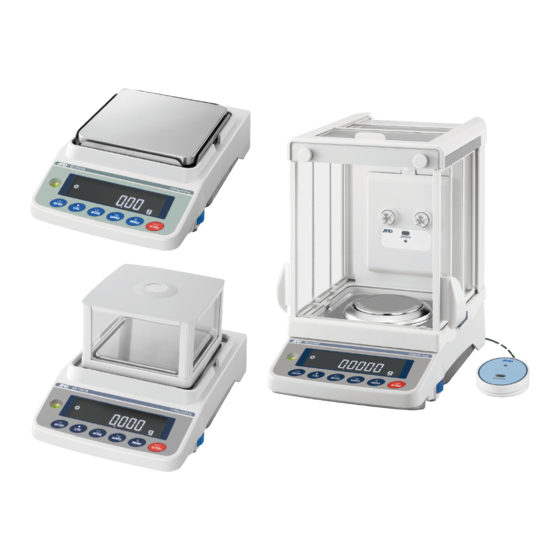
1. Introduction Thank you for your A&D purchase! This is the instruction manual for the density determination kit. The density determination kit can be easily used to measure the density of solid or liquid when it is combined with the following electronic balances. GX-124AE/GX-224AE/GX-324AE GX-124A/GX-224A/GX-324A GF-124A/GF-224A/GF-324A... -
Page 5: Density Measurement Principles
(0.99997 g/cm 3-3. Archimedes’ Principle Of Density Measurement The GXA-14 is combined with an electronic balance to measure the density of a sample based on the Arichimedes’ principle. Arichimedes’ principle A body immersed in a liquid (or a gas) is subject to an upward force equal to the weight of the liquid (or the gas) it displaces. -
Page 6: Error Factors
4. Error Factors The results of measurements may be affected by various factors that could cause errors 4-1. Buoyancy Of Air A density measurement is influenced by an upward force of 0.0010 to 0.0014 g/cm (buoyancy of air). The density of air can be obtained by the equation below: d : Density of air (g/cm 0.0012932 ×... -
Page 7: Influence Of Wire
4-4. Influence Of Wire In solid density measurement, the surface of the liquid rises when a solid sample is placed on the density pan, which is immersed in the liquid, At this time, the buoyancy corresponding to the weight of the raised liquid is exerted on the wire (diameter of 1 mm) connecting the upper and lower density pans. -
Page 8: Measuring The Density Of A Solid
5. Measuring The Density Of A Solid Assemble the kit as described in the procedure below. 5-1. Assembling The Kit 1. Remove the weighing pan and breeze break ring from the balance. Step 4. Step 3. Thermometer clamp and Beaker stand 2. -
Page 9: Measuring The Density Of A Solid
5-2. Measuring The Density Of A Solid The density of a solid is obtained by averaging Sample in air Temperature the measured values. Step 2. 1. Start the measurement when water temperature The upper pan becomes stable. The lower pan Ex.: Display of GX-A Step 3. - Page 10 Example of recording sheet Value A : Weight of sample in air (g) 4.8102 g Value B : | Weight of sample in air - Weight of sample in liquid | (g) 0.5946 g Temperature of liquid (°C) °C Density of liquid (g/cm 0.99678 g/cm Weight of sample in air ρ...
-
Page 11: Measuring The Density Of A Liquid
6. Measuring The Density Of A Liquid Assemble the kit as described in the procedure below. 6-1. Assembling The Kit: 1. For the procedure up to setting the beaker stand, refer to The volume of the float is printed. Step 1 to Step 3 in "5-1. Assembling The Kit ". Ex:10.00 cm Approx. -
Page 12: Frequently Asked Questions
Example of recording sheet Value A : | Weight of float in air - Weight of float in liquid | (g) 9.9704 g Temperature of liquid (°C) 25 °C Volume of float (g/cm 10.01 cm Density of air (g/cm 0.001 g/cm Weight of float - Weight of float 0.997 g/cm in air... -
Page 13: Water Resistant Digital Thermometer Ad-5625
8. Water Resistant Digital Thermometer AD-5625 8-1. For Safe Use Please take the following precautions when operating this device. - Repair Opening the case to attempt repair of the device should not be done by anyone other than designated repair staff. Doing so will not only void the warranty, but also may result in mechanical error or loss of functionality. -
Page 14: Each Part Name
8-3. Each Part Name Battery cover [ON/OFF] button [AUTO OFF] button [MAX/MINI] button Sheath holder Sheath Material: Main body, battery cover: ABS Button: Rubber Display: PC Sheath: SUS304 Sheath holder: PC Sheath holder fitting: Iron (Nickel plating) Display Auto power off function Maximum value display Minimum value display Low battery indicator... -
Page 15: Replacing The Battery
8-4. Replacing The Battery The battery has not been installed in the device when purchasing this device. Properly install the battery in the device by the following procedure. Also, when the “ ” appears at the bottom right on the display, replace the old battery with new one by the following procedure. -
Page 16: Operating The Thermometer
8-5. Operating the Thermometer Measuring the temperature (1) Press the [ON/OFF] button to turn the power on. (2) Remove the sheath holder when it is attached to the sheath. (3) Measure the temperature by one of the following methods depending on the material to be measured. When measuring the liquid Immerse the sensor into the position where you would like to measure the temperature. - Page 17 CAUTION The device detects a temperature at the tip of the sheath. To protect the device from damage, handle the device so that the part other than the sheath is not exposed to high or low temperature of the substance to be measured. Sheath Temperature detection part Using the maximum and minimum temperature memory...
- Page 18 Resetting the maximum and minimum temperature memory Reset the maximum and minimum temperature memory as follows: Press the [MAX/MIN] button to display the maximum or minimum temperature. Press the [MAX/MIN] button again and hold it for more than two seconds. The display goes into the bar display, and the stored the maximum and minimum temperatures are reset to store new maximum and minimum ℃...
-
Page 19: Daily Care
8-6. Daily Care Accurate measurements can not be made if the temperature detection part is dirty. It should be kept clean when performing measurements. Avoid rubbing it when the main body is dirty. Instead, rinse the dirt off using water. When the dirt is heavy, wipe it off gently using a kitchen sponge, etc., dampened with ph-neutral detergent. - Page 24 3-23-14 Higashi-Ikebukuro, Toshima-ku, Tokyo 170-0013, JAPAN Telephone: [81] (3) 5391-6132 Fax: [81] (3) 5391-1566 A&D ENGINEERING, INC. 1756 Automation Parkway, San Jose, California 95131, U.S.A. Telephone: [1] (408) 263-5333 Fax: [1] (408)263-0119 A&D INSTRUMENTS LIMITED Unit 24/26 Blacklands Way, Abingdon Business Park, Abingdon, Oxfordshire OX14 1DY United Kingdom Telephone: [44] (1235) 550420 Fax: [44] (1235) 550485 A&D AUSTRALASIA PTY LTD...
Need help?
Do you have a question about the GXA-14 and is the answer not in the manual?
Questions and answers