Table of Contents
Advertisement
Quick Links
Ethernet DIP Switches
DIP
Switches
1
1
PS 1
PS 2
SD
2
2
MODE
PMC LINK
ETHERNET
DIP Switch 1 and DIP Switch 2 are used in conjunction with the
DashBoard menus to set the IP Address of the MC1-PANEL-16.
Please leave DIP Switch 3 and 4 in their default (UP) positions.
DIP Switch 1 and 2 Positions for IP Address Setup
DIP Switch 1
DIP Switch 2
Description
UP
UP
Custom User Setup via DashBoard
UP
DOWN
Automatic Setup using DHCP
DOWN
UP
IP Address is 192.168.2.10
Subnet Mask is 255.255.255.0
DOWN
DOWN
IP Address is 10.1.2.10
Subnet Mask is 255.255.255.0
Refer to the MC1-PANEL-16 User Manual for more information.
Note:
Ross Video strongly recommends installing your
Master Control System on a network that is segregated from
your facility LAN.
SDI Input Formats
480i 59.94Hz
Operating:
0 - 40°C (32 - 104°F)
576i 50Hz
Storage:
-20 - 85°C (-4 - 185°F)
720p 59.94Hz
720p 50Hz
1080i 59.94Hz
1080i 50Hz
8800DR-002-03
Printed in Canada.
© 2018 Ross Video Limited. Ross®, openGear®, and any related marks are trademarks or registered trademarks of Ross Video Limited. All other trademarks are the property of their respective companies. PATENTS ISSUED and PENDING. All rights reserved. No part of this publication
may be reproduced, stored in a retrieval system, or transmitted in any form or by any means, mechanical, photocopying, recording or otherwise, without the prior written permission of Ross Video. While every precaution has been taken in the preparation of this document, Ross Video
assumes no responsibility for errors or omissions. Neither is any liability assumed for damages resulting from the use of the information contained herein.
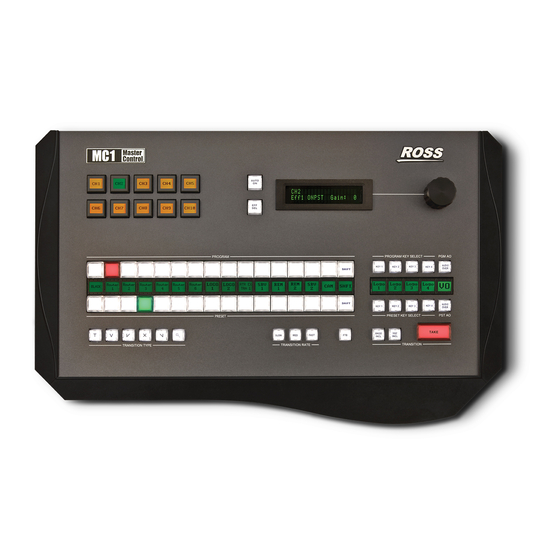
MC1-PANEL-16 Installation and Cabling
Ethernet Cabling
PS 1
PS 2
MODE
You will require a standard network CAT-5 cable to connect
the MC1-PANEL-16 to your facility network. Ensure to use
only the Ethernet 1 port.
Note:
The Ethernet 2 port is not implemented.
Note:
Refer to the MC1-PANEL-16 User Manual for details
on verifying and troubleshooting your ethernet connection.
Panel Power Consumption
MC1-PANEL-16
<30W
Ethernet Method
PSU Alarm Enable
Input Voltage
Edit Permission
Power Rating
100-120V~
220-240V~
47-63Hz
1
1
SD
2
2
Ethernet
PMC LINK
ETHERNET
DHCP
Selected
Unlocked
Before you set up and operate your MC1-PANEL-16, refer to the "Important
Regulatory and Safety Notices to Service Personnel" document that was
included with your unit. It is also recommended to refer to the MC1-PANEL-16
CAUTION
User Guide which is available for download from our website.
Power Connections
1
1
PS 1
PS 2
SD
2
2
MODE
PMC LINK
ETHERNET
Power
The MC1-PANEL-16 comes standard with one power supply. For
redundancy, and in applications where the equipment is used in a
critical signal path, we recommend that two power supplies be
used with the MC1-PANEL-16.
Note:
The MC1-PANEL-16 powers on automatically when the
power supply is plugged in.
Note:
If you are not installing the redundant power supply, the
message "PSU 2" is reported on the panel display. To disable this
message, navigate to the Alarm Enables tab in DashBoard and
de-select the PSU2 Voltage Out of Range check box.
Advertisement
Table of Contents

Related Manuals for Ross Master Control MC1-PANEL-16


Summary of Contents for Ross Master Control MC1-PANEL-16
- Page 1 © 2018 Ross Video Limited. Ross®, openGear®, and any related marks are trademarks or registered trademarks of Ross Video Limited. All other trademarks are the property of their respective companies. PATENTS ISSUED and PENDING. All rights reserved.
- Page 2 openGear MC1-MK Cabling Before you set up and operate your MC1-MK card, refer to the “Important Regulatory and Safety Notices to Service Personnel” document that was included with your card. It is also recommended to refer to the MC1-MK CAUTION Installation Manual which is available for download from our website.
Need help?
Do you have a question about the Master Control MC1-PANEL-16 and is the answer not in the manual?
Questions and answers