
Related Manuals for Chicco Take-A-Seat


Summary of Contents for Chicco Take-A-Seat
- Page 1 Read all instructions BEFORE assembly and USE of product. KEEP INSTRUCTIONS FOR FUTURE USE. Take-A-Seat ™ 3-in-1 Travel Seat Owner's Manual www.chiccousa.com IS0198E_01 ©2020 Artsana USA, INC. 05/20...
-
Page 2: Parts List
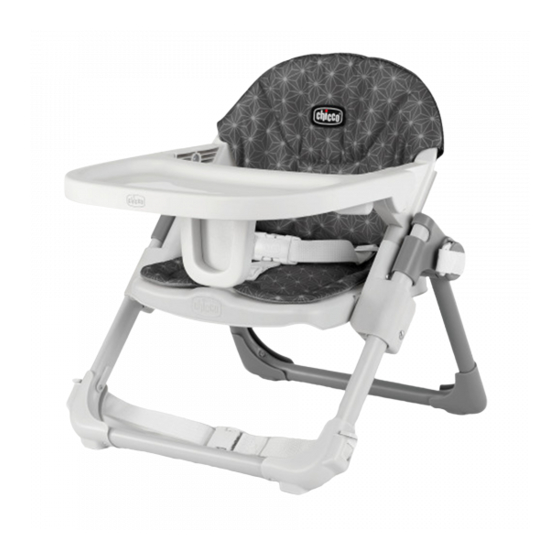
WARNING Failure to follow the warnings and the instructions Parts List throughout this booklet could result in serious injury or death. Each mode has specific warnings, make sure to read and understand the warnings in each mode. A. - Seat Base This product can be used in the following modes: B. -
Page 3: Assembling The Seat
Components Assembling the Seat 1. Unfasten the Rear Attachment Straps. 2. Rotate the Rear Legs out until they click into place. “CLICK!” “CLICK!” H - Tray Supports A - Backrest I - Horn Release Lever B - Rear Attachment straps J - Seat Release Lever C - Tray Release Buttons K - Tray Attachments... - Page 4 Assembling the Seat Assembling the Seat 3. Flip the chair upright and locate the Locking Lever on the bottom of the seat base as shown. Squeeze the Locking Lever and rotate the seat base up until it clicks into place. 4.
- Page 5 Assembling the Seat Assembling the Seat WARNING 5. Pull the Seat Fabric sleeve up and over the Backrest and hook the fabric The tray is not designed to hold the child in the chair. button holes over the 3 Backrest Tabs, as shown.
-
Page 6: Adjusting The Height Of The Seat
Adjusting the Height of the Seat Assembling the Seat WARNING WARNING IMPORTANT FOR YOUR CHILD'S SAFETY - Always insert the Tray Horn into the Do Not adjust the seat height with the child sitting in the seat. Keep your child at a safe distance when adjusting the height of the seat. -
Page 7: Booster Seat Use
• Use this booster only for children • Do not attach any parts to the capable of sitting upright unassisted. product that are not supplied or • Do not use for children weighing expressly approved by Chicco. more than 50 lbs (22.7 kg). - Page 8 Attaching the Booster Seat to a Chair Removing the Tray 10. To ensure the seat is securely 11A. Locate the locking tab under the attached to the chair, tighten the front of the seat base. Push the tab Rear and Lower Attachment Straps back and pull up on the Tray Horn to as shown.
- Page 9 • Do not leave the product near walls, curtains, or windows, where the child can become entangled. • Do not attach any parts to the product that are not supplied or expressly approved by Chicco.
- Page 10 Refer to previous section for restraint use (steps 12A, 12B and • Do not attach any parts to the 12C). product that are not supplied or expressly approved by Chicco. • DROWNING HAZARD: NEVER use in or near water.
- Page 11 Storing the 3-point Harness Chair Mode Refer to previous section for tray 15. Pull a Waist Strap through the removal (steps 11A and 11B). opening on the seat fabric. Fold the strap and place it into the storage compartment under the fabric, as 14.
- Page 12 Closing and Transporting the Seat Closing and Transporting the Seat 16. Squeeze the Locking Lever on rear 17. Stand the Seat up as shown. Pull of Seat Base and rotate the Seat Base down on the Rear Legs to release the locking pins and rotate the Rear Legs forward to fold.
-
Page 13: Cleaning And Maintenance
MAINTENANCE Periodically check the product for loose screws, worn parts, torn material or stitching. Replace or repair the parts as needed. Use only Chicco replacement parts. To avoid friction that may prevent the correct operation of the product, ensure that all the movable plastic parts placed along the metal frame are clean of dust and dirt. - Page 14 For More Information For USA customers : If you have any questions or comments about this product, or are missing any of the parts, please do not return this product to the store. Contact us in one of the following ways: (877)-424-4226 info.usa@artsana.com www.chiccousa.com...
- Page 15 www.chiccousa.com...
Need help?
Do you have a question about the Take-A-Seat and is the answer not in the manual?
Questions and answers