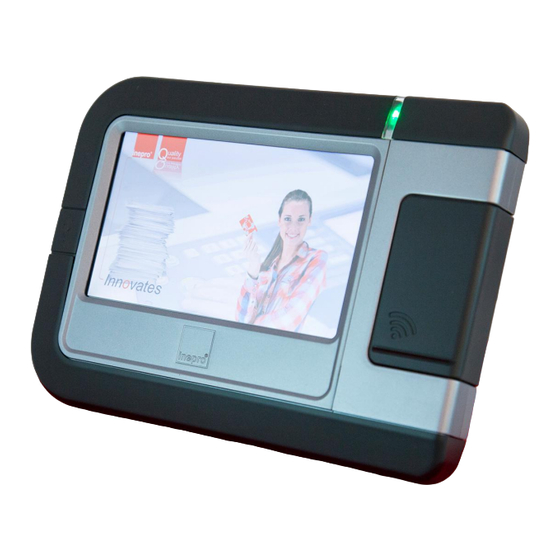
Summary of Contents for Inepro PayCon Touch - Pillar
- Page 1 PayCon Touch - Pillar Installation Manual | PayCon Touch - Pillar © 2019 Inepro B.V. All rights reserved...
- Page 2 We want to help you get the best result from your PayCon Touch - Pillar. This manual contains information on how to do that; please read it carefully. Due to continuous product improvements this manual is subject to changes without notice.
- Page 3 PayCon Touch - Pillar All rights reserved. No parts of this work may be reproduced in any form or by any means - graphic, electronic, or mechanical, including photocopying, recording, taping, or information storage and retrieval systems - without the written permission of the publisher.
- Page 4 Table of Contents Introduction Check Kit Content Hardware Setup...
- Page 5 End of life dir ectives Inepro is pay ing a lot of attention to env ironmentally -friendly production. Your new dev ice contain materials w hich can be recy cled and reused. A t the end of its life specialised companies can dismantle the discarded dev ice to recy cle the reusable materials and to minimise the amount of materials to be disposed of.
- Page 6 Introduction Part...
- Page 7 Introduction Introduction This instruction is for assembling the Inepro PayCon Touch stand. We shall: Check the content of the kit, read more on page Prepare and construct the hardware, on page...
- Page 8 Check Kit Content Part...
- Page 9 Check Kit Content Check Kit Content Before installing the kit, you should check if you have all the items that you need. Additional requirement for installation: § Copier device 320090 - PayCon Touch Pillar + Copier Interface Kit Please check the content of this box and make sure all kits are complete.
- Page 10 § 1x PayCon Touch Cables and Cover Package § 1x PayCon Touch Kit PayCon Touch - Pillar...
- Page 11 Check Kit Content Cables and Cover Pacakage Cables and Cover · In the Cables and Cover Package you should 1x Rubber cover · find: 1x Set of Copier Interface cables + accessories. Beware! This set may · 2x USB 2.0 A-B Type cables 1.8m. differ as it depends on your copier! ·...
- Page 12 1x PayCon Touch Base Plate § 1x Copier Interface Board § 1x Copier Interface Board Cover § 2x M10 x 25mm Bolts § 2x M10 x 20mm x 2mm Washers § 10x M3 Pan head Philips machine screws 8mm PayCon Touch - Pillar...
- Page 13 Check Kit Content PayCon Touch Kit In the PayCon Touch Kit you should find: § 1x User Manual § 1x Release Notes § 4x Dome Head Alan / hex key machine screws § 1x PayCon Touch § 1x Network cable 2.5m. §...
- Page 14 PayCon Touch Kit PayCon Touch - Pillar...
- Page 15 Hardware Setup Part...
- Page 16 An M17 spanner § A Hex / Alan / Umbrako / Inbus key, 2.5mm § A Philips type 1 screwdriver 1. Attach the base of the pillar to the pillar using the M10 washers and bolts. PayCon Touch - Pillar...
- Page 17 Hardware Setup 2. Fasten the copier interface with 6 of the 10 machine screws.
- Page 18 7. Connect the copier interface cable to the correct interface on the board, and connect to the copier. 8. Connect the power supply and connect it to a power outlet. 9. Connect the network cable and connect it to a working network outlet. PayCon Touch - Pillar...
- Page 19 Hardware Setup 10. Mount the cover over the Copier Interface Board with the last 4 screws.
- Page 20 12. Now we will apply the cover. Make sure the cut part of the cover is at the bottom of the pillar. 13. Fit the cover on the pillar. Push it into place from the side. PayCon Touch - Pillar...
- Page 21 Hardware Setup 14. Fasten the PayCon Touch to the pillar, start with the 2 hex key screws on back.
- Page 22 15. Finish with the two hex key screw on the front, and connect the cables. Make sure the cable from the shielded RJ-45 port is connected to the shielded RJ-45 port in the PayCon Touch. PayCon Touch - Pillar...
- Page 23 Hardware Setup 16. You have finished constructing the PayCon Touch Stand.


Need help?
Do you have a question about the PayCon Touch - Pillar and is the answer not in the manual?
Questions and answers