Table of Contents
Advertisement
Quick Links
Advertisement
Table of Contents

Related Manuals for Acomdata DHD2000UFAB-72


Summary of Contents for Acomdata DHD2000UFAB-72
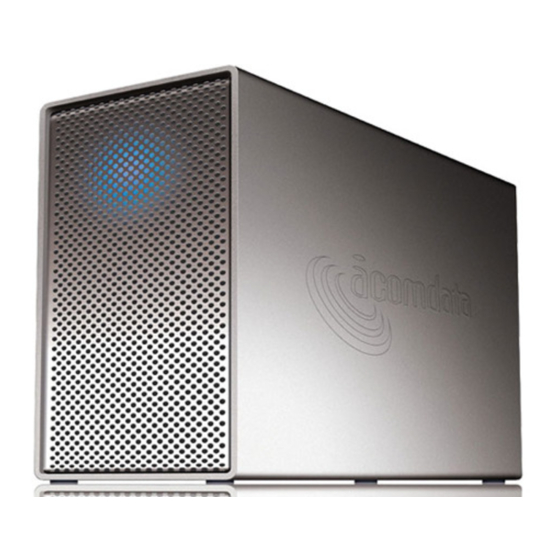
- Page 1 Model 550 External Hard Drives raiD 0 with Quick Start GuiDE...
- Page 2 Welcome Welcome and thank you for choosing a 550 External Hard Drive. This QuickStart Guide will help you quickly setup your Drive. Symbols used in this guide: his symbol alerTs The reader To a warning or To some very imporTanT informaTion his symbol alerTs The reader To helpful Tips and...
- Page 3 Precautions Please follow the precautions listed below. Failure to so do may result in damage to the device, loss of data, and voiding of the warranty. • We strongly recommend that you backup the files stored on the device. The manufacturer is not responsible for data loss or cor- ruption;...
-
Page 4: Package Contents
Package contents 550 E xtErnal rivE uSB C "A" "B" aBlE pin to irE CaBlE pin to irE CaBlE (usb 2.0/1.1 compaTible models only models only aC a & p daptEr owEr uiCk tart uidE... -
Page 5: System Requirements
System requirements Windows users • One of the following Windows operating systems: - Windows Vista - Windows XP with Service Pack 1 or later - Windows 2000 with Service Pack 4 or later • Available USB 2.0/1.1*, FireWire 400, or FireWire 800 port Mac users •... -
Page 6: Technical Specifications
Drive using the Mac OS Extended file system; Partition the Drive so that no single partition is larger than 128 GB. Go to http://docs.info.apple.com/article.html?artnum=107483 for instructions; Upgrade to Mac OS 10.3 or later. Technical specifications Dimensions: ... 2.56" x 4.57" x 8.35" Interface / Interface transfer rate (max): Hi-Speed USB 2.0 ... -
Page 7: Connecting The Drive To Your Computer
Connecting the Drive to your computer Before you connect the Drive, please carefully read the notes and restrictions below. Failure to adhere to any of them can damage the Drive and void the warranty: • If your 550 Drive came with two power cords, be sure to use the correct cord for your region. - Page 8 Refer to the illustration below when following the instructions on the next page. To AC outlet (If plug has three prongs, plug into a three-prong outlet.) Power Cord FireWire 800 Ports (if equipped) FireWire 400 Port (if equipped) USB 2.0/1.1 Port AC Adapter Power Switch Power Port...
- Page 9 Step 1: Connect the AC adapter and power cord: 1a) Plug the AC adapter into the Drive's Power Port. The AC adapter connector can be inserted into the Drive’ s Power Port only one way. It should not require much effort to plug in. If the connector will not go in, check the orientation and try again.
-
Page 10: How To Unmount And Turn Off The Drive
How to unmount and turn off the Drive never turn off a hard drive or disconnect any cables while it is mounted to a computer's operating system. You may lose data or damage the drive. Windows users 1. In the Windows Taskbar click the Safely Remove icon (the icon with the green arrow). - Page 11 Daisy-chaining the Drive A daisy-chain is a grouping of devices linked one after another in series, starting from the computer (as shown in the illustration below). If your Drive is equipped with FireWire, you can daisy- chain another FireWire device to it. See the next page for more information.
- Page 12 What you need to know about daisy-chaining: • You cannot daisy-chain USB devices. Do not connect a USB device to the Drive. • FireWire ports can be used in any order. For example, it does not matter which port you use to connect the Drive to your computer and which port you use to connect another FireWire device.
- Page 13 Notices opyrights © 2008. a opyright ll rightS reServeD tronic mechanical photocopying hanges he material in thiS DocUment iS for information only anD SUBject to change WithoUt notice the preparation of thiS DocUment to aSSUre itS accUracy of the information containeD herein iS aSSUmeD WithoUt oBligation to notify any perSon of SUch reviSionS anD changeS rademarks ll traDemarkS mentioneD or appearing in thiS DocUment are the property of their reSpective oWnerS...
Need help?
Do you have a question about the DHD2000UFAB-72 and is the answer not in the manual?
Questions and answers