Advertisement
Quick Links
Advertisement

Related Manuals for FLOS OK F4640009


Summary of Contents for FLOS OK F4640009
- Page 1 DESIGN BY KONSTANTIN GRCIC...
- Page 2 - Se il cavo flessibile si danneggia, deve essere sostituito da be replaced by FLOS or by qualified personnel in order to behandelte Produkte ab. - Si le cordon flexible externe est endommagé, il doit être FLOS o da personale qualificato al fine di evitare pericoli.
- Page 3 - Si el cable externo se estropea, debe ser sustituido - Se o cabo flexível está danificado, deve ser substituído персоналом в целях предотвращения опасности. 器具は光生物学上の光害リスクはありませ por FLOS o por personal cualificado con el fin de evitar pela FLOS ou por pessoal qualificado para evitar qualquer Устройство не...
- Page 4 <IT> Fig.1 Praticare un foro nel soffitto e inserire il tassello ad espansione (A). Avvitare con forza e fissare il rosone (B). NOTA: scegliere il tassello ad espansione idoneo per la superficie destinata al montaggio. <EN> Fig.1 Drill a hole in the ceiling and insert the expansion plug (A). Fully tighten and fasten the rose (B). NOTE: choose the expansion plug suitable for the surface intended for installation.
- Page 5 <IT> Fig.2 Agganciare all’anello aperto (S) il capo (C) del cavo di acciaio. <EN> Fig.2 Hook the steel cable’s end (C) to the open ring (S). <DE> Abb.2 Das Endstück (C) des Stahlseils am geöffneten Ring (S) einhaken. <FR> Fig.2 Accrocher l’embout (C) du câble en acier au crochet (S).
- Page 6 <IT> Fig.3 Far passare il cavo di acciaio (D) attraverso il contrappeso (E) e farlo scorrere facendo in modo che il contrappeso rimanga leggermente sospeso rispetto al pavimento, quindi bloccarlo nella corretta posizione serrando la vite senza testa (F); tagliare l’eventuale eccedenza del cavo di acciaio. <EN>...
- Page 7 <IT> Fig.4 Montare la testa dell’apparecchio inserendo a fondo lo spinotto (G) nell’apposita sede (H) del corpo facendo attenzione che le guide (I) siano orientate correttamente (guida “I” rivolta verso l’alto). <EN> Fig.4 Mount the device’s head, fully inserting the pin (G) into the hole (H) in the body, making sure the guides (I) are correctly oriented (profile “I”...
- Page 8 <PT> Fig.5 Colocar o pino (L) no alimentador (M) utilizando as guias apropriadas até sentir o engate de acoplamento (utilizar o tipo de pino correcto para a região na qual se instala o aparelho); conectar o pino (N) no alimentador bloqueando com uma rotação de 90°no sentido horário.
- Page 9 Ist die gewünschte Lichtstärke erreicht, den Kontakt mit dem Sensor unterbrechen. HINWEIS: Wandschalter in derselben Lichtstärke wieder ein, die zum Zeitpunkt des Abschaltens eingestellt war. Bei auf 0% eingestellter Lichtstärke schaltet sie sich wieder mit 50% Lichtstärke ein. HOLD <FR> Fig.6 L’effleurement du capteur (O) entraine, dans l’ordre : 1 - Allumage à...
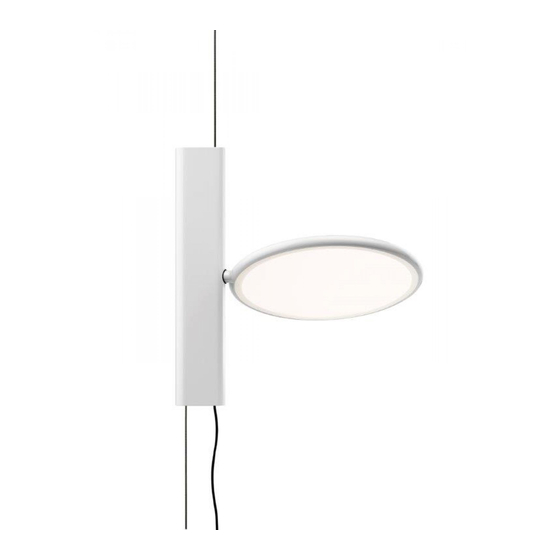
- Page 10 <IT> Fig.7 La direzione del fascio luminoso può essere regolata ruotando la testa (P) nella posizione voluta; la posizione verticale dell’apparecchio può essere regolata facendo scorrere il corpo (Q) sul cavo di acciaio (R). <EN> Fig.7 The light beam’s direction can be adjusted by rotating the head (P) into the desired position; the vertical position of the device can be adjusted by running the body (Q) along the steel cable (R).
- Page 11 www.flos.com...
Need help?
Do you have a question about the OK F4640009 and is the answer not in the manual?
Questions and answers