Advertisement
Quick Links
Advertisement

Related Manuals for Sonatest WAVE


Summary of Contents for Sonatest WAVE
- Page 1 WAVE Quick Start Guide Simplicity Capability Reliability sonatest.com...
- Page 2 This tutorial provides information for the Wave inspection instrument. It has been designed so that people with good knowledge of conventional ultrasonic testing can easily and rapidly use the Wave to make inspections. NOTE: Detailed information about the functionalities presented in this Quick Start Guide are available in the Wave User Guide.
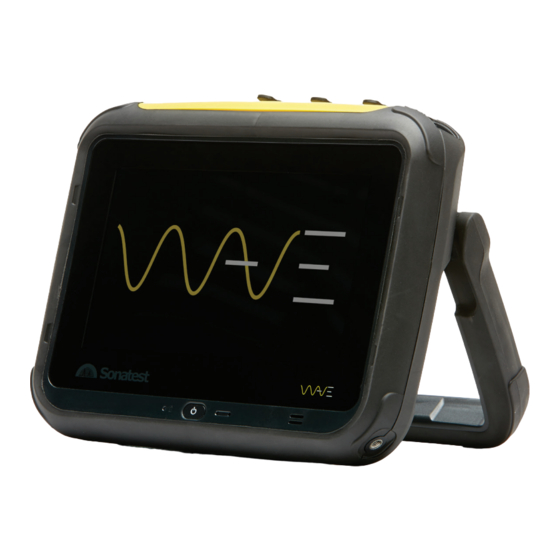
- Page 3 Sonatest Wave - Quick Start Guide USB type C The connector for charging the unit and connecting it to the Wave companion software. Battery access door TX/RX GPIO Power button Figure 1 - Wave description The power-on button is located on the front of the unit, just below the screen.
- Page 4 Sonatest Wave - Quick Start Guide 3 Overview At power up you are presented with the home gage, where a number of applications are displayed. Figure 2 - Home page Tap the D icon to start the default application. Version 1...
- Page 5 Sonatest Wave - Quick Start Guide Figure 3 - Configuration details Tap Default configuration and then Launch; the unit is ready to be used. Version 1...
- Page 6 Sonatest Wave - Quick Start Guide The main window provides access to all the functions needed to configure and operate the unit. Menu items Measurement A-scan Views A-scan/ view Scan Plan Figure 4 - Main window elements Menu items The list of available functions.
- Page 7 Sonatest Wave - Quick Start Guide Selecting a measurement type for a gate: In the list of measurements, tap the measurement desired for that gate. Figure 5 - Gate measurements Version 1...
- Page 8 Sonatest Wave - Quick Start Guide Menu items Is where you can navigate through the unit. All menus parameters are grouped under the menu items. You can move around in menu items by touching the displayed menu item and selecting another one in the list.
- Page 9 Sonatest Wave - Quick Start Guide To access the full screen mode, tap the toolbar menu item (op right). Tap Full Screen to switch mode. 5 Views Only the View button allows you to switch from the A-Scan (a representation of the A-scan), and the Scan Plan (the part and the probe).
- Page 10 Sonatest Wave - Quick Start Guide You can zoom in or out by spreading your fingers apart NOTE: or by pinching the touch screen. You can always return to the original zoom by tapping the Reset Zoom button at the top left corner of the screen.
- Page 11 Sonatest Wave - Quick Start Guide 6 Sizing To help you size defects, use one of the sizing methods. These can be selected from the Sizing menu item. Menu items Figure 9 - Sizing button NOTE: You must have a selected and loaded DGS probe to produce a DGS curve.
- Page 12 Sonatest Wave - Quick Start Guide 3 Move the probe to the next echo and click on Add Point. Figure 10 - DAC example 4 Once all points have been added, tap Apply. NOTE: For information on how to use the other methods, refer to the Wave User Guide.
-
Page 13: Saving Configuration
Sonatest Wave - Quick Start Guide 7 Saving Configuration To save your configuration, on the toolbar menu, tap the toolbar menu item and select Save. Toolbar menu Figure 11 - Save option A keypad opens. Figure 12 - Keypad Enter a file name and tap Save. - Page 14 Sonatest Wave - Quick Start Guide 8 Settings On the home screen you can select your settings by tapping the gear wheel. Figure 13 - Getting to settings From there you can change the brightness, language, and select high contrast.
- Page 15 Distributed by: Sonatest (HQ) Sonatest (North America) Dickens Road 12775 Cogburn Old Wolverton, Milton Keynes San Antonio, Texas MK12 5QQ 78249 United Kingdom United States +44 (0) 1908 316345 +1 (210) 697 0335 sales@sonatest.com sales@sonatestinc.com Part No: 147441 Issue 1_0819...
Need help?
Do you have a question about the WAVE and is the answer not in the manual?
Questions and answers