Table of Contents
Advertisement
Quick Links
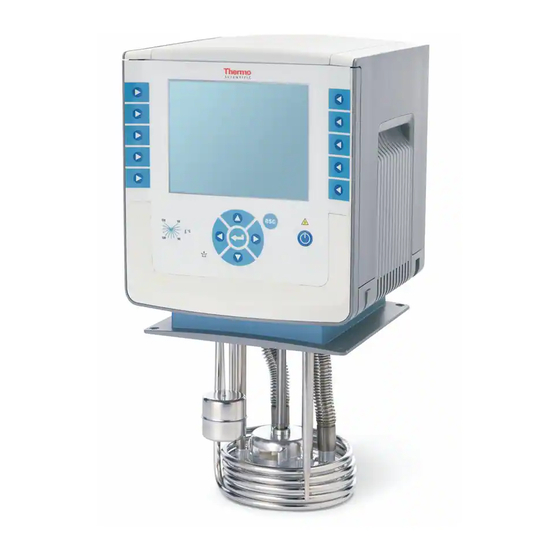
Premium Series Heated
Immersion Circulators
PC200
PC201
PC300
ARCTIC Series
Refrigerated/Heated
Bath Circulators
A25
A45HC
SAHARA Series Heated
Bath Circulators
S7
S13
S45
S49
Thermo Scientific
Laboratory
Temperature
Control Products
Manual Part Number U01047
Rev. 03/03/2021
Multilingual Quick
Start Guides
Multilingual Essential
Safety Instructions
Installation
Operation
Preventive
Maintenance
Troubleshooting
Visit our Web site at:
http://www.thermofisher.com/tc
Product Service Information, Applications
Notes, SDS Forms, e-mail.
Voice Info: (800) 258-0830
Advertisement
Table of Contents


Need help?
Do you have a question about the Premium Series and is the answer not in the manual?
Questions and answers