
Related Manuals for Kemper 712 99 004


Summary of Contents for Kemper 712 99 004
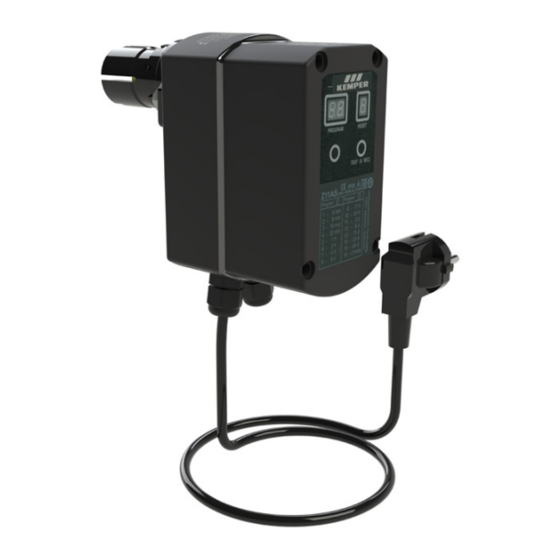
- Page 1 DE Einbau- und Bedienungsanleitung Rückspülautomatik Figur 712 99 004 EN Installation and Operating Manual Automatic backwash Figure 712 99 004...
-
Page 2: Table Of Contents
Lesen Sie diese Anleitung vor Montage- beginn, Inbetriebnahme, Gebrauch und Wartung sorgfältig und folgen Sie den Anweisungen! Anleitung immer an den aktuellen Anla- genbetreiber weitergeben und zur späteren Verfügung aufbewahren! Abbildungen in dieser Anleitung dienen dem 2 /20 – K410071299004-00 / 02.2021 – © www.kemper-olpe.de... -
Page 3: Sicherheitshinweise Für Montage
Hinweis! Kennzeichnet Ge- Bei der Montage beachten: fahren, die zu Schäden an der DIN EN 1717 I DIN 1988 Anlage oder Funktionsstörun- DIN EN 12056 I DIN 1868-100 gen führen können. © www.kemper-olpe.de – 02.2021 / K410071299004-00 – 3 / 20... -
Page 4: Technische Daten
1 (DIN VDE 0700-T1/ EN 60335-1) Maße Filtergröße [mm] [mm] [mm] [mm] [mm] [mm] [mm] Hinweis! Das Gerät ist serien- DN 15 - 50 min. 400 mäßig funkentstört. Abbildung: 1 4 / 20 – K410071299004-00 / 02.2021 – © www.kemper-olpe.de... -
Page 5: Anwendung
Mit Hilfe eines Schraubendrehers ist der Mit einer spitzen Zange (5) wird nun die Betätigungsknopf von unten durch die Nut weiße Rastbuchse (4) abgezogen. auszurasten und mit der Feder zu entfernen. © www.kemper-olpe.de – 02.2021 / K410071299004-00 – 5 / 20... - Page 6 Montage der Rückspülautomatik kann der Netzstecker in eine 230 Volt Steckdose in un- mittelbarer Umgebung eingesteckt werden. Hinweis! Nach dem Einstecken des Netz- steckers wird bereits ein Rück- spülvorgang von ca. 25 Sek. ausgelöst. 6 / 20 – K410071299004-00 / 02.2021 – © www.kemper-olpe.de...
-
Page 7: Ableitung Des Rückspülwassers
Ablaufleitung kann zu einer Fehl- Unmittelbar nach dem freien Ablauf ist ein funktion des freien Ablaufs führen. Geruchsverschluss vorzusehen (siehe Abb. 1, Kap. 1). Ein gut zugänglicher Einbauort vereinfacht die Wartung und die Inspekti- © www.kemper-olpe.de – 02.2021 / K410071299004-00 – 7 / 20... -
Page 8: Batterien/Sicherung Einsetzen
Nach ca. 25 Sekunden wieder in erscheint. Ausgangsstellung drehen und anschrauben. 3. Display 5 zeigt die Anzahl der durchge- führten Rückspülungen an. Ein Rückstellen des Zählers erfolgt durch kurzes Betätigen der Reset-Taste 4. 8 / 20 – K410071299004-00 / 02.2021 – © www.kemper-olpe.de... -
Page 9: Zusatzfunktionen
Relaisausgang b) über einen Transistorausgang Die Impulslänge muss mind. eine Sekunde betragen. Die Rückspülung erfolgt erst dann, wenn die Eingänge START und U+ wieder getrennt wurden. a) Relaisausgang © www.kemper-olpe.de – 02.2021 / K410071299004-00 – 9 / 20... -
Page 10: Fernüberwachung Über Eine Glt
Der max. Strom beträgt 10 mA. Bei anlie- gender Netzspannung bedeutet ein Istwert kleiner 0,5 V, dass das Kugelventil offen ist. Bei einem Wert zwischen 5 V und 6 V ist das Kugelventil geschlossen. 10 / 20 – K410071299004-00 / 02.2021 – © www.kemper-olpe.de... -
Page 11: Gebr. Kemper Gmbh + Co. Kg
Read this manual carefully before starting installation, commissioning, operation and maintenance and follow the instructions! Always pass on this manual to the current system owner and keep it in a safe place for future reference! © www.kemper-olpe.de – 02.2021 / K410071299004-00 – 11 / 20... - Page 12 Note! Indicates hazards that may lead to damages to the system or malfunctions. During installation, observe: DIN EN 1717 I DIN 1988 DIN EN 12056 I DIN 1868-100 12 / 20 – K410071299004-00 / 02.2021 – © www.kemper-olpe.de...
-
Page 13: Technical Data
1 (DIN VDE 0700-T1/ EN 60335-1) Dimensions Filter size Note! [mm] [mm] [mm] [mm] [mm] [mm] [mm] The unit comes standard DN 15 - 50 min. 400 interference-suppressed. Illustration: 1 © www.kemper-olpe.de – 02.2021 / K410071299004-00 – 13 / 20... -
Page 14: Application
Use a screwdriver to unlatch the start and Now use a pair of pointed pliers (5) to pull off stop button from below through the groove the white stop sleeve (4). and remove it with the spring. 14 / 20 – K410071299004-00 / 02.2021 – © www.kemper-olpe.de... - Page 15 230 Volt socket- outlet nearby. Note! After plugging in the mains plug, a backwashing process of approx. 25 sec. is triggered. © www.kemper-olpe.de – 02.2021 / K410071299004-00 – 15 / 20...
-
Page 16: Draining The Backwash Water
Note! Directly after the drain an anti-siphon trap should be provided (see Illustration 1, Chapter 1). An easily accessible installation point simplifies maintenance and inspections. 16 / 20 – K410071299004-00 / 02.2021 – © www.kemper-olpe.de... -
Page 17: Inserting The Batteries/Fuse
After approx. 25 seconds, rotate back to the home position and screw on. 3. Display 5 shows the number of perfor- med backwashes. The counter can be reset by briefly pressing Reset Button 4. © www.kemper-olpe.de – 02.2021 / K410071299004-00 – 17 / 20... -
Page 18: Additional Features
The pulse length must be at least one second. Backwashing runs only if the inputs START and U+ have been separated again. a) Relay output 18 / 20 – K410071299004-00 / 02.2021 – © www.kemper-olpe.de... -
Page 19: Remote Monitoring Through A Bas
0.5 V means the ball valve is open. At a value between 5 V and 6 V, the ball valve is closed. © www.kemper-olpe.de – 02.2021 / K410071299004-00 – 19 / 20... - Page 20 Gebr. Kemper GmbH + Co. KG Service-Hotline +49 2761 891-800 Harkortstraße 5 www.kemper-olpe.de D-57462 Olpe info@kemper-olpe.de 20 / 20– K410071299004-00 / 02.2021 – © www.kemper-olpe.de...
Need help?
Do you have a question about the 712 99 004 and is the answer not in the manual?
Questions and answers