
Related Manuals for Stevens AeroModel SQuiRT


Summary of Contents for Stevens AeroModel SQuiRT
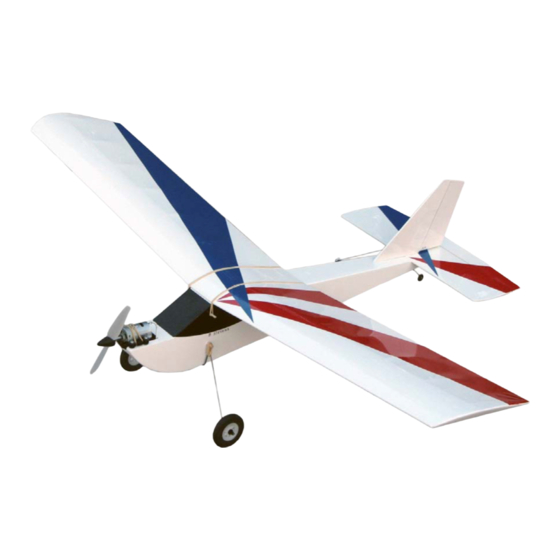
- Page 1 SQuiRT Aileron Wing Kit V1.02b Span 38” / Area 260Sq.” © 2005 Stevens AeroModel all rights reserved.
- Page 2 Further, Stevens AeroModel reserves the right to change or modify this warranty without notice. In that Stevens AeroModel has no control over the final assembly or material used for final assembly, no liability shall be assumed nor accepted for any damage resulting from the use by the user of the final user-assembled product.
- Page 3 Plan/Table Protector (use the bag that this kit came in to protect your work surface from CA glue spills) Razor Blade(s) Med-Fine Grit Sand Paper and sanding block Clear Tape Balsa Wood Filler © 2005 Stevens AeroModel all rights reserved.
- Page 5 INSTRUCTIONS: Thank you, for purchasing this Stevens Aeromodel SQuiRT – Aileron Wing Kit. This kit provides the builder and pilot a refreshing change of pace from heavy “ARF” style plywood box airframe construction and blends stick and tissue design methods of the past with state of the art CAD technology and precision interlocking laser cut parts; the result is something you will find truly exceptional to build and fly.
-
Page 6: Wing Assembly
Join part W5 to bottom center of S1 spar. Next, interlock parts W1 to spar S1 on either side of W5 take note of the part orientation as W1 is etched to correspond with the R1 rib location. Secure assembly with CA glue at the tab and notch locations. (see plan sheet for more detail) © 2005 Stevens AeroModel all rights reserved. - Page 7 R1 over the spar and doubler. Wick thin CA in between the balsa S1 spar, ply doubler S2, and ribs R1. Install Ribs R3 as indicated on the plan sheet. Next, Install Rib R4 at wing tips as indicated on the plan sheet. © 2005 Stevens AeroModel all rights reserved.
- Page 8 TE1 to either side of TE2 (the arrows etched on the surface of TE1 should face those of TE2). Finalize center section trailing edge by installing the 1/16” ply doubler TE3 along trailing edge of wing center section using the recess created by parts TE1 and TE2 to position the part. © 2005 Stevens AeroModel all rights reserved.
- Page 9 R1 from the bottom side of the wing until it clears R2 and can then be centered between the ribs. Hint: Use a twisting motion and gentle pressure to work the tube into position. DO NOT GLUE THIS TUBE IN YET © 2005 Stevens AeroModel all rights reserved.
- Page 10 Once satisfied with the fit, glue both parts SR1 and the paper servo guide tube (installed in the previous step). Install lower cap strips W9 (bottom of R2) and W9a (bottom of R2a and ribs R3). Install part SR2 over ply servo pocket SR1. © 2005 Stevens AeroModel all rights reserved.
- Page 11 Sheet center wing section starting with W6. Double check that W6 is centered between R1 prior to committing the part with glue. Next, complete the center section by installing W7 and W8 as indicated on the plan sheet. © 2005 Stevens AeroModel all rights reserved.
- Page 12 Install W3 wing tip as indicated on plan sheet and aligning bottom edge of W3 with bottom edge of R4. Cap wing tip with part W4 using the same method used for installing spar caps. © 2005 Stevens AeroModel all rights reserved.
- Page 13 Sand the trailing edge cap strips and the center section wing sheeting to taper into the trailing edge. Mind what you are sanding and don’t take too much material off the trailing edge; simply bring the cap strip and sheeting to the trailing edge thickness. The photos below illustrate the required sanding. © 2005 Stevens AeroModel all rights reserved.
- Page 14 (as illustrated) to the outside edge of the aileron stock following the taper of the wing tip. Finally, sand along the wing tip edge to match the aileron stock to the wing tip. © 2005 Stevens AeroModel all rights reserved.
-
Page 15: Covering The Model
A complete guide to covering using AeroFILM and AeroFILM Lite is available for download from www.stevensaero.com Download this document and use it as a guide for covering the SQuiRT. No surprises here just follow the directions and work slowly remember any imperfections will need to be sanded smooth as the covering will expose every bump or drip of CA glue. -
Page 16: First Flight
The balance point or CG (Center of Gravity) is the same as that listed for the 3ch SQuiRT – please see your plan sheet for more detail. You roughly would like the model to balance ¼” forward of the wing spar. - Page 17 As well, he has written a book titled “Mastering Radio Controlled Flight” from which the following excerpts have been taken. The book encompasses all aspects of RC flight training including basic flight training, precision aerobatics, and 3D flight. For more, visit his site at www.rcpilotguide.com. © 2005 Stevens AeroModel all rights reserved.
- Page 18 This guide is offered as an addendum to the original Squirt Flight Guide and is intended to smooth out your transition to the new aileron wing for your Squirt. Good luck and have fun! Transition to Ailerons The primary difference between flying a R/E/T equipped model and an aileron-equipped model is not that one has ailerons for roll control and one doesn’t, but rather that the aileron-equipped model has, inherently, less overall roll...
- Page 19 You may need to add a touch of throttle to overcome the additional drag during the turn. Who ever thought a simple turn could be so complicated? Fortunately after a little practice, you'll find yourself making the necessary adjustments without thinking about it © 2005 Stevens AeroModel all rights reserved.
- Page 20 Jet Transport Aircraft use slips when taking off and landing in crosswinds. Basically, by de-linking the rudder with the aileron in a slip we can control bank and yaw independently, allowing precise heading and drift control. © 2005 Stevens AeroModel all rights reserved.
-
Page 21: Crosswind Takeoff
When landing, as you know, it is critical to be pointing down the runway. If you were to allow the model to touch down in a crab, it would contact the runway “crooked” and that is asking for significant directional © 2005 Stevens AeroModel all rights reserved. - Page 22 As the model decelerates, it is important to continue to hold the aileron input in to keep the upwind wing down. As usual in all landings, use the rudder to maintain directional control on the runway. I hope you have enjoyed this brief instructional supplement for the Aileron Equipped SQuiRT Trainer. Here’s to blue skies, calm winds, round loops, and soft touchdowns.
- Page 23 Whether your goal is simply to be able to safely maneuver your model from takeoff through landing, fly traditional IMAC aerobatic sequences with style, or to pull off a parachute into a torque roll, this is the book for you. © 2005 Stevens AeroModel all rights reserved.
Need help?
Do you have a question about the SQuiRT and is the answer not in the manual?
Questions and answers