Table of Contents
Advertisement
Available languages
Available languages
Quick Links
Advertisement
Table of Contents

Related Manuals for LEGRAND XMS-1208P


Summary of Contents for LEGRAND XMS-1208P
- Page 1 GUIDE D'INSTALLATION RAPIDE Switch manageable 12 ports/8 PoE+ Gigabit XMS - 1208P Inclut : Switch XMS-1208P 12 ports/8 PoE+ Kit de montage sur montants 19" Pieds en caoutchouc Cordon d’alimentation 0 334 90 www.legrand.fr...
-
Page 2: Installation Physique
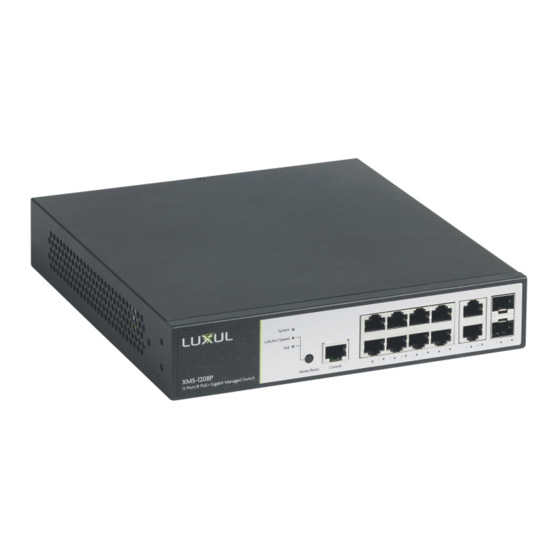
INSTALLATION ET CONFIGURATION 1 - Installation Physique Le XMS-1208P peut facilement être installé sur un montant 19”. Deux équerres sont fournies pour fixer le switch. Lors de la fixation des équerres et de l’installation du switch, veuillez-vous reporter à l’illustration suivante : Montage sur un montant 19"... - Page 3 Face avant La face avant du switch XMS-1208P comprend 10 ports Gigabit RJ45 et 2 ports Gigabit SFP ainsi que des indicateurs d'état LEDs pour chaque port. A gauche du switch se situe un port console au format RJ 45 (pour administrateur réseau).
- Page 4 Un appui bref sur le bouton de mode/reset fait basculer l’indicateur de port entre l’affichage de la vitesse de la liai- son du port et l’état du PoE. Le tableau suivant présente les indicateurs LED du XMS-1208P ainsi qu’une explication de leurs propriétés :...
-
Page 5: Quick Install Guide
QUICK INSTALL GUIDE 12-Port/8 PoE+ Gigabit Managed Switch XMS - 1208P Includes : XMS-1208P 12-Port/8 PoE+ Switch Rack Mount Kit Rubber Feet Power Cord www.legrand.fr... -
Page 6: Physical Installation
1 - Physical Installation The XMS-1208P can easily be installed in a standard 19” rack. Two mounting ears are included for installing and stabilizing the switch. When attaching the mounting ears and installing the switch in a rack, please refer to the following illustration: Rack-mounting the XMS-1208P Use the included screws to attach the mounting ears to each side of the switch. -
Page 7: Getting Connected
Front Panel The front panel of the XMS-1208P includes 1 console port, 10 Gigabit RJ 45 ports, and 2 Gigabit SFP ports as well as LED status indicators for each port. A mode/reset button switches the display between Link/Activity and PoE modes. - Page 8 Before carrying out the installation, read the instructions and take account of the product’s specific mounting location. Do not open up, dismantle, alter or modify the device except where specifically required to do so by the instructions. All Legrand products must be opened and repaired exclusively by personnel trained and approved by Legrand. Any unauthorised opening or repair completely cancels all liabilities and the rights to replacement and guarantees.