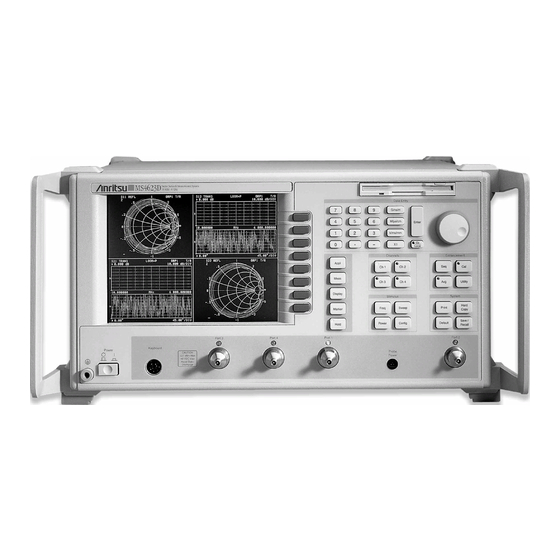
Summary of Contents for Anritsu MS462 Series
- Page 1 SERIES MS462XX VECTOR NETWORK MEASUREMENT SYSTEM VERIFICATION KITS OPERATION AND MAINTENANCE MANUAL 490 JARVIS DRIVE MORGAN HILL, CA 95037-2809 P/N: 10100-00036 REVISION: A PRINTED: MAY 1999 COPYRIGHT 1999 ANRITSU CO.
- Page 2 WARRANTY The ANRITSU product(s) listed on the title page is (are) warranted against defects in materials and workmanship for one year from the date of shipment. ANRITSU’s obligation covers repairing or replacing products which prove to be defective during the warranty period. Buyers shall prepay transportation charges for equipment returned to ANRITSU for warranty repairs.
-
Page 3: Table Of Contents
Table of Contents Chapter 1 Contents and Operation INTRODUCTION ..... . 1-1 PURPOSE ......1-1 ONLINE MANUALS. -
Page 5: Chapter 1 Contents And Operation
CD ROM part numbers are available on ANRITSU’s Internet home page (http://www.global.anritsu.com). You can also contact ANRITSU Customer Service for price and avail- ability. Contents of the verification kits are listed on the following pages... - Page 6 The disk included in the Verification Kit is for use by AN- RITSU service personnel. It contains component data used during the automated verification procedure that is accom- plished with an external PC. It is NOT INTENDED TO BE USED WITH ANRITSU MS462XX internal floppy disk drive. VERIFICATION KIT MODEL 3883LF...
-
Page 7: Model 3666Lf (3.5 Mm) Verification Kit
42LOP-20, 3.5 mm Mismatch Attenuator CAUTION The disk included in the Verification Kit is for use by ANRITSU service personnel. It contains component data used during the automated verification procedure that is accomplished with an external PC. It is NOT INTENDED TO BE USED WITH WITRON MS462XX internal floppy disk drive. -
Page 8: Model 3667Lf (Gpc-7) Verification Kit
The disk included in the Verification Kit is for use by ANRITSU service personnel. It contains component data used during the automated verification procedure that is accomplished with an external PC. It is NOT INTENDED TO BE USED WITH ANRITSU MS462XX internal floppy disk drive. VERIFICATION KIT MODEL 3883LF... -
Page 9: Operation
VERIFICATION KITS CONTENTS OPERATION Each verification kit consists of three standards, each are supplied with S-parameter data. Each standard verifies a primary S-parameter, as follows: 20 dB Attenuator — S Magnitude and Phase 50 dB Attenuator — S Magnitude and Phase Mismatch Attenuator —... -
Page 11: Chapter 2 Performance Verification
The procedure is provided on floppy disk. The program is titled ANRITSU 2300-354 Vector Network Measurerment System Perfor- mance Verification, and is provided with a User’s Guide, Anritsu Part Number 10410-00216. This User’s Guide and its program diskette are included at the end of this manual. -
Page 12: Verification Process
PERFORMANCE VERIFICATION VERIFICATION (AUTOMATED) KITS VERIFICATION PROCESS Verification is a straightforward process intended to show that a vec- tor network measurement system (VNMS) is performing to specifica- tion. It can usually be accomplished in less than an hour, after waiting out the typical one-hour warm-up period. -
Page 13: Preview The Display
VERIFICATION PERFORMANCE VERIFICATION KITS (AUTOMATED) Preview the Display When running the verification software, there is a step that requires the VNMS to be calibrated. This step places the VNMS in LOCAL (Manual) control and the program waits for the operator to press the Enter key. - Page 14 PERFORMANCE VERIFICATION VERIFICATION (AUTOMATED) KITS Figure 2-2. Example of a good display response MS462XX VK OMM...
- Page 15 VERIFICATION PERFORMANCE VERIFICATION KITS (AUTOMATED) Figure 2-3. Example of a bad display response 360X/37XXX VK OMM 2-5/2-6...
-
Page 17: Chapter 3 Maintenance Instructions
Pin Depth Before mating, measure the pin depth (Figure 3-1) of the device that will mate with the RF component, using a ANRITSU Pin Depth Gauge or equivalent (Figure 3-2). Based on RF components returned for re- pair, destructive pin depth of mating connectors is the major cause of failure in the field. -
Page 18: Precautions For Using Connectors
While this will not cause any damage, it will result in a poor connection and a consequent degradation in performance. Table 3-1. Pin Dept Tolerances Port/Connector Type Pin Depth (mils) ANRITSU Gauge Setting GPC 7 +0.000 Same as pin depth –0.0015 N Male +0.000... -
Page 19: Over Torquing Connectors
VERIFICATION CLEANING KITS INSTRUCTIONS Over Torquing Over torquing connectors is destructive; it may damage the connector Connectors center pin. Finger-tight is usually sufficient, especially on Type N con- nectors. Never use pliers to tighten connectors. Teflon Tuning The center conductor on most RF components contains a small teflon Washers tuning washer located near the point of mating (interface). - Page 20 CLEANING VERIFICATION INSTRUCTIONS KITS NOTE Most cotton swabs are too large to fit in the smaller con- nector types. It is necessary to peal off most of the cotton and then twist the remaining cotton tight. Be sure that the remaining cotton does not get stuck in the connector.
- Page 21 VERIFICATION KITS Do NOT use Industrial Solvents or Water on connector. Use only Denatured Alcohol. Use only denatured alcohol and the proper size of cotton swab. Gently rotate the swab around the center pin being careful not to stress or bend the pin or you will damage the connector.
- Page 23 Subject Index Number 3.5 mm ....1-3 N type ..... 1-2 3666LF .


Need help?
Do you have a question about the MS462 Series and is the answer not in the manual?
Questions and answers