Advertisement
Quick Links
KTM 1090 / 1190/ 1050 RR kit installation manual
Thank you for purchasing the KTM 1090 RR kit from RADE/GARAGE. The installation is quite simple,
but may take up to 3 hours because the 1090 has many plastics planes that must be removed before
you can take out the headlight.
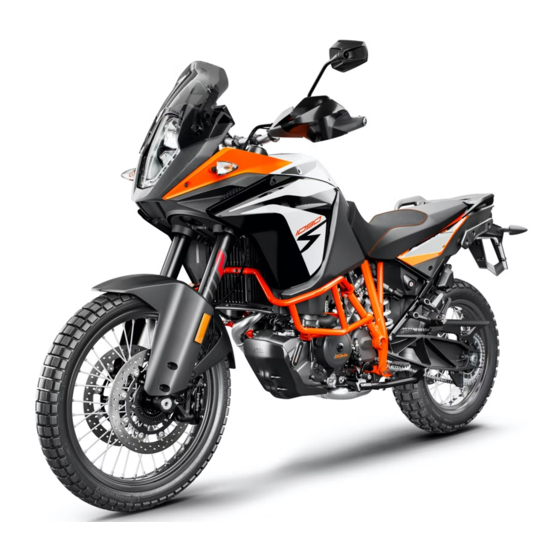
0/ See your bike before and after the RR kit is installed
Advertisement

Subscribe to Our Youtube Channel
Related Manuals for KTM 1090 RR kit


Summary of Contents for KTM 1090 RR kit
- Page 1 KTM 1090 / 1190/ 1050 RR kit installation manual Thank you for purchasing the KTM 1090 RR kit from RADE/GARAGE. The installation is quite simple, but may take up to 3 hours because the 1090 has many plastics planes that must be removed before you can take out the headlight.
- Page 2 1/ Remove the OEM screen and its holder a/ Remove the four bots holding the OEM screen and the screen itself b/ Lift up the OEM screen holders and remove the plastic holder bolts as in the picture. Remove also the metal plates and keep the OEM screws for later.
- Page 3 2/ Remove the bolts that hold the fairing panels and the OEM headlight a/ Remove the four bots holding the OEM plastic panels. b/ Hold the turn signal and CAREULLY lift up the white panel – there is a plastic hook on the back side. You must remove the white panel in order to access the bolt holding the OEM headlight.
- Page 4 c/ Next remove the upper two bolts holding the headlight. d/ To access the bottom bolt, you have to carefully bent the side panel and remove the OEM bolt...
- Page 5 3/ Replace the OEM headlight with our LED unit a/ Now pull out the OEM headlight and mask. Next disconnect the OEM connector. Then remove the four nut inserts and install them on the R/G headlights bracket. b/ Assemble the LED headlights. The high beam with shorter tube goes to the upper position and the low beam with longer tube goes below.
- Page 6 c/ Bolt on the orange resistors with M4 bolts and nuts. d/ Use the rubber nuts (top right picture) for the upper carbon mask holders and supplied M5 nut inserts for the bottom mask holders .
- Page 7 c/ Tip for you! Before you connect the LED unit, you have good opportunity to connect your GPS cable, heat grips cable and other accessories, because the OEM spare power source is now easily accessible. After you connect the headlights secure the cables with zip tie to avoid bouncing. d/ insert the LED unit into the same mounting points as the OEM headlight.
- Page 8 4/ Mount the carbon mask a/ Now install the mesh that will seal the headlights cover. Make sure you place it in the area that will be under the orange sticker. Than bolt on the headlights cover with M4 rubber nuts and bolts. b/ When inserting the carbon mask make sure it is placed under the OEM black plastic rim as in the picture.
- Page 9 c/ Bolt on the mask to the upper bracket with M5x16 bolts and use the plastic washers. Also mount the top windscreen holders with the OEM screws. 5/ Put the windscreen on! a/ Before you start the windscreen installation, apply the transparent rim to the edge of the windscreen.
- Page 10 Congratulation! The installation is finished and you can start enjoying your upgraded bike ☺ If you have any questions or feedback, please post it in the following threat on AdvRider forum, we will be notified, will respond and it might also help others with their questions: https://advrider.com/f/threads/rade-garage-kits-and-accesorries-for-ktm-1090-1190- adventure.1351790/ Thanks again.
Need help?
Do you have a question about the 1090 RR kit and is the answer not in the manual?
Questions and answers