Advertisement
Quick Links
Advertisement

Related Manuals for Bowers & Wilkins ISW-3


Summary of Contents for Bowers & Wilkins ISW-3
- Page 1 ISW-3...
- Page 2 Welcome to Bowers & Wilkins and ISW-3 Thank you for choosing Bowers & Wilkins. When John Bowers first established our company he did so in the belief that imaginative design, innovative engineering and advanced technology were keys that could unlock the enjoyment of audio in the home.
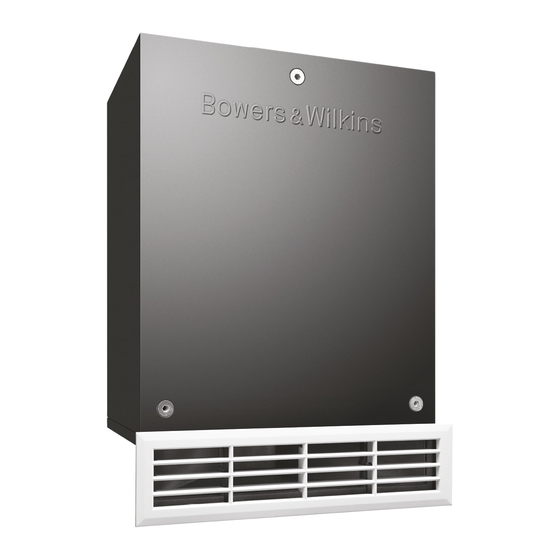
- Page 3 1 Contents Check that you have the following components shown in Figure 1: a. Subwoofer b. Louvre fascia (white) c. Louvre (black) d. Cowl extension e. Cut-out template Gasket strips g. Angle support brackets h. No.8 x 12mm (0.5in) screws M3 x 35mm (1.38in) button head screws Support bar k.
- Page 4 3 Installation in-ceiling The speaker will fit between joists with standard 40cm (16in) or greater spacing, such that the visible louvre straddles the gap between them. A clearance of 25cm (10in) or greater behind the underside face of the joists is required. Mark the centre line of the desired louvre position on 380mm (15in) the underside face of the joists at each side.
- Page 5 Use the cut-out template (e) to mark the aperture on the drywall panel. The six protrusions correspond to the outer dimensions of the louvre fascia and are provided to indicate necessary clearance. Do not mark round these protrusions, but rather along the dotted lines that cross them (Figure 12).
- Page 6 4 Installation in-wall The subwoofer is too deep to fit into a standard nominal 100mm (4in) thick wall, but may be fitted into custom furniture or closet that accommodates its depth and that has studs with standard 40cm (16in) or greater spacing. In most situations, the visible louvre will be required to be low on the wall, just above the skirting board.
- Page 7 Screw the support bar (j) to the top of the cowl as shown using the three No.6 x 25mm (1in) screws (m) into the pre-drilled pilot holes (Figure 21). Figure 21 Remove the backing paper and apply the two self- adhesive gasket strips (f), one to the support bar and one to the cabinet at the other side of the louvre frame.
- Page 8 Use the cut-out template (e) to mark the aperture on the drywall panel. The six protrusions correspond to the outer dimensions of the louvre fascia and are provided to indicate necessary clearance. Do not mark round these protrusions, but rather along the dotted lines that cross them (Figure 25).
- Page 9 5 Installation under the floor The speaker will fit between joists with standard 40cm (16in) or greater spacing, such that the visible louvre straddles the gap between them. A clearance of 25cm (10in) or greater behind the top of the joists is required.
- Page 10 Remove the backing paper and apply the two self- adhesive gasket strips (f), one to the support bar and one to the cabinet at the other side of the louvre frame. These will bear on the floor boarding to avoid rattles (Figure 34).
- Page 11 If using sheet flooring, use the cut-out template (e) to mark the aperture on the floor panel. The six protrusions correspond to the outer dimensions of the louvre fascia and are provided to indicate necessary clearance. Do not mark round these protrusions, but rather along the dotted lines that cross them (Figure 37).
- Page 12 6 Installation in a kitchen unit The subwoofer will rest on the bottom shelf of the unit and vent through the toekick panel below the door. x 10 Remove the backing paper and fix one of the gasket strips (f) to the cowl extension, along the edge of its louvre frame.
- Page 13 Place the subwoofer on the bottom shelf. Unscrew the feet as required to align the cowl extension vent with the cut-out in the toekick panel. Keeping the feet still, screw the locknuts up to the subwoofer cabinet to maintain position (Figure 44). Figure 44 Strip the ends of the cable and connect it to the spring terminals, observing the correct polarity.
- Page 14 7 Running in 8 Aftercare The performance of the speaker will change subtly The subwoofer should require no maintenance, during the initial listening period. If the speaker has other than to periodically remove and clean the been stored in a cold environment, the damping louvre fascia.
Need help?
Do you have a question about the ISW-3 and is the answer not in the manual?
Questions and answers