Table of Contents
Advertisement
Quick Links
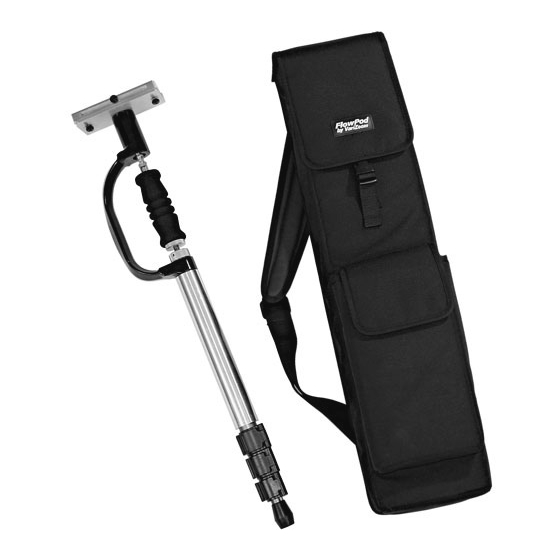
VZ-FlowPod Mini
Handheld Camera Stabilizer/Support
1) The first thing to understand is the locking feature of the hand grip.
The FlowPod Mini comes with the hand grip in the locked position.
When storing and transporting the FlowPod Mini, the hand grip
should be in the locked position. Additionally, when using the
FlowPod Mini in monopod mode, you should also lock the hand grip.
Locked position is shown at right.
2) When operating the FlowPod Mini in handheld stabilizer mode, the
grip must be unlocked. To unlock the grip, simply press the base of
it forward. It will pop out of the locked position and then you will be
able to rotate it freely. Locking the grip is the opposite. The square
end of the grip fits snugly into the square capture socket and a
spring-loaded ball on the underside of the grip snaps into the hole at
the center of the capture socket to prevent accidental release of the
grip.
3) When the handle is free, you will note that it operates
best with the curved gimbal stem pointing forward. This
position offers the maximum range of motion, so we
strongly recommend only operating the FlowPod Mini with
the grip/gimbal in this orientation.
4) To begin setting up the FlowPod Mini for use in handheld stabilizer mode, start by
removing the quick-release plate from the FlowPod Mini and mounting it to your camera.
If your camera has a somewhat heavy lens, you may want to slide the camera all the way
to the back of the quick-release plate before tightening the thumbscrew. Once the plate
has been secured to the camera, attach it to the base plate of the FlowPod Mini and lock
the plate position with the lever.
Includes: Main Unit, 5 weights, Support Belt, Carrying Bag.
Operating Position
Advertisement
Table of Contents

Related Manuals for VARIZOOM VZ-FlowPod Mini


Summary of Contents for VARIZOOM VZ-FlowPod Mini
- Page 1 VZ-FlowPod Mini Handheld Camera Stabilizer/Support Includes: Main Unit, 5 weights, Support Belt, Carrying Bag. 1) The first thing to understand is the locking feature of the hand grip. The FlowPod Mini comes with the hand grip in the locked position.
- Page 2 5) Horizontal Balance – The camera’s mass must be centered on the gimbal for the unit to remain level – this is horizontal balance. Set the horizontal balance of the camera by sliding the ‘X-Y Plate’ side to side and front to back. In other words, if the camera leans to one side, you can slide it the other way to compensate.
- Page 3 8) Check Vertical Balance - Walk with the unit and move it side to side and front to back. If the unit is vertically balanced, it should stay upright when moved - it should not sway or behave like a pendulum. If the unit sways, adjust the vertical balance until the unit stays vertical while in motion.
- Page 4 Warranty: 2 years parts/labor – 512-219-7722...
Need help?
Do you have a question about the VZ-FlowPod Mini and is the answer not in the manual?
Questions and answers