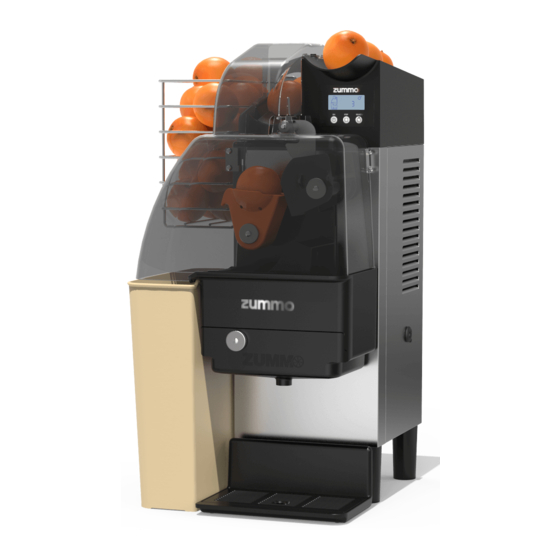
Zummo Z1 Instructions Manual
Hide thumbs
Also See for Z1:
- User manual (103 pages) ,
- Quick start manual (5 pages) ,
- Maintenance instructions (4 pages)
Advertisement
Quick Links
Z1
NATURE
DATE:
SERIAL Nr:
LOCATION:
MAINTENANCE CHECKLIST 1
1.- PRIOR INSPECTION BEFORE OPENING THE MACHINE
1.1.- Check the machine functioning
1.2.- Verify external spare parts
1.3.- Check the feeder status
1.4.- Check main cable (plug) and fuse-holder box status
1.5.- Write down the lecture from the cycle counter
2.- MACHINE DISMANTLING AND INTERNAL INSPECTION
2.1.- Open the machine
2.2.- Check the cup and blade slide covers
2.3.- Verify both cup shaft, pinion and bridge status
2.4.- Check the Allen screw that fixes bridge and the connecting rod
2.5.- Check the status of the ball bearing
2.6.- Check the motor / gearbox set status
2.7.- Internal cleaning and greasing
2.8.- Front cleaning and greasing
2.1.- Open the machine
3.- MACHINE CLOSING
3.1.- Closing the machine and operation test
COMMENTS:
Technician's name and signature:
011601-02
ST
ND
AND 2
YEAR
:
Lecture:
Name and signature of the center responsible
OK
NOK
OK
NOK
OK
NOK
1
Advertisement

Related Manuals for Zummo Z1


Summary of Contents for Zummo Z1
- Page 1 NATURE DATE: SERIAL Nr: LOCATION: MAINTENANCE CHECKLIST 1 AND 2 YEAR 1.- PRIOR INSPECTION BEFORE OPENING THE MACHINE 1.1.- Check the machine functioning 1.2.- Verify external spare parts 1.3.- Check the feeder status 1.4.- Check main cable (plug) and fuse-holder box status 1.5.- Write down the lecture from the cycle counter Lecture: 2.- MACHINE DISMANTLING AND INTERNAL INSPECTION...
- Page 2 NATURE DATE: SERIAL Nr: LOCATION: MAINTENANCE CHECKLIST 3rd YEAR 1.- PRIOR INSPECTION BEFORE OPENING THE MACHINE 1.1.- Check the machine functioning 1.2.- Verify external spare parts 1.3.- Check the feeder status 1.4.- Check main cable (plug) and fuse-holder box status 1.5.- Write down the lecture from the cycle counter Lecture: 2.- MACHINE DISMANTLING AND INTERNAL INSPECTION...
- Page 3 NATURE 1. - PRIOR INSPECTION BEFORE OPENING THE MACHINE 1.1. - Check machine operation. The machine will be switched on with all external parts properly assembled to check operation. It is necessary to double check if the cups go down rhythmic and symmetrical and that no obstacle is observed when descending.
- Page 4 NATURE 1.4. - Check power input plug, cable, and fuse holder (Verify if there is one 6A fuse in backup and that the fuse in the machine is not wasted). 1.5. - Note the cycles counter reading. The number of cycles will be written to count the number of cycles made since the last revision.
- Page 5 NATURE 2. - MACHINE DISMANTLING AND INTERNAL INSPECTION 2.1. - To open the machine, follow these steps: Firstly, remove all external parts them being the basket, front cover, the squeezing tray (unscrewing the fastening nut) and the bin. All these parts are mounted without any fixing accessories (besides the FN, no tool needed) but refer to the first point of the technical instructions if necessary.
- Page 6 NATURE Loosen the front and back legs by unscrewing them. Unscrew the two 3mm screw front supports and two from the four 4 hexagonal head screws (same type as before) that fix the front to the bottom. Then take the front off. Disconnect the cables from the electronic board and cut the cable tie.
- Page 7 NATURE 2.2. - Check the cup and blade slide covers To check if the cup slide shaft needs greasing, turn on the machine with everything mounted again (do this before 2.1 most preferably) and then take off only the upper protective part (1902010) just when the cup and the blade meet exactly like the left down picture below.
- Page 8 NATURE 2.5. - Check the status of the ball bearing 2.6. - Check the motor/gearbox set status. 7. - Check blade shaft kit and ratchet slide status When the blade spins instead of keeping still when cutting, we should look at the probe-slider mechanism because it has probably misadjusted.
- Page 9 NATURE Check that when the ratchet slide is set free (on the right of its movement), this one sets free the movement of the probe without any obstruction. If any of these two conditions is not met, we will proceed to solve it by changing the slider position acting on the slide guide as shown below: 1.
- Page 10 NATURE 2.8.1 - Internal cleaning and greasing. To check if the blade shaft needs greasing, turn on the machine and stop with the main switch just when the cup and blade are in the position in the left down picture below. Taking care not to touch the metallic blade, pull strongly from the blade downwards and then release at once, as shown in the right down picture below.
- Page 11 NATURE 2. Take off the c-clip and washer. 3. Take off ratchet slide pulling from it inwards the machine. 4. Loosen the blade shaft screw. 5. Pry the probe out with a flat screwdriver. 011601-02...
- Page 12 NATURE 6. Take off the key from the shaft keyway. 7. Clean the shaft and grease it. 8. Clean the bearing and grease inside. 9. Assemble the shaft and mount it back on the machine 011601-02...
- Page 13 NATURE 2.7.- Cup slider and bridge greasing. To check if the cup slider needs to be greased, turn on the machine and remove the upper protection when the cup and blade will be show as displayed on the left picture below. Loosen the blade nut and remove blade.
- Page 14 NATURE 2. Loosen the screw that keeps the cup shaft pinion in its place. 3. Take off the pinion as well as the key to be able to extract the shaft. 4. Clean and grease the inner part of the shaft. 5.
- Page 15 NATURE 6. Assemble the shaft again. 7. Put the key back in the keyway. 8. Place the pinion engaged as to make the cup facing upwards as described in 1. 9. Screw again using the washer 1095008 and the T-933-M8x20 screw. 2.9.
- Page 16 NATURE 3. – CLOSING OF THE MACHINE AND OPERATION TEST 3.1. - Proceed to the re-assembling of the machine. All the exterior parts will be again mounted, and all security options will be checked again. We recommend doing an operational test again to check the proper functioning. 011601-02...
Need help?
Do you have a question about the Z1 and is the answer not in the manual?
Questions and answers