Table of Contents
Advertisement
Quick Links
Advertisement
Table of Contents

Subscribe to Our Youtube Channel
Related Manuals for DeDietrich DHB7952A


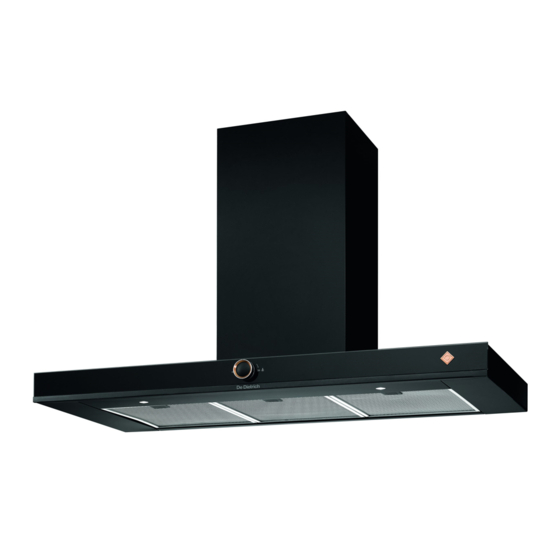
Summary of Contents for DeDietrich DHB7952A
- Page 1 271,5 mm 60 mm 500 mm...
- Page 2 1 x J 1 x C 1 x K 5 x D/E 1 x F 1 x L 2 x M 4 x O 1 x P 1 x H 1 x G 1 x N...
- Page 4 2.3.1 2.3.2 2.3.3...
-
Page 8: Table Of Contents
CONTENTS Important safety advice and precautions ........15 Identification ..................17 Installation ..................18 Electrical connection ................18 Use in evacuation mode ..............18 Use in recycling mode ................18 Fitting the hood ..................18 Fitting the duct ..................19 Use ....................20 Lighting ....................20 Lighting auto-stop ................20 Switching on/off ..................20 Changing speed..................20 Automatic speed return ..............20 Fan auto-stop..................20... -
Page 9: Important Safety Advice And Precautions
IMPORTANT SAFETY ADVICE AND PRECAUTIONS These instructions are also available on the brand’s web site. Please read this advice carefully before installing and using your appliance. These instructions are intended to protect your safety and the safety of others. Keep this manual with the appliance. - Page 10 IMPORTANT SAFETY ADVICE AND PRECAUTIONS • Always disconnect the hood before carrying out cleaning or mainte- nance. • Never use steam or high-pressure tools to clean your appliance (due to electrical safety considerations). Risk of asphyxiation • Regulations on the evacuation of air must be complied with. Air must not be sent into a duct used to evacuate fumes from appliances that use gas or other fuels (this does not apply to appliances that only emit air into the room).
-
Page 11: Identification
1.1 - PARTS LIST Drilling template D/E - Plug and + screws (duct support) Duct support Adapter Duct Fixing bracket Hood body Screws (for fixing duct) Screws (for fixing motor) Motor bracket 1.2 - OPTIONAL RECYCLING KIT Fume deflector Carbon filters These parts are available from AFTER- SALES SERVICE... -
Page 12: Installation
ELECTRICAL CONNECTION evacuation line, whatever its type, must During installation and maintenance ope- not emerge in a loft space rations, the appliance must be disconnec- 2.1 - USE IN EVACUATION MODE ted from the mains; fuses must be You have a duct that leads outside. isolated or removed. -
Page 13: Fitting The Duct
- Draw a vertical line (B) on the wall, cen- If your duct to the outside is less than tred on the cooking surface running 125mm in diameter, you must connect from the ceiling to the previous horizon- your hood in recycling mode. tal line (A). -
Page 14: Use
Light Fan auto-stop Turn the switch to the symbol to If you forget to switch off your hood, it will switch on the lights on your hood. switch off automatically after 9 hours. To increase or reduce the light level, hold the switch on the symbol. -
Page 15: Care
• CARE CLEANING THE OUTER SURFACES To clean the outer surfaces on your hood, use soapy water and do not use scouring creams or scouring sponges. 4.1 - CLEANING THE FILTER CAS- SETTES They must be cleaned after every 30 hours approximately of use or at least once a month. -
Page 16: Problems
• PROBLEMS The hood does not work. Check that: • there is not a power cut. • a speed has actually been selected. The hood is not coping. Check that: • the motor speed selected is sufficient for the quantity of fumes or steam released. -
Page 17: Environment
• ENVIRONMENT CARE FOR THE ENVIRONMENT This appliance’s packaging can be recycled. Recycle and contribute towards protecting the environment by disposing of packaging in local waste containers designed for this purpose. Your appliance also contains a lot of recyclable material. This logo indicates that... -
Page 18: Customer Service
• CUSTOMER SERVICE Any repairs to your appliance must be made by a qualified professional accredited to work on the brand. When calling, please provide the full references of your appliance (commercial reference, service reference, serial number), so that we can handle your call better.
Need help?
Do you have a question about the DHB7952A and is the answer not in the manual?
Questions and answers