Table of Contents
Advertisement
Quick Links
Advertisement
Table of Contents

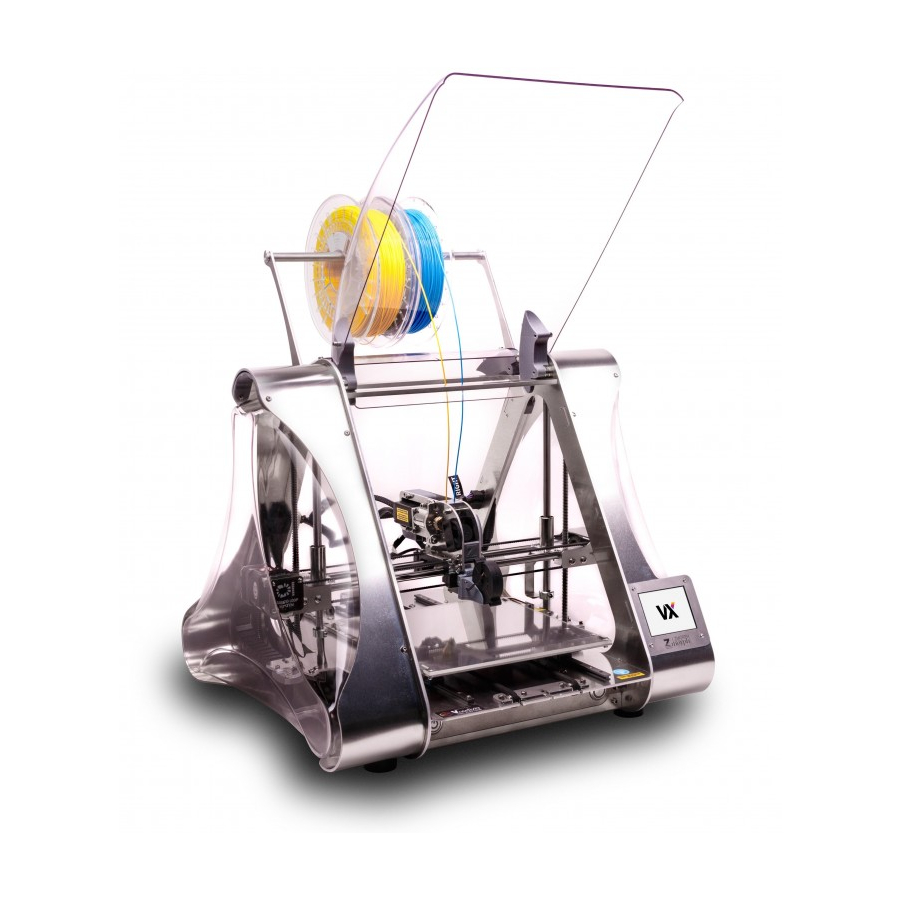
Summary of Contents for Zmorph VX
- Page 1 Quick Start Guide...
-
Page 2: Before You Start
Before you start How to make most of Quick Start Guide The ZMorph Quick Start Guide outlines the steps for getting ZMorph VX up and running. The guide is split into sections. Each section contains pictures along with step-by-step instruc- tions. -
Page 3: What's In The Box
What’s in the box Dual Extruder Laser PRO CNC PRO Thick Paste Extruder ZMorph VX with 1.75 mm Plastic Extruder (0,3 mm nozzle), spool holder and printing worktable (Printing Set) CNC worktable Spatula Drill Cooling holder 10 mm spanner 2 mm drill... - Page 4 Unboxing Gently cut the tapes and Take out all containers with Take out ZMorph VX from open ZMorph VX box. accessories from the box. the box. Remove side protec- tive foams and foils. Open the front cover of the ma-...
- Page 5 What’s what Spool holder (capacity up to 4 spools) Extruder Magnetic latches Left frame Right frame socket socket X-carriage Cooling fan Worktable touchscreen clamp release ON/OFF button 3D printing worktable Reset button...
- Page 6 Install ZMorph VX Loosen frame screws with The screws should be loos- Look at the back of ZMorph VX. Spool holder attachment 2.5 mm Allen key. ened to the point where you screws are placed at the top of can slide the spool holder.
-
Page 7: Loading The Filament
Take off the front cover. Straighten the tip of filament filament you own by looking at the and push it gently into the sticker on the filament roll. ZMorph guide. VX package comes with PLA. Tap the screen to feed 80 Push the filament down until you feel it has been mm of the filament. -
Page 8: Auto Calibration
Autocalibration Take the calibration cable Connect the narrow end Choose “Maintenance”. and connect wider end to the of the calibration cable to RIGHT frame socket. X-carriage B socket. Choose “Calibrate”. Choose “Auto 3-point”. Wait To ensure best calibration for the machine to heat up result print calibration and finish the probing. - Page 9 Autocalibration Look at printed lines and ZMorph VX calibration is Detach the autocalibration select the best one on the complete. cable. screen. Apply your choice. Clean the bed using a spatula. Your machine is ready for your first print!
-
Page 10: First Print
First print Choose “New Job” from the Select the Astronaut file to Choose “Prepare Bed”. LCD touchscreen. print. It is located in “INTERNAL -> EXAMPLES -> SINGLE EXTRUDER” folder. Apply 3D printing adhesive to Wait until the printer heats up Attach the cooling fan to the the center of the worktable. - Page 11 Toolhead change Choose “Maintenance”. Choose “Change Tool”. Choose "PARK TOOL", wait for the machine to position the toolhead. When done, choose toolhead. Disconnect LEFT and RIGHT Disconnect A and B plugs. Use 3 mm Allen key to cables from the frame sockets. loose screw mounting the toolhead.
- Page 12 To mount CNC PRO connect the LEFT cable to the LEFT frame. When done connect the A to A toolhead plugs. Visit ZMorph Academy for the next steps for CNC workflow on ZMorph VX. CNC PRO academy.zmorph3d.com To mount Laser PRO connect the LEFT cable to the LEFT frame socket and RIGHT cable to the RIGHT frame socket.
- Page 13 When all settings are ready press “NEXT” to Save the generated file. Now you can copy it generate a G-code file. to your SD card and run it from your ZMorph machine.
-
Page 14: Sample Files
Sample Files Explore toolheads by using files on the SD card. Find out more at www.zmorph3d.com/sdcardsamples. Single extruder file name: /Examples/SINGLE_EXTRUDER/astronaut_175.gcode duration: 2 h. 15 min. material: PLA silver layer height: 0,15 mm file name: /Examples/SINGLE_EXTRUDER/sierpinskis_triangle.gcode duration: 5 h 50 min. material: PLA silver layer height:... - Page 15 Sample Files Dual Extruder file name: /Examples/DUAL_EXTRUDER/vase_dual_mix.gcode duration: 40 min. material left: PLA white material right: PLA silver layer height: 0,18 mm file name: /Examples/DUAL_EXTRUDER/hand_textured.gcode duration: 14 h. 30 min. material left: PLA silver material right: PLA white layer height: 0,2 mm file name: /Examples/DUAL_EXTRUDER/astronaut_dual.gcode...
- Page 16 Additional instructions available www.zmorph3d.com/vx-tutorials www.zmorph3d.com /ZMorph3d @ZMorph3d /ZMorph3D @zmorph3d...


Need help?
Do you have a question about the VX and is the answer not in the manual?
Questions and answers