Table of Contents
Advertisement
Quick Links
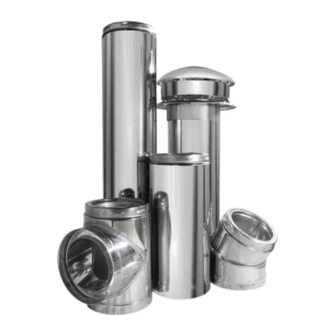
DuraTech
& APPLICATIONS..................2
MAINTENANCE AND SIZING
CHART............................3
NOTES...................................4-5
-SINGLE FLOOR...............6-7
INSTALLATION -MULTIPLE
FLOOR.............................8-9
CEILING.........................10-12
DEVIATION....................13-14
Read these instructions and keep them for future reference
These instructions must be followed in all details. Failure to do so may result in a hazardous installation.
Listed: Warnock Hersey 9651
Standard: CAN / ULC-S604
UL-103HT
CAN / ULC-S629
(6'', 7'', 8'' only)
®
CONTENTS
EXTERIOR INSTALLATION.......15-19
HEATER.....................................20-21
SPECIALIZED COMPONENTS........22
REPLACEMENT PARTS..............23-25
WARRANTY...........................27
PIDURATECHCANADA L874 REV. 5 01/22/2021
NOTE: DIAGRAMS & ILLUSTRATIONS ARE NOT TO SCALE.
Canada
5", 6", 7", 8" & 10" dia.
A MAJOR CAUSE OF CHIMNEY-RELATED
FIRES IS FAILURE TO MAINTAIN REQUIRED
CLEARANCES (AIR SPACES) TO COM-
BUSTIBLE MATERIALS. IT IS OF UTMOST
IMPORTANCE THAT THIS CHIMNEY BE
INSTALLED ONLY IN ACCORDANCE WITH
877 Cotting Court, Vacaville, CA 95688
800-835-4429; www.DuraVent.com
DTC
Factory-built CHIMNEY
TYPE HT
INSTALLATION
OPERATION
INSTRUCTIONS
WARNING
THESE INSTRUCTIONS.
AND
1
Advertisement
Table of Contents


Need help?
Do you have a question about the DuraTech Canada and is the answer not in the manual?
Questions and answers