
Related Manuals for No Butts Bin SR1585


Summary of Contents for No Butts Bin SR1585
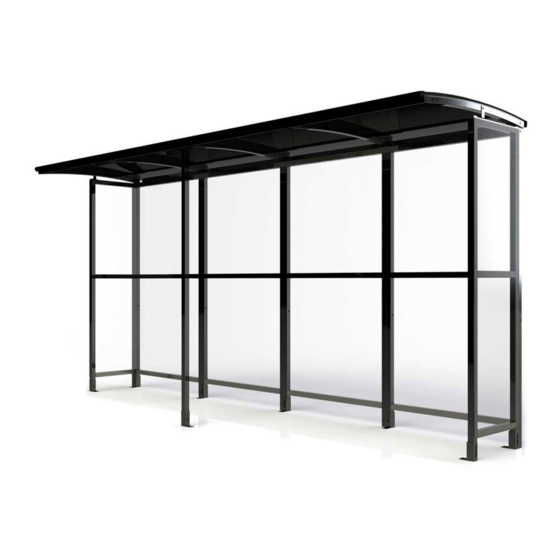
- Page 1 Assembly Instructions Shelter Type: SR1585 Email : Sales@nobutts.com SR1585-02-210219-USA Web : www.nobutts.com Tel : 1-888-662-8887...
-
Page 2: Exploded View
EXPLODED VIEW Fittings Bolt set M10 AB1210 Washer Black 25mm M10 X 100mmC2 M10 x 60mm Tech Concrete Bolt screw Pack C+D Required Spare Image... -
Page 3: Parts List
PARTS LIST DIMENSION DIMENSION ITEM NO. PART NO. DESCRIPTION IMAGE QTY. (MM) (INCH) FRAME 2000x1035 78.74x40.55 FRAME 2000x517 78.74x20.35 BRACKET 110x110 4.33x4.33 BRACKET 220x40 8.66x1.57 BRACKET 110x46 4.33x1.81 RAFTER 1035x40x40 40.75x1.57x1.57 BRACKET 73x38 2.87x1.50 BEAM 2080x40x40 81.89x1.57x1.57 POST 1995x40x40 78.54x1.57x1.57 BRACKET 220x40 8.66x1.57... - Page 4 Step 1 Assemble S1 and S3 frames to make up the main structure using CB1 brackets for the corners and JF1 brackets for the straight joints. MEASUREMENTS IN BLUE - MM MEASUREMENTS IN GREEN - INCHES Use measurements to ensure correct alignment Make sure corners are correctly aligned.
- Page 5 Step 2 Attach the R3 end rafters using L3 brackets at the front and RB1 brackets for the rear. DETAIL A SCALE 1 : 4...
- Page 6 Step 3 Assemble the T - section by attaching the B4 ties to the P4 post using RB1 and JF3 brackets. T - section EC40 DETAIL B SCALE 1 : 3...
- Page 7 Step 4 Attach T-section using L1 brackets. DETAIL C SCALE 1 : 6...
- Page 8 Step 5 Move the shelter to its final position and make sure it is square and level. Then attach the FT1 and FT3 foot brackets and use anchor bolts to secure the structure to the ground.
- Page 9 Step 6 Apply Sealing strips (SS) to the rafters.
- Page 10 Step 7 Place ACE3 and ACC3 with small gaps between each, Use RC3 strips and screws to secure panels. Finally attach A2 to the rear of the shelter. ACC3 ACE3 ACC3 ACE3...
-
Page 11: Plan View
PLAN VIEW OVERALL DIMENSIONS AND GROUND FIXING POSITIONS Suggested size for concrete base: 200mm / 7.87in oversized on all four sides. 1082.57 42.62 18.78 20.73 526.50... -
Page 12: Maintenance
Touch up any exposed metal should it get scratched CONTACT DETAILS: Email : Sales@nobutts.com Web : www.nobutts.com Tel : 1-888-662-8887 No Butts Bin Company, Inc, 16 Birch Lane, Madison, CT 06443 All Parts and Fixings checked by: Print Name: Signature:...