
Related Manuals for Alpine KIT-903DU-OEM


Summary of Contents for Alpine KIT-903DU-OEM
- Page 1 FOR CAR USE ONLY/NUR FÜR AUTOMOBILGEBRAUCH/POUR APPLICATION AUTOMOBILE UNIQUEMENT/SOLO PARA USO EN AUTOMÓVILES/PER IL SOLO UTILIZZO IN AUTOMOBILE CONVERSION KIT KIT-903DU-OEM Fiat Ducato Installation Manual Einbauanleitung...
-
Page 3: Required Tools
Required Tools (1-3) Benötigte Werkzeuge (1-3) 1 Universal Headunit Removal Tool 2 T25 Screwdriver 3 Plastic Wedge 1 Universelles Radioausbauwerkzeug 2 T25 Schraubendreher 3 Kunststoffkeil... - Page 4 Preparation (1‑4) Vorbereitung (1‑4)
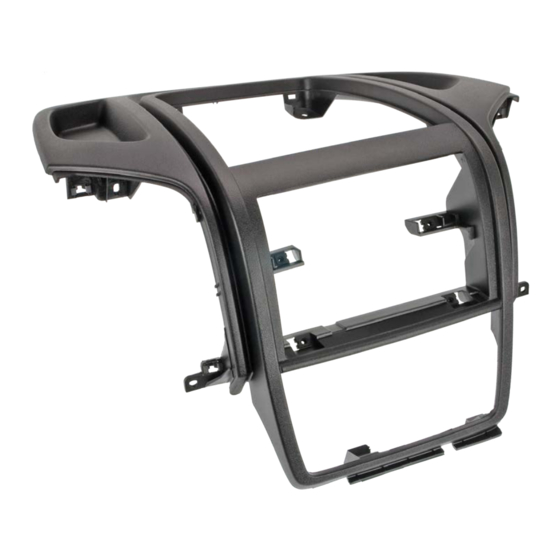
- Page 5 1 FIAT Ducato with 2 DIN Unit 2 Original radio dock with 2 DIN slot 3 Ducato radio dock for 1 DIN preparation (supplied) 4 Release the original radio with the headunit removal tools. 1 FIAT Ducato mit 2 DIN Gerät 2 Original Radioschacht mit 2 DIN Einsatz 3 Ducato Radioschacht mit 1 DIN Vorbereitung...
- Page 6 Preparation (5‑8) Vorbereitung (5‑8)
- Page 7 5 Remove the factory radio. 6 Remove the 4 screws from the metal cage. 7 Remove the metal cage. 8 Remove the 2 screws from the dashboard cover. 5 Entfernen sie das Werksradio. 6 Lösen Sie die 4 Schrauben des Metallkäfigs.
- Page 8 Preparation (9‑12) Vorbereitung (9‑12)
- Page 9 9 Lift the dashboard cover by releasing the hooks. If the car has a notepad holder, remove the 2 screws under the holder. 0 Remove both air vents with the plastic wedge. ! Dashboard without air vents. @ Remove the screw in the cup holder. 9 Heben Sie die obere Abeckung des Armaturenbretts an, indem Sie die Haken lösen.
- Page 10 Preparation (13‑16) Vorbereitung (13‑16)
- Page 11 # Release the switch panel with the plastic wedge. $ Location of 8 screws fixing the radio dock. % Remove the 2 screws under the A/C control panel as shown. ^ Lift the radio dock and release the clips. # Lösen Sie die Schaltereinheit mit dem Kunststoffkeil.
-
Page 12: Installation
Installation (1‑4) Einbau (1‑4) - Page 13 1 Disconnect the light sensor and transfer it to the new radio dock. 2 1 DIN radio dock. 3 Insert the radio dock. 4 Connect the adapter cables supplied with this kit. 1 Lösen Sie den Stecker des Lichtsensors und montieren Sie diesen im neuen Radioschacht.
- Page 14 Vehicle Settings Fahrzeugeinstellungen...
- Page 15 If the X903D does not switch on when turning the ignition key, you can switch on the unit using the keys. Probably the odometer keeps flashing. In both cases, you need to select the CAN protocol required for this vehicle. 1 Push MENU and select Vehicle Info.
- Page 19 IM_KIT-903DU-OEM-0...
- Page 20 Designed by Alpine Electronics (Europe) GmbH Printed in Italy ALPINE ELECTRONICS MARKETING, INC. ALPINE ELECTRONICS OF AUSTRALIA PTY. LTD. ALPINE ELECTRONICS FRANCE S.A.R.L. 1-7, Yukigaya-Otsukamachi, Ota-ku, 161-165 Princes Highway, Hallam 184, Allée des Erables Tokyo 145-0067, JAPAN Victoria 3803, Australia...
Need help?
Do you have a question about the KIT-903DU-OEM and is the answer not in the manual?
Questions and answers