LapSafe ClassBuddy Wall Installation Manual
Hide thumbs
Also See for ClassBuddy Wall:
- User manual (16 pages) ,
- Installation manual (8 pages) ,
- User manual (12 pages)
Advertisement
Quick Links
Advertisement

Related Manuals for LapSafe ClassBuddy Wall


Summary of Contents for LapSafe ClassBuddy Wall
- Page 1 The ClassBuddy Wall ™ Installation Guide 1 of 2 Date: December 2017 Version: LPL16_V1_01...
-
Page 2: Tools Required
The ClassBuddy Wall - Installation Guide Introduction Decide on a suitable location for your ClassBuddy Wall to be mounted. The unit must be fixed to a solid wall or directly to studs if the unit is being fitted to a non-solid wall. - Page 3 The ClassBuddy Wall - Installation Guide Step 1: Stand Up Once unpacked, stand the unit up and ensure you have a clear working space around all sides. Copyright LapSafe® Self-Service Solutions...
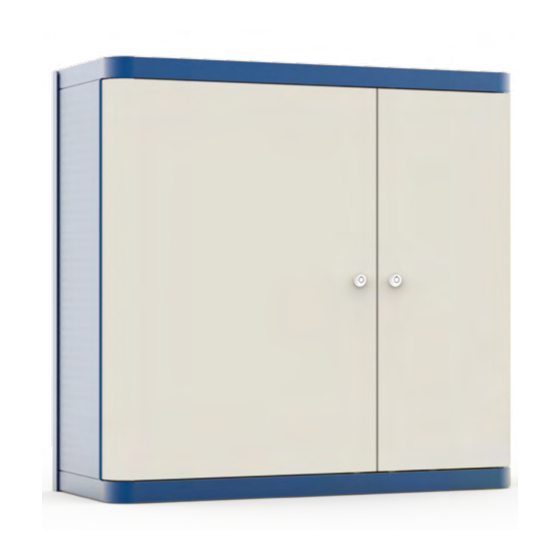
- Page 4 The ClassBuddy Wall - Installation Guide Step 2: Open Doors Open the left hand side door with the white key, and then open the right hand side door with the blue key. Copyright LapSafe® Self-Service Solutions...
- Page 5 The ClassBuddy Wall - Installation Guide Step 3: Unscrew holding nuts On the bottom right hand side of the unit there are two holding nuts that need to be unscrewed, these are just finger tight. Once you have done this, lock the doors back up.
- Page 6 The ClassBuddy Wall - Installation Guide Step 4: Unhook Mounting Bracket Unhook the mounting bracket by tilting the ClassBuddy Wall forward and pushing the mounting bracket down. Copyright LapSafe® Self-Service Solutions...
- Page 7 The ClassBuddy Wall - Installation Guide Step 5: Level The Mounting Bracket Hold the mounting bracket up against the wall with the bottom lip facing towards you and use a spirit level to make sure the bracket is level on the wall (or similar) and ensure the hanging slots are at the top.
-
Page 8: Step 7: Drill Holes
The ClassBuddy Wall - Installation Guide Step 7: Drill Holes Drill the required holes in accordance with the fixing manufacturers instructions. (ensure an even distribution of fixings and use a minimum number of 8) Step 7: Insert Fixings Fit fixings into place in accordance to the manufacturers instructions. - Page 9 (In accordance to the manufacturers instructions) Step 9: Hook ClassBuddy Wall Once the mounting bracket is secured lift the ClassBuddy Wall into place there are six hooks along the sides that the unit should slide onto. (Two people are required to lift the ClassBuddy Wall.)
- Page 10 (Step Complete Your new ClassBuddy Wall should now be successfully installed onto your wall and you are now ready to load your cables and devices. Please refer to your user guide that supplied with your ClassBuddy Wall for further information and read our health and safety guidance on page 9.
- Page 11 The indigowall - Installation Guide Copyright LapSafe® Self-Service Solutions...
- Page 12 The ClassBuddy Wall - Installation Guide If you have any questions or problems Contact us today Copyright LapSafe® Self-Service Solutions...
Need help?
Do you have a question about the ClassBuddy Wall and is the answer not in the manual?
Questions and answers