LapSafe ClassBuddy Wall Installation Manual
Hide thumbs
Also See for ClassBuddy Wall:
- User manual (16 pages) ,
- Installation manual (12 pages) ,
- Installation manual (5 pages)
Table of Contents
Advertisement
Quick Links
Advertisement
Table of Contents

Related Manuals for LapSafe ClassBuddy Wall


Summary of Contents for LapSafe ClassBuddy Wall
- Page 1 ClassBuddy Wall ™ Installation Guide 2019 v2.0...
- Page 2 Power or battery type drill (hammer required for solid walls) • Drill-bit to suit your fixing type (refer to manufacturer’s instructions) • Pencil/Pen (to mark hole positions) • Spirit level • Hammer • Screwdriver/Power Driver • Vacuum cleaner Copyright Lapsafe® Self Service Solutions...
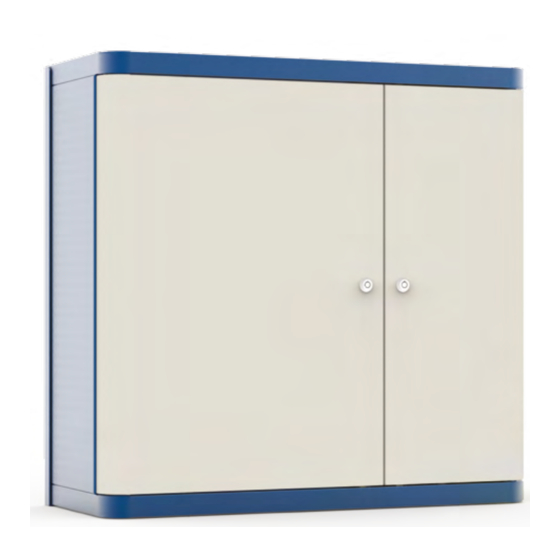
- Page 3 Step 2: Open Doors Step 3: Unscrew holding nuts Open the left hand side door with the white key, and then open the right On the bottom right hand side of the unit there are two holding nuts that hand side door with the blue key. need to be unscrewed, these are just finger tight.
- Page 4 Step 4: Unhook Mounting Bracket Step 5: Level The Mounting Bracket Unhook the mounting bracket by tilting the ClassBuddy™ Wall forward Hold the mounting bracket up against the wall with the bottom lip facing and pushing the mounting bracket down. towards you and use a spirit level to make sure the bracket is level on the wall and ensure the hanging slots are at the top.
- Page 5 Step 7: Drill Holes Step 9: Secure Mounting Bracket Drill the required holes for fixings in accordance with the manufacturere's Place the mounting bracket back onto the wall with the bottom lip facing instructions. Ensure an even distribution of fixings and use a minimum towards you, and screw your fixings into place in accordance with the number of 8.
- Page 6 ClassBuddy™ Wall for further information. Please read the Health and Safety guidance in the User Manual. If you have any problems please do not hesitate to contact our support team. Support Enquiries lapsafe.com/support/enquiry support@lapsafe.com 0800 130 3456 Replacement Keys lapsafe.com/support/keys...
- Page 7 0800 130 3456 sales@lapsafe.com lapsafe.com LapSafe Self-Service Solutions Ltd ® 3 Wakes Hall Business Centre Wakes Colne Colchester Essex CO6 2DY...
Need help?
Do you have a question about the ClassBuddy Wall and is the answer not in the manual?
Questions and answers