Advertisement
Quick Links
Advertisement

Subscribe to Our Youtube Channel
Related Manuals for REL Acoustics AirShip Wireless


Summary of Contents for REL Acoustics AirShip Wireless
- Page 1 Operating Instructions for the AirShip™ Wireless...
-
Page 3: Fcc Statement
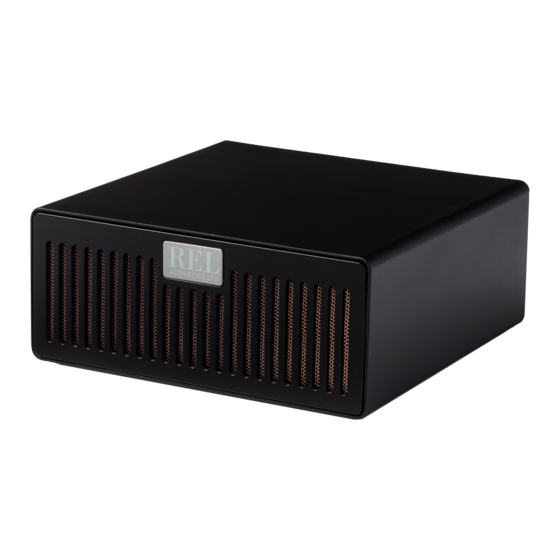
FCC STATEMENT This device complies with Part 15 of the FCC Rules. Operation is subject to the following two conditions: (1) This device may not cause harmful interference, and (2) This device must accept any interference received, including interference that may cause undesired operation. - Page 4 AirShip™ Wireless Airship™ is our newest state of the art zero compression wireless connection for use with the latest Serie S and many more RELs to come. Our goal with this design is to deliver a true hardwired quality of connection wirelessly.
- Page 5 REL AirShip™ Panel Connection Legend REL AirShip™ Transmitter 1 Power Switch: Used to turn on and off REL AirShip™ transmitter. 2 .1/LFE RCA INPUT: Used to connect to the .1/LFE output from a home theater processor. Should be used in conjunction with REL HIGH-LEVEL connection for the ultimate theater experience. 3 LOW LEVEL RCA INPUTS: Used to connect to a stereo output from a stereo pre-amp or home theater processor.
- Page 6 REL AirShip™ Receiver 1 LED: Indicates whether the REL AirShip™ receiver is paired with the transmitter or not. 2 Pair Button: Used to pair REL AirShip™ receiver with REL cabinet. 3 Power Adapter Socket: DC input socket that accepts a detachable power adapter. 4 HI/LO OUTPUT: RCA output to be connected to LOW-LEVEL input of Serie S.
- Page 7 Mounting Up The receiver and bracket shall be mounted to the back panel of the Serie S using the same fasteners that hold the amplifier panel in place. Make sure the electrical interface is fully engaged to ensure proper performance and the mounting screws need to be tight. See photo below. Loosen and remove the two lowest fasteners on along the lower left edge of the amplifier panel.
- Page 8 Connecting Up The REL AirShip™ wireless is intended to be used with the Serie S Sub-Bass System. The transmitter and receiver will require power from an AC wall plug using the power adapter cables supplied. It is not possible to use the AirShip™ wireless connection and a direct connection simultaneously. Using both wired and wireless connections simultaneously could result in damage and voids all warranties.
- Page 9 When both are used correctly, normal theater transforms because the cold, edgy sound most theaters deliver becomes rich and full-bodied. Dialogue and atmospheric effects take on new drama and realism because the full range of sounds are provided every moment of the movie by our HIGH-LEVEL, whilst the .1/LFE channel delivers extra emphasis during the 15-20 minutes of a movie that this channel is active.
- Page 10 • The standard HIGH-LEVEL hook up procedure is: attach the red wire to the amplifier’s right positive speaker output terminal; attach the yellow wire to the amplifier’s left positive speaker output terminal; attach the black wire to whichever of the amplifier’s ground output terminals is convenient; plug the Speakon connector into the AirShip™...
- Page 11 • For differential (i.e. fully balanced) amplifiers using one REL, simply use the standard connecting scheme with the exception of connecting the black wire to chassis ground (i.e. a metal bolt or screw, preferably not painted or anodized, on the chassis of the power amp or receiver), not to a negative speaker terminal, and then connecting into the HIGH-LEVEL input on the AirShip™...
- Page 12 • If connecting RELs to Mono Bloc amplifiers, we strongly advocate using two (2) RELs, one for each amplifier. Connect the black wire of each REL to the negative speaker terminal of the corresponding amplifier channel; twist together the red and yellow wires of each REL separately and connect each pair to the positive speaker terminal of the corresponding amplifier channel.
- Page 13 • If connecting a single REL as a dedicated center channel sub, connect the black wire of the REL to the negative center channel speaker terminal; twist together the red and yellow wires and connect this pair to the positive center channel speaker terminal. Dedicated Centre Channel •...
- Page 14 REL Theater Reference™ Home Cinema Applications For home theater systems, once the standard set-up for two-channel outlined above is complete, the LFE output from the processor or receiver should be connected to the .1/LFE input and appropriate volume adjustments made using the .1/LFE LEVEL control. For this configuration, you must set the processor to the “large”...
- Page 15 Pairing The AirShip™ wireless transmitter and receiver should be paired with each other from the factory. When the power is applied to both units, you should find that the LED on each unit is on. If this is not the case, then it will be necessary to pair them together.
- Page 16 Receiver 5 1/2 x 4 5/16 x 1 3/16 in., (139.7 x 109.5 x 30 mm) Finish: Black Supplied Accessories Power Adapter: High Level cable: 3 meter in length Dual RCA Cable: 2 meter in length In the interest of product improvement, REL Acoustics Limited reserves the right to alter these specifications without notice.
- Page 17 REL Acoustics Limited North Road, Bridgend Industrial Estate . Bridgend, CF31 3TP . United Kingdom Telephone: +44 (0)1 656 768 777 . Fax: +44 (0) 1 656 766 093 Web: www.rel.net...
Need help?
Do you have a question about the AirShip Wireless and is the answer not in the manual?
Questions and answers