Advertisement
Quick Links
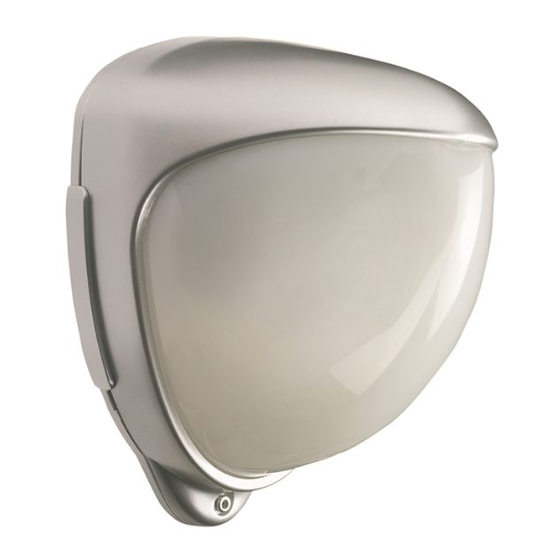
DET-REXT-PIR30 Perimeter Radio PIR
Installation Instructions
Introduction
The DET-REXT-PIR30 is an outside radio
PIR (Passive Infra-Red) detector for
perimeter protection. The unit uses two
independent detectors, both of which
must trigger to cause the detector to
signal an alarm. The detector delivers
precise, reliable presence detection.
The unit is battery-powered, has a
range of up to 30 metres and can be
aligned without any change to external
appearance.
Package contents:
1 x DET-REXT-PIR30 detector
1 x drilling template for fixing holes
3 x wall plugs and fixing screws
2 x additional sliding curtains
2 x additional tamper feet
1 x tamper foot cup
1 x self-adhesive lens mask
1 x opening tool
2 x CR123 lithium batteries
Battery safety:
•
Do not put in a fire
•
Do not heat
•
Do not charge
•
Do not short circuit
•
Do not disassemble
•
Only fit batteries of the same type
and voltage
•
Fit lithium batteries only
•
Observe correct polarity
Note: It is recommended you follow
these instructions and configure the
device before mounting it.
This product must be installed by
qualified service personnel.
Installing the unit
Step 1: Choose location
The PIR detects changes in heat and
movement; therefore items such as
trees, shrubs, ponds, boiler flues,
air conditioning units and animals
should be considered. The sensor is
more sensitive to movement across
the beams than to movement directly
towards or away from the beams.
The ideal mounting height is 3m. At
greater heights, the target may need
to move a greater distance before an
alarm is generated.
For pet tolerance, a mounting height
of 1.5m is recommended, the creep
mirror must be removed from around
the PIR sensor and the lower half of
the lens must be masked (Figure 2).
Coverage
The following provide examples of
coverage, depending on mounting
height, tilt and lens masking. A marker
on the side of the detector assembly
gives the degrees of tilt. The examples
assume default programming settings.
0° tilt, no lens masking
Figure 1. Optimum coverage
Note: The range in Figure 1 reduces to
20m by masking the upper section of
the lens. Masking the upper section
and programming for minimum range
reduces the range to 6m.
Note: If the detector is mounted at 6m,
Advertisement

Related Manuals for Eaton DET-REXT-PIR30


Summary of Contents for Eaton DET-REXT-PIR30
- Page 1 DET-REXT-PIR30 Perimeter Radio PIR Installation Instructions Introduction Installing the unit The DET-REXT-PIR30 is an outside radio Step 1: Choose location PIR (Passive Infra-Red) detector for perimeter protection. The unit uses two The PIR detects changes in heat and independent detectors, both of which movement;...
- Page 2 tilt the detector by 9° to achieve similar coverage Remove the front cover as follows: to Figure 1 (although sensitivity will be reduced). Loosen the locking screw on the front of the cover. -2° tilt, lens masked, and On each side of the mounting base, creep mirror removed insert the opening tool into the slot and twist to separate the cover from the...
- Page 3 Step 5: Refit front cover Cut portions from the sticker and apply them to the rear (smooth) side of the lens. Make sure the internal gasket is fitted Refit the lens, making sure it is fitted correctly. correctly into the frames and the correct way up (the top of the lens has a small notch).
- Page 4 SHALL NOT BECOME PART OF OR MODIFY ANY CONTRACT Specifications BETWEEN THE PARTIES. In no event will Eaton be responsible to the purchaser or user in Detection range: Programmable to 10m, 20m or contract, in tort (including negligence), strict liability or other-wise 30m.
Need help?
Do you have a question about the DET-REXT-PIR30 and is the answer not in the manual?
Questions and answers