Table of Contents
Advertisement
Quick Links
Advertisement
Table of Contents

Summary of Contents for TREND MINIMACH
- Page 1 MINIMACH...
-
Page 2: Table Of Contents
– How to template and shape copy ________6 cylinder vacuum cleaner and a flat work surface. – Holding work for a full depth edge mould __7 – Holding framed doors__________________7 The MINIMACH can be used to hold a component whilst: Spare parts Routing –... -
Page 3: Items Enclosed & Description Of Parts
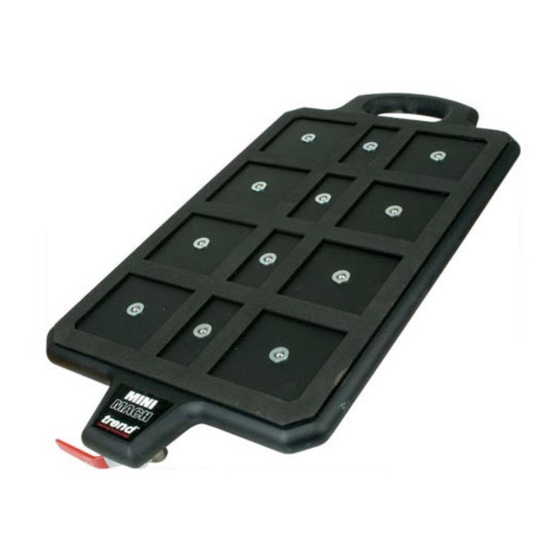
MINIMACH ITEMS ENCLOSED DESCRIPTION OF PARTS Upper rubber gasket Carefully remove the MINIMACH from the box, Provides the seal between the workpiece and the MINIMACH. ensuring that the jig is removed complete with Handle Large cell the inner card to prevent damage to the rubber... -
Page 4: Cutter Care
MINIMACH SAFETY PRECAUTIONS n It is also advisable to periodically check the router collet nut for wear. n Always switch off the power and unplug the router when changing cutters or when making Useful Advice adjustments. n Judge your feed rate by the sound of the n Always wear protective goggles when routing. -
Page 5: Assembly
Fit the tapered adaptor by screwing the adaptor thread into the socket in the vacuum control tap. Adaptor thread Ensure the pipe is tight. Your MINIMACH is now ready to be used. Vacuum control tap Place your MINIMACH with the lower gasket... -
Page 6: Operation
If your worksurface is control tap to OFF position. This will cut the sufficiently flat the MINIMACH will grip on to supply of the vacuum and the board will be it. Make sure your fingers are well clear of released. -
Page 7: Template Seal Gasket
(This grip may be stronger than wide with a self-adhesive backed seal. the grip between the template and MINIMACH - this is entirely normal). Check Mark out and cut out the component or that the workpiece position allows an even shape you wish to copy from a non-porous overhang running right round the template. -
Page 8: Holding Work For A Full Depth Edge Mould
This method also allows work to be held exposing the full edge profile of the board for full edge moulding. Even work that could not be held directly onto the MINIMACH can now be secured. The diagram below shows a jig made to hold 50mm (2”) strip for moulding. -
Page 9: Spare Parts - Spare Parts List
Lower Rubber Gasket WP-MMACH/07 Ball Valve Body WP-MMACH/08 Ball WP-MMACH/09 Spring WP-MMACH/10 Circlip WP-MMACH/11 Ball Valve Assembly Complete WP-MMACH/12 Hanging Hook Set Complete WP-MMACH/13 Gasket Repair Patch WP-MMACH/14 MINIMACH Template Seal 2.5mm x 10mm MMACH/SEAL/1 Manual MANU/MMACH - 8 -... -
Page 10: Troubleshooting
MINIMACH ✔ TROUBLE SHOOTING The MINIMACH does not grip the Work surface ✘ surface Check your work surface is flat - check with a straight edge in both directions Work surface from back to back and side to side. Check your surface is not porous or has ✔... - Page 11 __________________www.trendm.co.uk RECYCLABLE © Copyright Trend 2000. No part of this publication may be reproduced, stored or transmitted in any form without prior permission. Our policy of continuous improvement means that specifications may change without notice. Trend Machinery and Cutting Tools...


Need help?
Do you have a question about the MINIMACH and is the answer not in the manual?
Questions and answers