Table of Contents
Advertisement
Quick Links
INSTALLATION INSTRUCTIONS
CARE AND USE MANUAL FOR:
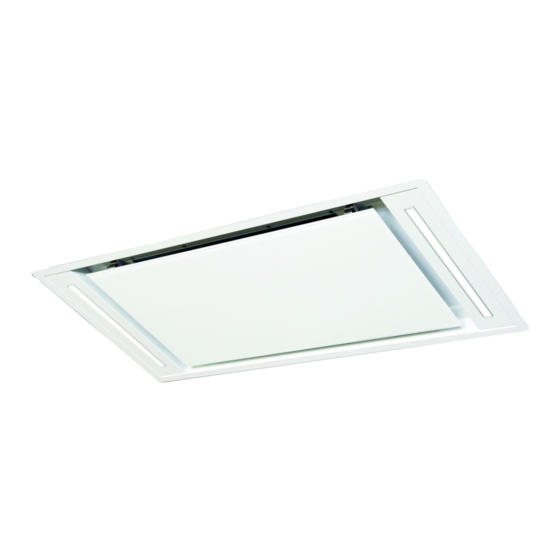
CEILING HOOD
MISTRAL WHITE 2464 950
MISTRAL INOX 2464 900
MISTRAL WHITE 2464 951
MISTRAL INOX 2464 901
HOOD FLY 59" 2459 910
HOOD FLY 43" 2459 920
HOOD FLY 59" 2459 911
HOOD FLY 43" 2459 921
Models covered by this instructions:
2464 950 - 2464 900 - 2459 910 - 2459 920
2464 951 - 2464 901 - 2459 911 - 2459 921
*** BEFORE INSTALLATION ***
ENSURE THERE IS NO VISIBLE OR HIDDEN DAMAGE SUSTAINED DURING SHIPPING
*** AVANT L'INSTALLATION ***
S'ASSURER QUE LES PRODUITS N'ONT SUBI AUCUN DOMMAGE PENDANT LE TRANSPORT
*** SHIPPING DAMAGE ***
MUST BE REPORTED WITHIN 5 DAYS OF RECEIPT
*** DOMMAGES DE TRANSPORT ***
DOIVENT ÊTRE NOTIFIÉS DANS LES 5 JOURS SUIVANT LA RÉCEPTION
Advertisement
Table of Contents

Subscribe to Our Youtube Channel
Related Manuals for Foster 2464 950


Summary of Contents for Foster 2464 950
- Page 1 HOOD FLY 59” 2459 911 HOOD FLY 43” 2459 921 Models covered by this instructions: 2464 950 - 2464 900 - 2459 910 - 2459 920 2464 951 - 2464 901 - 2459 911 - 2459 921 *** BEFORE INSTALLATION *** ENSURE THERE IS NO VISIBLE OR HIDDEN DAMAGE SUSTAINED DURING SHIPPING *** AVANT L’INSTALLATION ***...
- Page 2 W A R NI N G Thank you for purchasing a Foster Range Hood. Please read all the instructions in this manual before installing the appliance. Save these instructions for future reference. Only use this appliance as an exhaust ventilation system for the removal of cooking vapors.
-
Page 3: Table Of Contents
TABLE OF CONTENTS BEFORE YOU BEGIN DUCTING ELECTRICAL Electrical Supply INSTALLATION Before the installation Panels opening Installation OPERATING PROCEDURES General Advice WORKING MAINTENANCE Cleaning the Filter Cleaning the Hood WARRANTY... -
Page 4: Before You Begin
B E FOR E Y OU BEG I N The manufacturer declines all responsi- BEFORE YOU BEGIN: It is advisable to test bility in the event of failure to observe run the range hood before installation. the instructions given here for installa- tion, maintenance and suitable opera- BEFORE STARTING –... -
Page 5: Electrical
E LE CT RIC AL WARNING: All electrical work must be Electrical Supply. performed by a qualified electrician. This appliance requires 120V/60Hz, 3amp electrical supply – ensure an ap- Please ensure that the appropriate elec- propriately qualified person completes trical codes or prevailing local building the electrical hook-up. -
Page 6: Installation
I NST ALL A TION BEFORE THE INSTALLATION SUT958: 30.05”X15.94” with a minimum This models can be used only if connec- distance of 330 mm between the ceiling ted with external motors produced by the and the false ceiling; same manufacturer. After having chosen the most suitable po- sition, prepare the ducting: an air outlet PANELS OPENING... - Page 7 SUT950 The threaded bars are 9.84” long and ser- SUT951 ve to install the ceiling-mounted hood at a distance from the solid ceiling of between 10.62” and 14.56” as shown. in case of a larger gap between the hood and the ceiling, you need to use longer th- SUT958 readed bars.
-
Page 8: Operating Procedures
place the ceiling-mounted hood into the niche, the outer edge of the hood needs to be perfectly flush with the false ceiling. Insert the plates and nuts provided on the threaded bars, making sure to tighten them securely, as shown refit the grease filters and filter cover panels. -
Page 9: Working
WORKING RC001 - RELEASING THE KEY DURING REDUCTION OR INCREASE - LIGHT KEEPS THE LUMINOUS IN- RADIO CONTROL TENSITY REACHED. Radio control used for the remote operation of ducted cooker hoods. - LIGHT ON - DIMMED - CONTINOUSLY PRESS THE KEY - BRIGHTNESS IS INVERTED IF COM- TECHNICAL DATA PARED TO THE PREVIOUS FUNCTION. - Page 10 WARNING! This operation deletes perma- WARNING nently the preset codes. The battery should be replaced every year to guarantee the optimal range of the Learning the new transmission code: transmitter. Once the transmission code is changed in the To replace the exhausted battery, take radio control unit, the electronic central unit the plastic lid off, remove the battery and of the cooker hood must be made to set the...
-
Page 11: Maintenance
MAINTENANCE The hood-fan should provide many years Cleaning the Hood. of trouble free service provided it is main- Cleaning of the internal parts should be tained properly. done with a clean damp (not excessively wet) cloth together with regular household Cleaning the Filter. - Page 12 Replacement of SUT950 SUT951 lamps. Turn blower and lights off. Make sure the lights are cool. If new lights do not operate, check fuses and be sure globes and breakers are in- serted correctly. Do not remove the entire fixture (socket) as this is very difficult to reinstall.
-
Page 15: Warranty
GENERAL CONDITIONS OF GUARANTEE WHAT IS COVERED: FOSTER guarantees its products for a period of 24 months from the date of original purchase by final customer, in both EU countries and countries outside the EU where recognized. The purchase must be verified with a valid receipt issued by the dealer (receipt, invoice or delivery note) that identifies the purchased product, date of purchase and / or delivery of the same. - Page 16 During the warranty period, FOSTER will replace, or repair free of charge, all components that are defective in origin, leaving unchanged the deadline and the warranty acquired at the time of purchase. The repair is free of charge provided it is carried out by an authorized FOSTER Technical Assistance Centre.
Need help?
Do you have a question about the 2464 950 and is the answer not in the manual?
Questions and answers