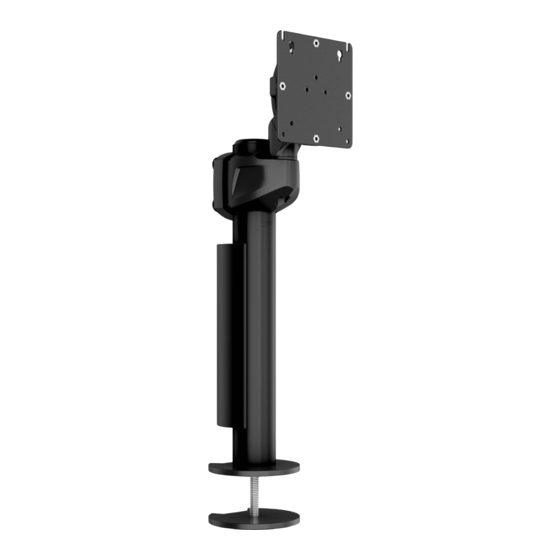
Middle Atlantic Products Monitor Mount Series Instruction Sheet
Hide thumbs
Also See for Monitor Mount Series:
- Instruction sheet (15 pages) ,
- Installation instructions (2 pages) ,
- Instruction sheet (18 pages)
Subscribe to Our Youtube Channel
Summary of Contents for Middle Atlantic Products Monitor Mount Series
- Page 1 THANK YOU Thank you for purchasing an MMP Monitor Mount. Please read these instructions thoroughly before installing or assembling this product. PRODUCT FEATURES • Weight Capacity = 5 lbs. minimum, 40 lbs. maximum 100-00028 Rev A...
-
Page 2: Important Safety Instructions
IMPORTANT SAFETY INSTRUCTIONS • Read these instructions. • Heed all warnings. • Clean only with dry cloth. • Keep these instructions. • Follow all instructions. • Only use attachments/accessories specified by the manufacturer. DANGER HAZARDOUS VOLTAGE: The lightning flash with the WARNING: A warning alerts you to a situation that could result arrowhead symbol, within an equilateral triangle is intended to alert the in serious personal injury or death. - Page 4 SUPPLIED COMPONENTS AND HARDWARE Cable Sheath (C) Pole Clamp (B) Plate (A x 2) 1/4-20 x 1-1/2" Button Head Screw (E x 4) 3/8-16 x 3" Hex Head Screw 14" Pole Display Assembly (D) M4x4 Pan M4x20 Pan M4x10 Pan Head Screw Head Screw Head Screw...
- Page 5 INTRODUCTION Follow all topics in their order of appearance. NOTE: MOUNTING POLE TO SURFACE The MM-P-100 may be mounted to a surface with a maximum thickness of 1.65 in. (41.9mm). (See NOTE: Figure A) The MM-P-100 may be mounted to a surface with a mounting hole size ranging from 0.4 to 1.0 in. NOTE: (10.2 to 25.4mm).
- Page 6 CONNECTING DISPLAY MOUNT ASSEMBLY TO POLE 1. Determine approximate location for mount keeping in mind display size, extension, height adjustment requirements. 2. Place display assembly (D) against pole (G) with pole clamp (B) on opposite side of pole. (See Figure B) 3.
-
Page 7: Display Installation
DISPLAY INSTALLATION Quick release 1. Remove quick release faceplate from mount by pulling faceplate quick release lever and sliding faceplate off mount. 2. Carefully place display face down on protective surface. (See Figure C) Quick release lever FIGURE C Connect faceplate to display. FIGURE C For flush mounting hole installation: •... - Page 8 ADJUSTMENTS Pitch Adjustment 1. Adjust pitch to desired tilt position. (See Figure G) 2. Adjust pitch tension screw to change the adjustment tension. (See Figure G) Pivot Adjustment 3. Adjust pivot position as desired. (See Figure G) 4. Use 3/16” hex key (K) to adjust pivot point tension screws to change pivot adjustment tension. (See Figure G) 5.
- Page 9 Display Removal Only remove display from mount when the display can be lifted up from the mount! DO NOT WARNING: remove display unless the display is in the upright position! (See Figure I) 1. Make sure display is in the upright position. 2.
-
Page 10: Warranty
Voice: +31 (0) 495 726002 - av.emea.middleatlantic.support@legrand.com Factory Distribution United States: New Jersey, California, Illinois - Canada: Ontario - The Netherlands: Weert At Middle Atlantic Products we are always listening. Your comments are welcome. Middle Atlantic Products is an ISO 9001 and ISO 14001 Registered Company.


Need help?
Do you have a question about the Monitor Mount Series and is the answer not in the manual?
Questions and answers