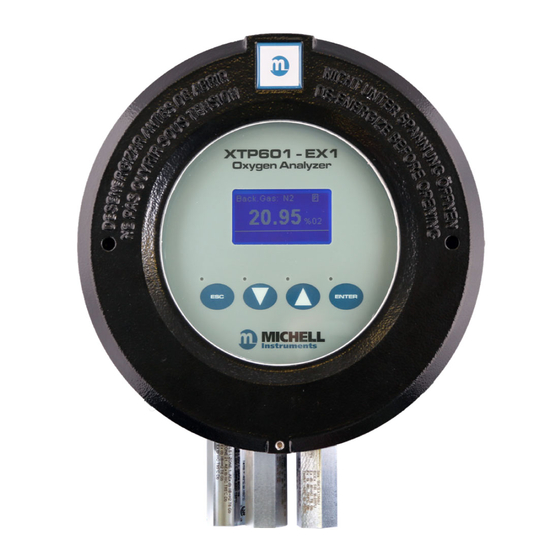
Advertisement
!
Please read the manual before commencing work on this product and refer to Section 4 for installation
instructions.
•
Mount the analyzer before attempting to remove the lid.
•
The thread is greased and therefore it may be advisable to wear latex gloves.
•
Ensure that the grub screw is loose, using the hex key (supplied), to prevent scoring on the
casing.
•
Remove the lid, using the lid keys (supplied). The lid will require a firm grip to loosen.
•
If fitted, remove the display / status pcb via the two ¼ turn quick-connect fittings.
•
Disconnect the ribbon / interconnecting cable from the loose pcb.
WARNING: Prior to connecting power, ensure the unit is correctly
!
earthed via the earth point on the right hand side of the case.
The instrument is now ready to connect to the power and outputs.
NOTE: The unit is supplied with three cable entries (refer to
Figure 1) that may be specified with Shipping Caps only – these
!
are not suitable for use in the field. It is the user's responsibility
to ensure the appropriate cable glands, conduit or blanking plugs
are fitted. These items can be supplied by Michell Instruments.
•
After making all necessary connections, reconnect the pcb via the ribbon / interconnecting
cable and quick-connect fittings and replace the lid, ensuring at least seven full turns on the
thread to complete the gas path.
•
Use the hex key (supplied) to tighten the grub screw.
XTP601 Quick Start Guide
GP1
WARNING: This unit is 24 V DC powered only!
Lid key
M5 locking grub screw (hex key)
Figure 1
XTP601 Cable Entries
GP2
Connections
Cable
Entries
Earthing
GP3
Gas
Point
97327 Issue 1, July 2012
Advertisement
Table of Contents

Summary of Contents for Michell Instruments XTP601
- Page 1 It is the user’s responsibility to ensure the appropriate cable glands, conduit or blanking plugs are fitted. These items can be supplied by Michell Instruments. • After making all necessary connections, reconnect the pcb via the ribbon / interconnecting cable and quick-connect fittings and replace the lid, ensuring at least seven full turns on the thread to complete the gas path.
- Page 2 XTP601 Quick Start Guide Warm Up Once power is applied, the unit will require up to 30 minutes to warm up, plus a further 15 minutes to stabilize. There will be a warming symbol visible in the top right hand corner of the screen (on the display version) until the analyzer is ready for use.


Need help?
Do you have a question about the XTP601 and is the answer not in the manual?
Questions and answers