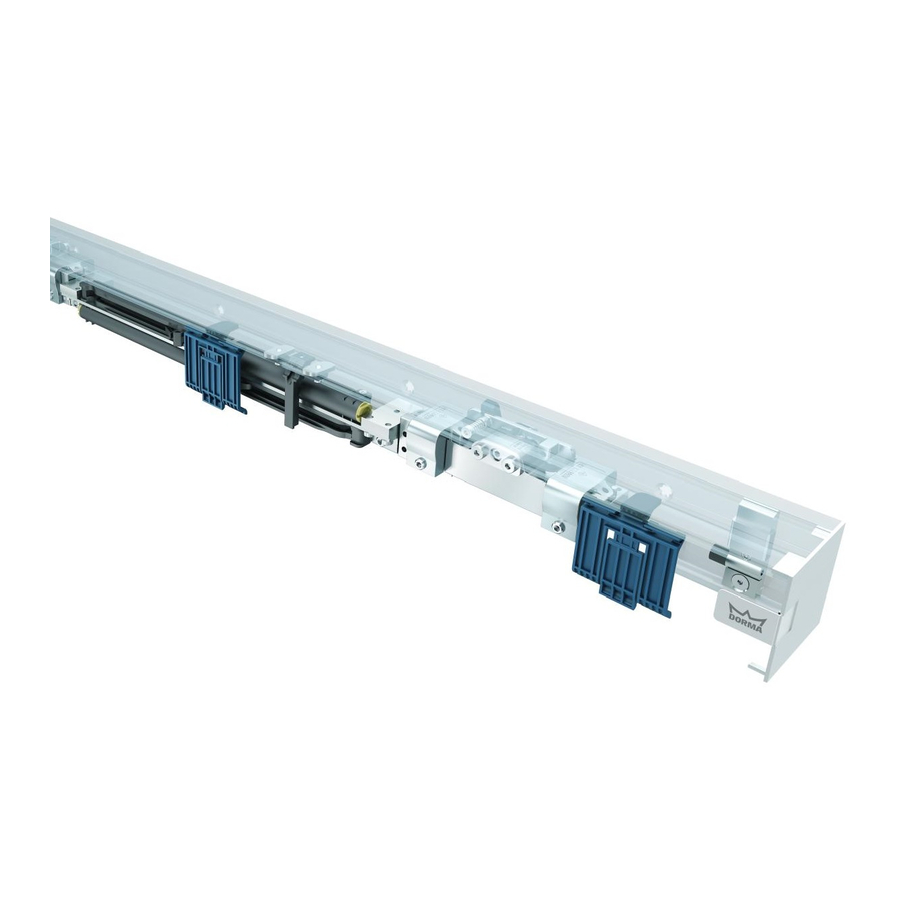
Dorma AGILE 150 Installation Instruction
Ceiling assembly
Hide thumbs
Also See for AGILE 150:
- Installation instruction (20 pages) ,
- Installation instruction, care instructions, service and maintenance (12 pages) ,
- Installtion instructions (4 pages)
Summary of Contents for Dorma AGILE 150
- Page 1 Montageanleitung DORMA AGILE 150 Deckenmontage Installation instruction DORMA AGILE 150 ceiling assembly Stand/Issue 11.09 / 004253 800.52.620.6.32 DORMA-Glas...
- Page 2 Gläser mit selbstreinigenden Beschichtungen sind für Glass panels self-ceaning coatings are unsuitable for AGILE 150 nicht geeignet - es sei denn, die AGILE 150 - unless the clamping area (20mm band at the Beschichtung wurde im Bereich der Klemmflächen upper glass edge) is left coated.
- Page 3 7 ..2x Stirnabdeckung (optional) / end cap (optional) 8 ..1x Sichtschutzbürste (optional) / brush profile (optional) 9 ..4x Glaskantenschutz / glass edge protection Seite/Page 3/13 DORMA-Glas...
- Page 4 Mitgelieferte Schrauben und Dübel sind nicht für jeden Untergrund geeignet. Geeignete auf den Untergrund abgestimmte Befestigungsmittel verwenden! Delivered screws and plugs are not usable for all types of foundations! Please use suitable fixing material according to foundation! Seite/Page 4/13 DORMA-Glas...
- Page 5 Glasreiniger verwenden, die frei von Silikonen und Ölen sind (z.B. Aceton). 3.1 All glass clamping areas are to be cleaned prior to installation. Only use glass cleaning products, free from silicones and oil (e.g. acetone). 4 mm 12 Nm Alternativ: 0 mm Seite/Page 5/13 DORMA-Glas...
- Page 6 Glaskantenschutz glass edge protection glass edge protection Zwischen den Flügeln den Glaskantenschutz aufkleben. Wand Schiebetür Schiebetür wall sliding door sliding door Glue on glass edge protection between the panels. Glaskantenschutz Glaskantenschutz glass edge protection glass edge protection Seite/Page 6/13 DORMA-Glas...
- Page 7 4. Montage der Bodenführung: 4. Installation of floor guide: Geeignete auf den Untergrund abgestimmte Befestigungsmittel verwenden! Please use suitable fixing material according to foundation! 2 mm lösen / loosen ø 8mm Seite/Page 7/13 DORMA-Glas...
- Page 8 5. Preparation of anti-jump device: 5.1 Ist-Soll Vergleich durchführen. 5.1 Make a actual-theoretical comparison. Aushebeschutz Aushebeschutz Soll / referance Anti-jump device Anti-jump device 3 mm 5.2 ggf. einstellen 5.2 adjust if necessary 6. Einhängen der Schiebetür: 6. Fitting of sliding door: Seite/Page 8/13 DORMA-Glas...
- Page 9 7.1 Tür vorsichtig öffnen. 7.1 Open the door carefully. 3 mm anziehen / tighten 7.4 Einstellen der benötigten Glasdicke 7.4 Adjustment of required glass thickness 2 mm 8. Anbringen des Deckprofils: 8. Installation of the cover profile: Seite/Page 9/13 DORMA-Glas...
- Page 10 10.2 Hochdrehen bis Kontakt mit der Laufschiene besteht 10.3 Ca. 1/2 - 1 Umdrehung zurück drehen 10.2 Turn upwards until contact is achieved with track 3 mm 10.3 Circa 1/2 - 1 turn backwards anziehen / teighten Seite/Page 10/13 DORMA-Glas...
- Page 11 Art. No.: 29.420, to get the best possible glass protection. 11.1 Nach Maß (siehe oben) positionieren. 11.1 Place according to measure (see above). 11.3 11.2 3 mm anziehen / tighten 3 mm anziehen / tighten Seite/Page 11/13 DORMA-Glas...
- Page 12 12. Installation of brush profile (optional): 12.1 Wellig biegen! 12.1 Deform it wavy! Vor der Profil-Montage: Seitlich einschieben. Nach der Profil-Montage: Von vorne einfedeln. Before profile installation: insert sidewise. After profile installation: insert from ahead. 12.2 12.2 12.2 12.3 Seite/Page 12/13 DORMA-Glas...
- Page 13 13.1 Stirnabdeckungen an beiden 13.1 Double-sided adhasive tape: Ende der Laufschiene anbringen. pull-off backing tape 13.1 Fixing of end caps on both sides of track rail. 13.1 Doppelseitiges Klebeband: Folienstreifen abziehen 13.1 Double-sided adhasive tape: pull-off backing tape Seite/Page 13/13 DORMA-Glas...


Need help?
Do you have a question about the AGILE 150 and is the answer not in the manual?
Questions and answers