Advertisement
Assembly Instructions
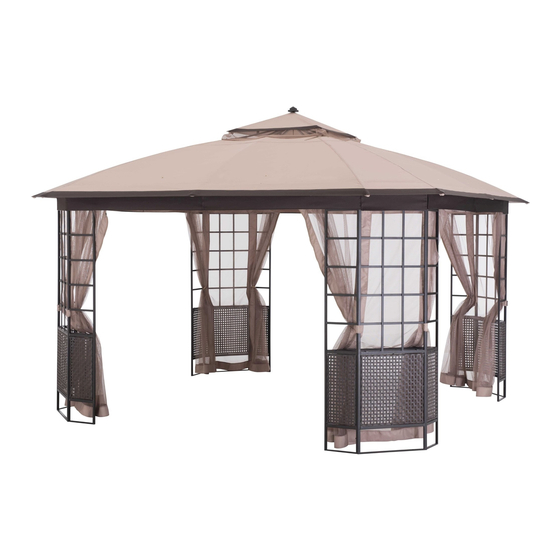
Item#:D-GZ942PST
Our clear, easy-to-follow, step-by-step instructions will guide you through the project from start
to finish. The final product will be a quality piece that will go together smoothly and give years
of enjoyment.
IMPORTANT:
Please read instructions thoroughly before assembly. Familiarize yourself with the inventory of
parts and the accompanying illustrations to assure safe and proper assembly.
Periodically check all bolted connections on your gazebo to make sure they are tight and
secure. Please keep the instructions for future reference.
All you will need is a step ladder(not included).
1 / 7
Advertisement
Table of Contents

Related Manuals for Sunjoy D-GZ942PST


Summary of Contents for Sunjoy D-GZ942PST
- Page 1 Assembly Instructions Item#:D-GZ942PST Our clear, easy-to-follow, step-by-step instructions will guide you through the project from start to finish. The final product will be a quality piece that will go together smoothly and give years of enjoyment. IMPORTANT: Please read instructions thoroughly before assembly. Familiarize yourself with the inventory of parts and the accompanying illustrations to assure safe and proper assembly.
- Page 2 Parts List Big panel Small panel1 Small panel Cross beam Cross beam connector Lower tube of slanting bar Lower tube of middle bar Slanting bar Middle bar Upper tube of slanting bar Large top connector Small top slanting Small top connector Hook Finial Shelf...
- Page 3 Hardware Pack 1 M6*25 Bolt 24 PCS M6 Washer 24PCS M6 Wrench 1 PCS Fig.1: Attach the Small panel (B2) to the Big panel (A) by using the Bolt (AA) and Washer (BB). Attach the Small panel (B1) to the Big panel (A) by the same way. Insert one end of the Cross beam connector (D) in to the Cross beam (C) Fig.2: Insert the assembled Cross beam in to the...
- Page 4 Hardware Pack 2 M6 Washer 16 PCS M6*15 Bolt 8 PCS M6*35 Bolt 4 PCS M6 Nut 4 PCS Fig.4: Insert the Slanting bar (G) into the Lower tube of the slanting bar (E). Fig.5: Insert the upper end of the Slanting bar (G) into the Upper tube of the slanting bar (I). Fig.6: Insert the upper end of the Upper tube of the slanting bar (I) into the tube of the Large top connector (J).
- Page 5 Fig.12: Insert the Small top slanting bar (K) to the Small top connector (L), then attach the Hook (M) into the Small top connector (L), put the Large canopy(R) into the large top without spread out. Fig.13: Insert the lower end of the assembled Small top slanting bar (K) into the tube of the Slanting bar (I).
- Page 6 Fig.16: Put the Shelf (O) on the panels like the fig.16 shows. Fig.17: Hang the Mosquito netting (S) on the Cross beam(C) by using Mosquito ring (GG). Fig.18: Spread the Large canopy out, and make it tightly attached to the Lower tube of slanting bar (E). Fig.19: Fix the assembled gazebo on the grass by using Stake (FF).
- Page 7 Please do not return this product to the store. For technical assistance on assembly or replacement parts. Please call Sunjoy Industries at 1-866-578-6569 from 8:00 am EST to 8:00 pm PST or fax the replacement part form which is in the box to 1-740-283-3549 or Email customer.care@sunjoygroup.com for assistance.
Need help?
Do you have a question about the D-GZ942PST and is the answer not in the manual?
Questions and answers