Table of Contents

Related Manuals for Carimali Calflex DREAM 23004X-CR


Summary of Contents for Carimali Calflex DREAM 23004X-CR
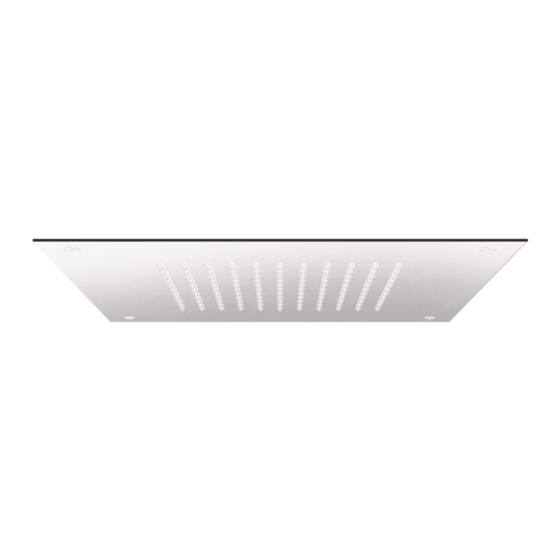
- Page 1 INSTALLAZIONE – INSTALLATION MONTAGE – EINBAU SOFFIONE "DREAM" INOX INCASSO-SOFFITTO 320x320 "DREAM" INOX CEILING BUILT-IN SHOWER HEAD 320x320 “DREAM” INOX CIEL DE PLUIE ENCASTRE’ 320x320 “DREAM” INOX DUSCHKOPF IN UNTERPUTZAUSFÜHRUNG 320x320 Art. 23004X-CR...
- Page 2 Predisporre un collegamento a soffitto con uscita M1/2“G (EUR) o M1/2“NPT (USA) in prossimità della futura sede del soffione ed un controsoffitto rinforzato avente uno spessore compreso tra 7 e 21 mm posto ad una distanza dal soffitto non inferiore a 10 cm. ATTENZIONE: Assicurarsi che il controsoffitto sia perfettamente in bolla.
- Page 3 Posizionare la dima in cartone (in dotazione) sul controsoffitto nel punto di installazione desiderato. Position the cardboard template (supplied) on the false ceiling in the required installation point. Positionner le gabarit en carton (fourni) sur le faux plafond de plâtre dans le point d'installation requis. Den Schablone (immer eingebaut) auf der Zwischendecke in der gewünschten Installation-Stelle positionieren.
- Page 4 Tagliare e forare con punta Ø10 il controsoffitto in funzione della traccia eseguita al punto precedente. Cut and drill the false ceiling using a Ø10 drill bit according to the trace made under previous point. Couper et percer le faux plafond avec une mèche Ø10 selon la trace réalisée au point précédent. Den Gipskarton mit einer Ø10 Spitze schneiden und lochen, in Abhängigkeit von der Spur in den vorherigen Punkt ausgeführt.
- Page 5 Svitare le viti dai tasselli sul cartongesso con cacciavite a stella. Unscrew the screws from the plugs using a Phillips screwdriver. Dévisser les vis des fiches sur la plaque de plâtre avec un tournevis cruciforme. Die Schrauben auf dem Gipskartonplatten mit einem Kreuzschlitz-Schraubendreher lösen. Collegare il soffione all’impianto serrando a tenuta il flessibile in dotazione con chiave da 23mm anteponendo le guarnizioni.
- Page 6 Fissare il soffione serrando le 4 viti a testa svasata fornite con chiave a brugola da 3 mm. Secured the showerhead with the 4 countersunk screws supplied using a 3 mm Allen wrench. Fixer le ciel de pluie avec les 4 vis à tête évasée fournies avec une clé Allen de 3 mm. Den Brausekopf befestigen.
- Page 7 MANUTENZIONE – MAINTENANCE ENTRETIEN – WARTUNG Attenzione: per il buon funzionamento eseguire una manutenzione periodica, in base alla presenza di calcare; per una corretta manutenzione non è necessario smontare il soffione ma eseguire le seguenti operazioni: 1. far scorrere acqua corrente tiepida; 2.
Need help?
Do you have a question about the Calflex DREAM 23004X-CR and is the answer not in the manual?
Questions and answers