Bose FreeSpace DXA 2120 Owner's Manual
Digital mixer/amplifier
Hide thumbs
Also See for FreeSpace DXA 2120:
- Installation and operation manual (56 pages) ,
- Service manual (94 pages)
Table of Contents
Advertisement
Quick Links
Advertisement
Table of Contents

Related Manuals for Bose FreeSpace DXA 2120


Summary of Contents for Bose FreeSpace DXA 2120
- Page 1 ® FreeSpace DXA 2120 Digital Mixer/Amplifier Owner’s Guide...
-
Page 2: Supplied With The Product
Paging: Provides a smooth transition between music and page signals. • Dynamic Equalization: Maintains tonal balance at all listening levels. • Bose Loudspeaker EQs: Provide equalization for Bose loudspeakers. • AGC (Automatic Gain Control): When enabled, automatically compensates for low-level sources (i.e., microphone with low sensitivity). -
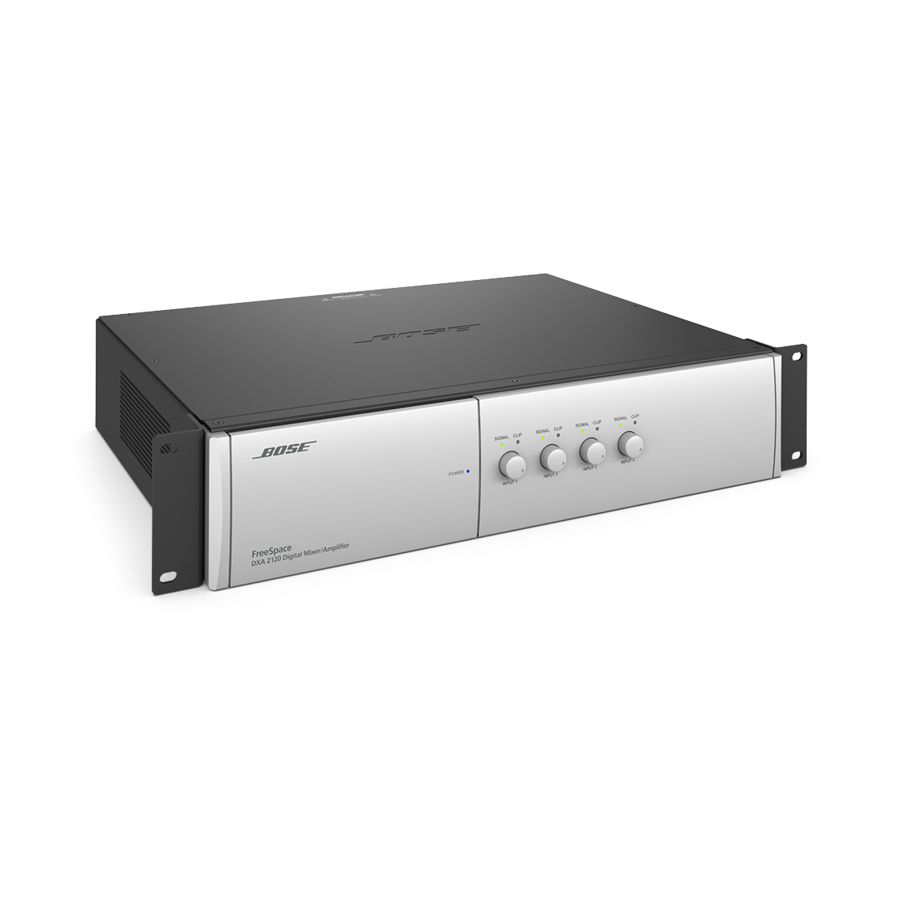
Page 3: Hardware Description
2.0 Hardware Description 2.1 Front panel with open compartment 9 10 2.1.1 System Controls GAIN knobs – Adjusts gain for OUTPUT 1, OUTPUT 2, and PAGE. LCD panel – Displays menu selections for configuring and BASS and TREBLE knobs – Adjusts tonal balance for viewing system settings. -
Page 4: Rear Panel
2.0 Hardware Description 2.3 Rear panel 2.3.1 Audio source inputs 2.3.4 Power LINE INPUTS – Two unbalanced RCA audio jacks per input BACKUP POWER – For connection to backup power (summed to mono). source. MIC/LINE INPUTS – Balanced Euroblock input jacks. One 10 POWER OFF/ON –... -
Page 5: Operation Mode Options
3.0 Operation Mode Options 3.1 Operation mode options 3.1.1 Mixer Mode Line-level sources can be connected using the RCA jacks or Before making connections, decide how you want the sound Euroblock connectors. The system sums the two RCA jacks for sources distributed throughout the site. - Page 6 3.0 Operation Mode Options 3.1.2 Stereo Select Mode 3.1.3 Dual Mono Select Mode Line-level sources can be connected using RCA jacks or Line-level sources can be connected using RCA jacks or Euroblock connectors. To connect a stereo source to RCA jacks, Euroblock connectors.
-
Page 7: Hardware Installation
50° C (122° F). Be aware of conditions in This section provides instructions for installing and wiring the an enclosed rack that may increase the temperature above room- ambient conditions. Bose FreeSpace ® DXA 2120 Digital Mixer/Amplifier. 4.4 Shelf mounting the chassis 4.2 Included accessories... - Page 8 4.6.1.3 Recommended cable lengths ® The FreeSpace DXA 2120 Digital Mixer/Amplifier is designed to For one user interface 2000 ft (610 m) max. be compatible with the following Bose ® user interfaces: Chassis ® • Bose Volume Control User Interface (PC 041966) 22-24 AWG or 0.34-0.25mm...
-
Page 9: System Wiring
4.0 Hardware Installation 4.6.1.5 User interface wiring Schematic for volume control with A/B select user interface 6-terminal input connector mounts to REMOTE jack on the chassis User interface connector One volume control user interface Two volume control user interfaces 4.7 System wiring Input and Output wiring information and illustrations are provided on pages that follow. - Page 10 4.0 Hardware Installation 4.7.1.2 Euroblock connections 4.7.2 DIRECT source input A microphone or other audio source can connect to the DIRECT A microphone or other balanced audio source can be connected INPUT jack using one of the following cable types. to the MIC/LINE INPUT 1-4 Euroblock terminals input using one of the following cable types.
-
Page 11: Output Connections
4.0 Hardware Installation 4.7.3 PAGE source input Follow the diagram below to insert the 5-terminal connector into the output jacks on the back of the mixer/amplifier. A microphone or another paging source can be connected to the PAGE INPUT jack using one of the following cable types. Notice the proper wiring for 4 ohm, 70 volt or 100 volt uses. -
Page 12: Ac Power Connection
4.0 Hardware Installation 4.7.5 AUX output connection 4.8 AC POWER connection The signal and any applied processing from any of the four inputs 4.8.1 Input voltage setting (120 or 220-240V) can be output using the line-level AUX OUTPUT jack. This output can feed into another amplifier or other equipment used in the The rear connection panel of the mixer/amplifier chassis installation. -
Page 13: System Setup Procedure
5.0 System Setup 5.2.1 Selecting an operation mode 5.1 System setup introduction The setting menus available depend on the mode of operation This section provides instructions on adjusting system settings you choose. Use the right arrow button to enter the mode menu. for preferred operation. -
Page 14: Mixer Mode Settings
5.0 System Setup 5.3 Mixer Mode settings 5.3.1 A reminder: the settings process • For various adjustments (designated by Adj) use these steps: Here is an overview of common steps to follow in setting up the 1. Press SELECT to activate the Adj field. Mixer Mode: 2. - Page 15 5.0 System Setup Mixer Input Set-up Select each Input that has a source connected (1, 2, 3, & 4). • For Input Vol Lvl • For Input Bass Adj and Input Treb Adj Adjust the value to +/-6 dB in increments of .5 dB. Note: AGC defaults to N.
Need help?
Do you have a question about the FreeSpace DXA 2120 and is the answer not in the manual?
Questions and answers