Table of Contents
Advertisement
Quick Links
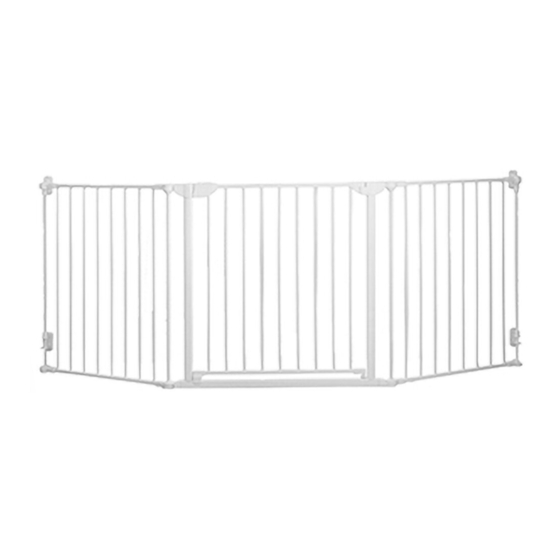
USER GUIDE
Construct-A-SafeGate
Height 29.5" (75 cm)
Maximum Opening 82.7" (210 cm) with included hardware
Add additional sections to fit any opening
IMPORTANT:
Qdos wants to keep your children safe
and for that we need you to do your part by carefully
reading and following the instructions below. Please read
through the instructions before starting the installation.
For installation videos and FAQ go to: QdosSafety.com
Advertisement
Table of Contents

Related Manuals for Qdos Construct-A-SafeGate


Summary of Contents for Qdos Construct-A-SafeGate
- Page 1 Maximum Opening 82.7" (210 cm) with included hardware Add additional sections to fit any opening IMPORTANT: Qdos wants to keep your children safe and for that we need you to do your part by carefully reading and following the instructions below. Please read through the instructions before starting the installation.
-
Page 2: Maintenance And Cleaning
• Intended for use with children from 6 months up to 24 months of age. Qdos will either repair, or at its option replace, free of • STOP using when a child can climb over or charge, any parts necessary to correct any defect in dislodge the gate. -
Page 3: Parts List
PARTS LIST: 1x Door Section 2 x Long Sections 1x Flat 2x Recessed Hinge Cover Hinge Covers Large Small opening opening 2x Wall Bracket A 2x Wall Bracket B 8x Short 3/4" (19 mm) 8x Long 1.5" (38 mm) with bigger (1.5"/38 mm) with smaller (1"/25 mm) Screws Screws... - Page 4 The following assembly instructions work for all sections door section. Position at the desired angle. of the Construct-A-SafeGate. They can all be assembled and reassembled in any order to fit the location. Step 1...
-
Page 5: Mounting To The Wall
Flat hinge Repeat Step 3 and 4 for any additional Sections needed. MOUNTING TO THE WALL Flat The Construct-A-SafeGate must be secured to a wall, Hinge except when used as a free standing playard. Always Cover secure the gate with both the top and bottom Wall Insert the Flat Hinge Cover on the Top Hinge on the same Brackets. - Page 6 Step 8 IMPORTANT: REGARDING THE INCLUDED MOUNTING SCREWS! Wall Bracket A Recessed Hinge Before marking where to attach the gate, make sure you Cover have chosen a solid surface for mounting the gate to. The included screws are intended for the following locations. Recessed hinge Directly into wood The Short Screws 3/4”...
- Page 7 Step 10 Step 12 Attach the four Wall Plates, by using the supplied wood Position the gate in the desired position and rotate Wall screws or other appropriate hardware as needed. Brackets to be flush with the wall. Using a pencil carefully mark the position of each Wall Plate.
-
Page 8: Gate Operation
GATE OPERATION REMOVING GATE FROM WALL Depress Locked Lift To open – Slide locking button back and at the same time To remove the gate from the wall, press the locking tab lift the door. on the Wall Plates and lift gate up. To close –... - Page 9 Distributed by Regal Lager, Inc. Kennesaw, GA 30144 USA 1-800-593-5522 • www.QdosSafety.com support@qdos.zendesk.com ©2020 Qdos All rights reserved. Qdos is a trademark of Regal Lager, Inc. Made in China 04/2020...
Need help?
Do you have a question about the Construct-A-SafeGate and is the answer not in the manual?
Questions and answers