Advertisement
Quick Links
Advertisement

Summary of Contents for Peak 2N IP Verso
- Page 1 2N IP Verso Set-up with a PEAKnx touch panel and YOUVI...
- Page 2 Created for use with the following products Compatible door station Controlpro, Controlmini, YOUVI 2N IP Verso The product names mentioned in this document may be brands or registered trademarks of their respective owners. These are not explicitly labeled with “™” or “®”.
-
Page 3: Table Of Contents
1.1. Setting up the Controlmini/-pro in the Fritzbox ........4 1.2. Setting up the 2N IP Verso door intercom in the Fritzbox ......4 2. -
Page 4: Introduction
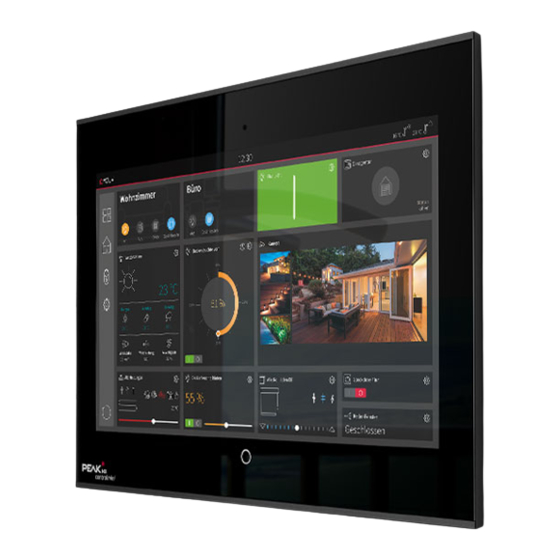
Set-up of a 2N door station with a PEAKnx touch panel Introduction The following instructions explain how to set up a 2N IP Verso door station with your PEAKnx touch panel. The communication between the touch panel and the door station is realized via SIP. -
Page 5: Setting Up The 2N Ip Verso Door Intercom
Fritzbox. In this example, that would be the „** 620“. You will get an overview, which you can confirm with „Apply“. 2. Setting up the 2N IP Verso door intercom Connect the 2N device to a PoE-enabled switch on your network. - Page 6 Set-up of a 2N door station with a PEAKnx touch panel Under „Phone Number (ID)“, enter the name for the door intercom system that you have assigned to the system in the Fritzbox. Under „Domain“, enter the IP address of the Fritzbox (registrar). ж...
- Page 7 Set-up of a 2N door station with a PEAKnx touch panel The status should now show „Registration successful“. Return to the main menu. Create a new user under Directory -> Users. Therefore, click on the following icon: Enter a suitable name for the panel under „Name“, e.g. Controlmini. Under „Phone Number“...
-
Page 8: Setting Up The Youvi Camera Module (With Bria Solo Free)
Set-up of a 2N door station with a PEAKnx touch panel To operate the door station with the PEAKnx touch panels, it is necessary to increase the microphone volume on the panel, depending on the VoIP software used. Note: If the microphone gain is too high, the transmission may be cut off and the sound quality may deteriorate. - Page 9 Set-up of a 2N door station with a PEAKnx touch panel browser: ж http://x.x.x.x:31228 ж Where x.x.x.x must be replaced by the local IP address of your PEAKnx touch panel. This is displayed in the lower part of the YOUVI Dashboard App. From the menu on the left, select “Cameras”.
- Page 10 Set-up of a 2N door station with a PEAKnx touch panel Follow the same procedure for the „High Resolution Stream“ used for full screen dis- play, except that you now change the resolution to 1280 x 960 pixels. Note: Keep in mind that high frame rates (short refresh intervals) and resolutions put additio- nal strain on your network.
- Page 11 Set-up of a 2N door station with a PEAKnx touch panel For the „Domain“ enter the IP address of your Fritzbox and for „SIP Username“ and „Password“ enter the user name and password which you have assigned for the Cont- rolmini in the Fritzbox/SIP server.
-
Page 12: Technical Support
Set-up of a 2N door station with a PEAKnx touch panel To ensure that the Bria Solo Free App starts automatically when the system is rebooted, open the settings under Softphone->Preferences and check „Launch when Windows starts“. To test the correctness of these settings, press the bell on your 2N door station. After a few seconds, your PEAKnx touch panel should display an incoming call notification. -
Page 13: About Peaknx
Great importance is attached to the longevity of the products and the qualita- tive interaction of design and functionality. As the newest division of the PEAK group headquartered in Darmstadt, Germany, PEAKnx can draw from more than 25 years of experience in hardware and software development. - Page 14 www.peaknx.com...


