Sign In
Upload
Download
Table of Contents
Contents
Add to my manuals
Delete from my manuals
Share
URL of this page:
HTML Link:
Bookmark this page
Add
Manual will be automatically added to "My Manuals"
Print this page
×
Bookmark added
×
Added to my manuals
Manuals
Brands
Retsch Manuals
Laboratory Equipment
ABP 250
Manual
Retsch ABP 250 Manual
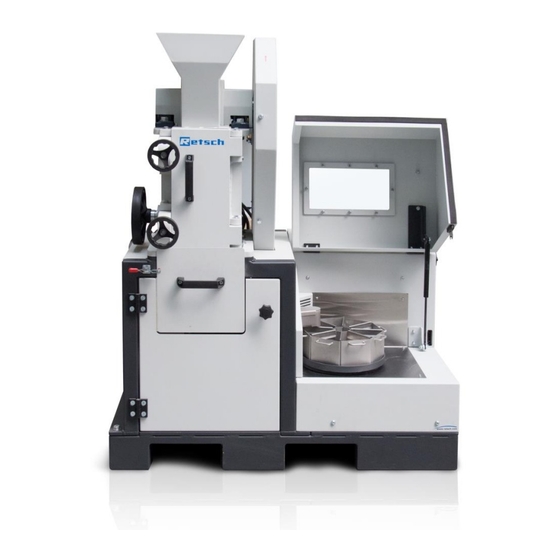
Jaw crusher and sample divider combination unit
Hide thumbs
1
2
Table Of Contents
3
4
5
6
7
8
9
10
11
12
13
14
15
16
17
18
19
20
21
22
23
24
25
26
27
28
29
30
31
32
33
34
35
36
37
38
39
40
41
42
43
44
45
46
47
48
49
50
51
52
53
54
55
56
57
page
of
57
Go
/
57
Contents
Table of Contents
Bookmarks
Table of Contents
Table of Contents
1 Notes on the Manual
Disclaimer
Copyright
Explanation of Signs and Symbols
Explanations of the Safety Instructions
General Safety Instructions
Repairs
Responsibility of the Operating Company
Personnel Qualification and Target Group of this Manual
2 Confirmation Form for the Managing Operator
3 Technical Data
Intended Use
Protective Equipment
Gap Width
Degree of Protection
Emissions
Electromagnetic Compatibility (EMC)
Rated Power
Dimensions and Weight
Required Floor Space
Feed Grain Size
Grinding Chamber Volume
Degree of Hardness of the Sample Material
Installation Drawing
4 Packaging, Transport and Installation
Packaging
Transport
Temperature Fluctuations and Condensation
Conditions for the Installation Site
Electrical Connection
Type Plate Description
5 First Commissioning
Installation of the Device
Lubricating the Device When Putting It into Service for the First Time
Use of the Device for the Intended Purpose
Principle of Operation
Views of the Instrument
Front
Part Modules
Control Element and Display
Side View
Settings
Adjusting the Gap Width
Setting the Gap Width
Opening and Closing the Jaw Crusher
Dust Extraction
6 Operating the Device
Opening the Device
Closing the Device
Switching on / off
Inserting the Part Module
Preparing the Sub-Process
Display Unit
Starting the Crushing Process
Adding Sample Material
Removing Sample Material after Grinding
7 Cleaning, Wear and Maintenance
Cleaning
Removing and Installing the Feed Hopper
Cleaning the Feed Hopper
Wear
Replacing the Breaking Jaws
Replacing the Wearing Plates
Maintenance
Lubricating the Device
Checking the Limit Switch
8 Return for Service and Maintenance
9 Accessories
10 Disposal
11 Index
Advertisement
Quick Links
Download this manual
Manual
Jaw crusher and sample divider combination unit ABP 250
Translation
© Retsch GmbH, 42781 Haan, Retsch-Allee 1-5, Germany | 05.12.2018 Version 0003
Table of
Contents
Previous
Page
Next
Page
1
2
3
4
5
Advertisement
Table of Contents
Need help?
Do you have a question about the ABP 250 and is the answer not in the manual?
Ask a question
Questions and answers
Related Manuals for Retsch ABP 250
Laboratory Equipment Retsch AS300 Operating Instructions Manual
Sieving machine (32 pages)
Laboratory Equipment Retsch AS 300 control Manual
Vibratory sieve shaker (57 pages)
Laboratory Equipment Retsch AS200 Operating Instructions Manual
Tap sieving machine (28 pages)
Laboratory Equipment Retsch AS 450 Manual
Sieve shakers (48 pages)
Laboratory Equipment Retsch AS 200 tap Manual
Tap sieve shaker (43 pages)
Laboratory Equipment Retsch AS 400 control Manual
Horizontal sieve shaker (50 pages)
Laboratory Equipment Retsch BB 250 Manual
Jaw crusher and sample divider combination unit (57 pages)
Laboratory Equipment Retsch PM200 Operating Instructions Manual
Ball mills (44 pages)
Laboratory Equipment Retsch PT100 Manual
Sample divider (36 pages)
Laboratory Equipment Retsch RS 200 Manual
Vibratory disc mill (50 pages)
Laboratory Equipment Retsch ZM 300 Manual
Ultra centrifugal mill (93 pages)
Laboratory Equipment Retsch MM 500 Vario Manual
Mixer mill (87 pages)
Laboratory Equipment Retsch GM 200 Manual
Knife mill (60 pages)
Laboratory Equipment Retsch Mixer Mill MM 500 control Manual
(130 pages)
Laboratory Equipment Retsch GRINDOMIX GM 200 Operating Instructions Manual
Cutting mill (28 pages)
Laboratory Equipment Retsch ZM 200 Operating Instructions Manual
Ultra centrifugal mill (32 pages)
This manual is also suitable for:
Bb 250
Table of Contents
Print
Rename the bookmark
Delete bookmark?
Delete from my manuals?
Login
Sign In
OR
Sign in with Facebook
Sign in with Google
Upload manual
Upload from disk
Upload from URL


Need help?
Do you have a question about the ABP 250 and is the answer not in the manual?
Questions and answers