Advertisement
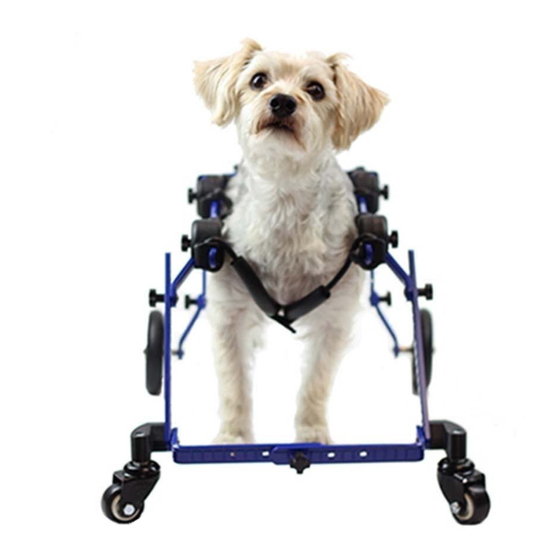
WALKIN' WHEELS MINI FRONT WHEEL ATTACHMENT
The Walkin' Wheels Front Wheel Attachment gives mobility to dogs with front leg weakness or weakness in all
four legs. It is ideal for helping disabled pets get exercise and for rehabilitation while they are healing. Like the
rest of the Walkin' Wheels products, the Front Wheel Attachment is adjustable, so it will fit the Walkin' Wheels
wheelchair for any size dog from 2 to 10 pounds and can easily be removed at any time.
Note: Your dog's fold of flank rear leg measurement determined the Front Wheel Attachment size you received.
The Front Wheel Attachment is easy to assemble. You won't need any tools.
Front
leg rings
1
THE PROVEN LEADER IN PET MOBILITY
ASSEMBLY INSTRUCTIONS for the B2
What's in the B2 Front Box:
Side
extenders
Knuckle
Strut
Adjustment Knobs
Caster mount
Stabilization bar:
for B2 only
Adjustment
knob
Caster wheels
Clamps for
leg rings
Advertisement
Table of Contents

Subscribe to Our Youtube Channel
Summary of Contents for Walkin’ Pets Mini Front Wheel Attachment B2
- Page 1 THE PROVEN LEADER IN PET MOBILITY WALKIN’ WHEELS MINI FRONT WHEEL ATTACHMENT ASSEMBLY INSTRUCTIONS for the B2 The Walkin’ Wheels Front Wheel Attachment gives mobility to dogs with front leg weakness or weakness in all four legs. It is ideal for helping disabled pets get exercise and for rehabilitation while they are healing. Like the rest of the Walkin’...
- Page 2 If purchasing a Quad Mini Wheelchair, start with instructions in rear box first Preparing Your Rear Mini Wheels for Front Attachment (This must be done secondly) 1. Remove the rear clamps, leg rings, and front harness. 2. Remove adjustment knob and small washer from the knuckle. 3.
- Page 3 Installing the FRONT Wheels to the Frame (Continued) 3. Do the same for the other front wheel. Adjust the height so that the side bars would be in the middle of the dog’s body and parallel to the ground. 4. Attach the 8 clamps on both sides of the 4 knuckles with the hole on the outside. Shimmy them on the side extenders until it is locked in place.


Need help?
Do you have a question about the Mini Front Wheel Attachment B2 and is the answer not in the manual?
Questions and answers