Moxa Technologies NPort 5100A Series Quick Installation Manual
Hide thumbs
Also See for NPort 5100A Series:
- User manual (107 pages) ,
- Quick installation manual (2 pages) ,
- User manual (194 pages)
Advertisement
Quick Installation Guide
Moxa Americas:
Toll-free: 1-888-669-2872
Tel:
1-714-528-6777
Fax:
1-714-528-6778
Moxa Europe:
Tel:
+49-89-3 70 03 99-0
Fax:
+49-89-3 70 03 99-99
Moxa India:
Tel:
+91-80-4172-9088
Fax:
+91-80-4132-1045
NPort 5100A Series
Version 3.3, December 2019
Technical Support Contact Information
www.moxa.com/support
2019 Moxa Inc. All rights reserved.
Moxa China (Shanghai office):
Toll-free: 800-820-5036
Tel:
+86-21-5258-9955
Fax:
+86-21-5258-5505
Moxa Asia-Pacific:
Tel:
+886-2-8919-1230
Fax:
+886-2-8919-1231
P/N: 1802051000024
*1802051000024*
Advertisement
Table of Contents

Related Manuals for Moxa Technologies NPort 5100A Series


Summary of Contents for Moxa Technologies NPort 5100A Series
- Page 1 NPort 5100A Series Quick Installation Guide Version 3.3, December 2019 Technical Support Contact Information www.moxa.com/support Moxa Americas: Moxa China (Shanghai office): Toll-free: 1-888-669-2872 Toll-free: 800-820-5036 Tel: 1-714-528-6777 Tel: +86-21-5258-9955 Fax: 1-714-528-6778 Fax: +86-21-5258-5505 Moxa Europe: Moxa Asia-Pacific: Tel: +49-89-3 70 03 99-0...
-
Page 2: Package Checklist
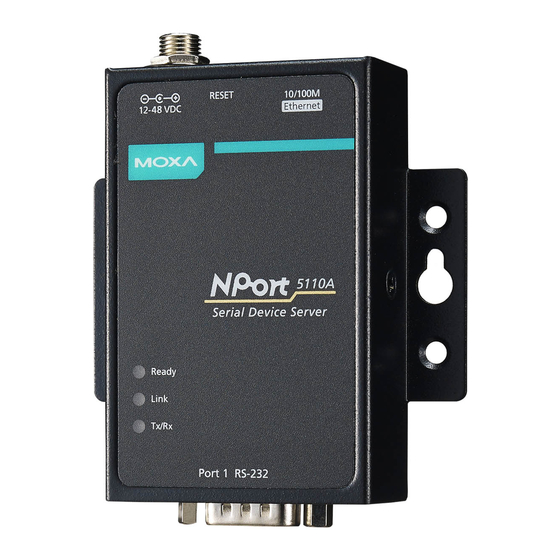
RS-422/485 (NPort 5130A), and RS-232/422/485 (NPort 5150A) serial devices over a TCP/IP-based Ethernet. NOTE “-T” indicates an extended temperature model. Package Checklist Before installing the NPort 5100A series device server, verify that the package contains the following items: • 1 NPort 5100A serial device server •... - Page 3 NOTE The NPort 5110A, NPort 5130A, and NPort 5150A have the same form factor. Reset Button—Press and hold the Reset button for 5 seconds to load factory defaults: Use a pointed object, such as a straightened paper clip or toothpick, to depress the reset button. This will cause the Ready LED to blink on and off.
-
Page 4: Software Installation Information
Hardware Installation Information STEP 1: After removing the NPort 5100A series device server from the box, connect the NPort 5100A series device server to a network. Use a standard straight-through Ethernet cable to connect to a hub or switch. When setting up or testing the NPort 5100A series device server, you might find it convenient to connect directly to your computer’s Ethernet... -
Page 5: Pin Assignments
NOTE For the NPort with DB Male serial ports, you may refer to DB9 Male Ports pin assignment section to loop back pin 2 and pin 3 for the RS-232 interface to carry out a self test on the device. Pin Assignments Ethernet Port Pinouts Pin No. -
Page 6: Specifications
Specifications Power Requirements Power Input 12 to 48 VDC Power Consumption NPort 5110A: 82.5 mA @ 12V, 47.3 mA @ 24V NPort 5130A: 89.1 mA @ 12V, 49.5 mA @ 24V NPort 5150A: 92.4 mA @ 12V, 52.8 mA @ 24V Environmental Limits Operating Temperature Standard Models:...
Need help?
Do you have a question about the NPort 5100A Series and is the answer not in the manual?
Questions and answers