Advertisement
Table of Contents
ASSEMBLY INSTRUCTIONS
SKU: DLT
Description
Dimension
Cube Size
(TOP)
Cube Size
(PEDESTAL)
Thank you for purchasing this quality product. This product has been designed for easy assembly and constructed for durability. Please take the time to read
and follow the assembly instructions carefully.
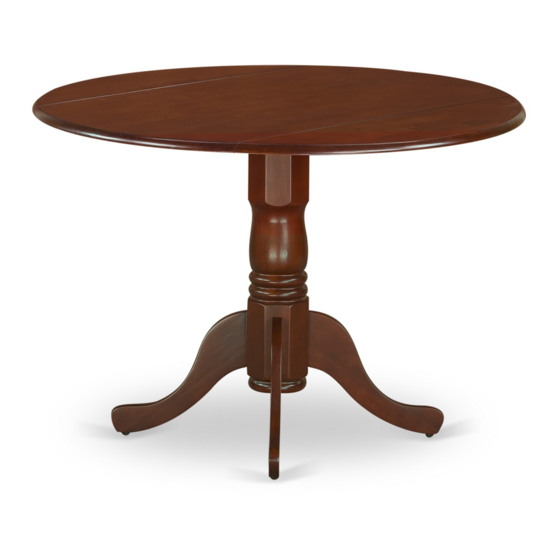
DUBLIN ROUND TABLE WITH 2 DROP LEAVES
:
DUBLIN ROUND TABLE WITH 2 DROP LEAVES
42"x29"1/2.H
:
Ф
: 44"x26.7"x3.1"
: 25.5"x9"x6"
BEFORE ASSEMBLY
- 1 -
250 Canal Street,
Lawrence, MA 01840
Email:
info@eastwestfurniture.net
NW: 28.6 LBS
GW: 31 LBS
NW: 12.1 LBS
GW: 14 LBS
Advertisement
Table of Contents

Summary of Contents for East West Furniture DUBLIN DLT
- Page 1 ASSEMBLY INSTRUCTIONS SKU: DLT 250 Canal Street, Lawrence, MA 01840 Email: info@eastwestfurniture.net Description DUBLIN ROUND TABLE WITH 2 DROP LEAVES 42”x29”1/2.H Dimension Ф : 44”x26.7”x3.1” Cube Size NW: 28.6 LBS (TOP) GW: 31 LBS : 25.5”x9”x6” Cube Size NW: 12.1 LBS (PEDESTAL) GW: 14 LBS BEFORE ASSEMBLY...
- Page 2 Be sure to check all packing material carefully for small parts which may have come loose inside the carton during shipment. Please separate, identify, and count all parts and metal hardware. Compare with part list to be sure all parts are present. If hardware is missing or you have difficulty assembling this product, please call for us.
- Page 3 STEP 2 Put the Mounting plate (D) on top of the pedestal, and attach with bolts (7), washers (5), (6). Tighten with Allen key (9). STEP 3 Please remove Hardware Bag 1 as shown below Remove Hardware bag 1 DUBLIN ROUND TABLE WITH 2 DROP LEAVES - 3 -...
- Page 4 STEP 4 Attach plastic(11) to the top (A). use the screw driver to tighten the screws (10) as shown below. STEP 5 Carefully place the frame (from Step 2) on bottom side of the table top (A), with bolts (7), washers (8), (6). Tighten with Allen key (9).


Need help?
Do you have a question about the DUBLIN DLT and is the answer not in the manual?
Questions and answers