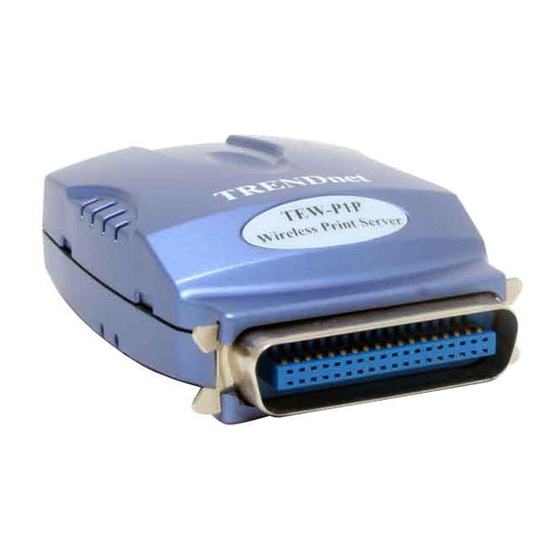
TRENDnet TEW-P1P Faq
Hide thumbs
Also See for TEW-P1P:
- User manual (83 pages) ,
- Quick installation manual (9 pages) ,
- Specifications (2 pages)
Advertisement
Quick Links
03/20/2006
F.A.Q TEW-P1P & TEW-P1U
Q: Why doesn't Wireless Setup Wizard detect my print server?
1.If you are using Windows XP you will have to disable the built in firewall. But for all
operating systems you have to disable any other form of firewall software such as Norton
Internet Security, Black Ice, and ZoneAlarm.
Q: How do I change the IP address of my print server?
1. Make sure that on the print server, the switch is set to Diag, unplug the unit for 15
seconds then apply the power.
Note: The unit will broadcast its default SSID of WLAN-
PS.
2. Perform a site survey from your wireless network adapter and connect to the WLAN-
PS network.
3. Insert the Setup CD into your CD-ROM drive.
4. Run the setup.exe from Windows 95/98/Me/NT/2000/XP/2003. The Network Print
Monitor for Windows welcome message then appears. Choose Install Setup Utility or
Manual Installation.
5. Choose Install Setup Utility, the program will auto install the Network Print Monitor,
PS Admin and Setup Wizard into your computer. The default installation directory will
be C:\Program files\Network Print Monitor.
Advertisement

Summary of Contents for TRENDnet TEW-P1P
- Page 1 03/20/2006 F.A.Q TEW-P1P & TEW-P1U Q: Why doesn't Wireless Setup Wizard detect my print server? 1.If you are using Windows XP you will have to disable the built in firewall. But for all operating systems you have to disable any other form of firewall software such as Norton Internet Security, Black Ice, and ZoneAlarm.
- Page 2 03/20/2006 6. After installation completes, the Setup Wizard message appears. 7. Click Wireless Setup Wizard and the following message appears. 8. Click NEXT; the wizard will automatically discover the wireless print server.
- Page 3 03/20/2006 9. Select the print server, which you want to configure and press NEXT.
- Page 4 03/20/2006 10. Select YES if you want to change the configuration and press NEXT then the following window appears. For communication type please choose Infrastructure. For SSID, Input the proper SSID of your wireless network. Click NEXT. 11. Choose Enable WEP Encryption as you need, and click NEXT.
- Page 5 03/20/2006 12. Specify a fixed IP address or use dynamic IP address, then click NEXT.
- Page 6 03/20/2006 Q: How do I find the Port Name of the Print Server? The Port Name is already defined. The port name is lp1. Q: How do I install my printer on Windows 95/98/ME? In Windows 98/Me you will need to install the LPR client. For Windows 98/ME you will also need to know the port name that you are printing to (The Port Name is the lp1.
- Page 7 03/20/2006 Step 4 Click OK 3 times. Step 5 From the list highlight LPR For TCP/IP and click on Properties...
- Page 8 03/20/2006 Step 6 Click on Add Port...
- Page 9 03/20/2006 In the top field type in the IP address of your print server. In the bottom field type in the port name of your print server, the Port Name is lp1 then click OK. Step 7 Click on OK. Windows will ask you to restart. Click Yes. LPR is now properly installed on your computer.
- Page 10 03/20/2006 Select Network Printer and click on Next. Step 3 Click on the Browse button and browse to the print server.
- Page 11 03/20/2006 Highlight the Print Server and click on OK to return to the Add Printer Wizard. Click on Next. If you are unable to do this you can manually enter the Print...
- Page 12 03/20/2006 Server by using two backlashes, the IP address, one backlash and the port name of you printer. Step 4 You will now be asked to select a printer to install. If you cannot find your printer from the list, click on the Have Disk button and browse to the printer drivers for your printer (floppy, CD, or downloaded).
- Page 13 03/20/2006 plug and play printer. Click Next. Step 3 Select Create a New Port and select Standard TCP/IP port. Click Next.
- Page 14 03/20/2006 Step 4 Enter the IP address of the router (192.168.0.1). Leave the port name with the default name. Click Next.
- Page 15 Step 7 Change the Protocol to LPR. Step 8 For the LPR Settings for the TEW-P1P the Queue Name will be lp1. It is case sensitive! In most cases, check LPR Byte Counting Enabled. If you cannot print, then try...
- Page 16 03/20/2006 Step 9 Select OK > Finish. Step 10 Continue with the Add Printer Wizard. Choose your printer from the list or click Have Disk and point to your printer driver disk.
- Page 17 IP address into a web browser. Also the printer must be a postscript printer. Q: What is the queue name of the TEW-P1P or TEW-P1U? The queue name will be lp1 and it is case sensitive.
- Page 18 03/20/2006 Make sure that you have the latest print drivers for you printer. For the TEW-P1P you can also try changing the port speed. 1) Open the Bi Admin Management utility. Click on Configuration. 2) Click on the Port tab and change the Printer Type.
- Page 19 03/20/2006...


Need help?
Do you have a question about the TEW-P1P and is the answer not in the manual?
Questions and answers