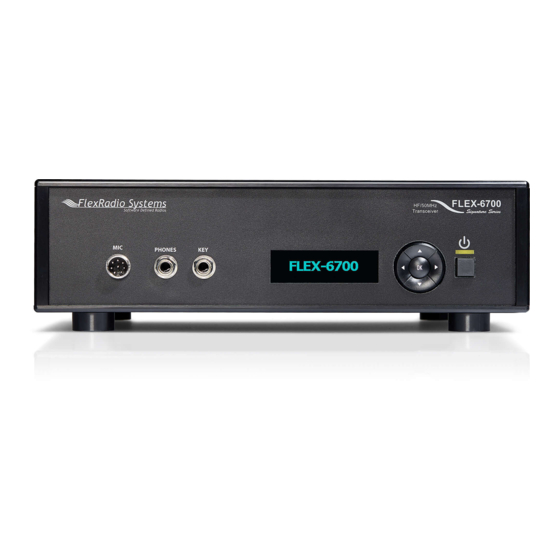
FlexRadio Systems FLEX-6700 Installation Manual
Microsd card installation guide
Hide thumbs
Also See for FLEX-6700:
- Hardware reference manual (48 pages) ,
- Quick start manual (24 pages)
Table of Contents
Advertisement
Quick Links
FLEX-6700/6500 MicroSD Card
Installation Guide
March 24, 2017
The following guide will provide the necessary step-by-step procedure for installing a MicroSD card in a
FLEX-6700 or FLEX-6500.
Table of Contents
........................................................................................................................................... 2
Required Tools ........................................................................................................................................ 2
Materials needed for Service Procedure ................................................................................................. 2
Removing the Chassis Feet .............................................................................................................. 2
Removing the Bottom Cover ................................................................................................................... 3
Locating the RF Isolation Cover .............................................................................................................. 5
Removing the RF Isolation Cover ............................................................................................................ 6
Remove the MicroSD Card ...................................................................................................................... 8
Installing the New MicroSD Card in the Card Socket .............................................................................. 9
Installing the XXX Tape over the MicroSD Card Socket ......................................................................... 10
Reinstall RF Isolation cover ................................................................................................................... 11
Reinstalling the Bottom Cover ..................................................................................................... 12
Reinstalling the Chassi s Feet ........................................................................................................ 14
Page 1
............................................................................................ 2
.......................................................................................................... 5
............................................................................................................... 9
© 2017 FlexRadio Systems, v1.0.0
Advertisement
Table of Contents

Summary of Contents for FlexRadio Systems FLEX-6700
-
Page 1: Table Of Contents
Installing the New MicroSD Card in the Card Socket ................9 Installing the XXX Tape over the MicroSD Card Socket ................. 10 Reinstall RF Isolation cover ........................11 Reinstalling the Bottom Cover ..................... 12 Reinstalling the Chassi s Feet ......................14 Page 1 © 2017 FlexRadio Systems, v1.0.0... -
Page 2: Getting Started
Preparing to Install the MicroSD Card Removing the Chassis Feet Remove the four (4) feet from the chassis using a #2 Phillips screwdriver as shown in the image below. Retain the chassis feet and screws for re-installation later. Page 2 © 2017 FlexRadio Systems, v1.0.0... -
Page 3: Removing The Bottom Cover
Then remove the remaining three (3) short Bottom Cover Side screws from the right side of the FLEX- 6000. Retain the Bottom Cover Side screws for re-installation. The image below shows the removal of the left side bottom Cover Side screws. Page 3 © 2017 FlexRadio Systems, v1.0.0... - Page 4 Bottom Cover screws. Once the bottom cover retaining screws have been removed, gently pull the Bottom Cover upwards to remove it from the FLEX-6000. The image below shows the removal of the Bottom Cover. Page 4 © 2017 FlexRadio Systems, v1.0.0...
-
Page 5: Removing The Existing Microsd Card
The RF Isolation cover is located on the bottom of the radio. It is a rectangular silver cover with perforated holes in it. There are red or gold warranty security seals installed to prevent the customer from opening the enclosure. See the picture below. Page 5 © 2017 FlexRadio Systems, v1.0.0... -
Page 6: Removing The Rf Isolation Cover
Using a flat blade screwdriver, gently pry up the RF Isolation cover. It is best to do this at several locations so that the cover does not twist and separate the retaining tabs. This is shown below in the next two images. Page 6 © 2017 FlexRadio Systems, v1.0.0... - Page 7 Lift up and remove the cover. Page 7 © 2017 FlexRadio Systems, v1.0.0...
-
Page 8: Remove The Microsd Card
Using a non-metallic object to lift up on the end of the card nearest to the FPGA processor/fan assembly, the MicroSD card should easily lift out of the card socket so it can be removed. Page 8 © 2017 FlexRadio Systems, v1.0.0... -
Page 9: Installing The New Microsd Card
MicroSD card in the card socket. There is a plastic “key” on the right-hand side of the MicroSD card that aligns up with a key slot on the card socket. Make certain that the card is properly seated in the card socket as shown below. Page 9 © 2017 FlexRadio Systems, v1.0.0... -
Page 10: Installing The Xxx Tape Over The Microsd Card Socket
Installing the XXX Tape over the MicroSD Card Socket To prevent the retaining clip from coming unlatched when the radio is shipped, place a strip of Kapton tape over the top of the MicroSD card socket as shown below. Page 10 © 2017 FlexRadio Systems, v1.0.0... -
Page 11: Reinstall Rf Isolation Cover
Be careful not to place any of the stickers on the PCB board. The warranty seal sticker should only be on the silver RF Isolation housing and cover as shown below. Page 11 © 2017 FlexRadio Systems, v1.0.0... -
Page 12: Reinstalling The Bottom Cover
After reinstalling the bottom cover install the six (6) stainless steel (silver) Bottom Cover screws using the long portion of the #8 TORX wrench. The image below shows the installation of the Bottom Cover screws. Page 12 © 2017 FlexRadio Systems, v1.0.0... - Page 13 FLEX-6000. Then install the remaining three (3) short Bottom Cover Side screws on the right side of the FLEX-6000. The image below shows the installation of the left side bottom Cover Side screws. Page 13 © 2017 FlexRadio Systems, v1.0.0...
-
Page 14: Reinstalling The Chassis Feet
Reinstall the four (4) feet on the chassis using a #2 Phillips screwdriver as shown in the image below. The finished re-installation of the bottom cover and chassis feet should look like the image shown below. Page 14 © 2017 FlexRadio Systems, v1.0.0...


Need help?
Do you have a question about the FLEX-6700 and is the answer not in the manual?
Questions and answers