Advertisement
Quick Links
29/10/2019
WallMote user guide.
Modified on: Thu, 14 Mar, 2019 at 4:18 PM
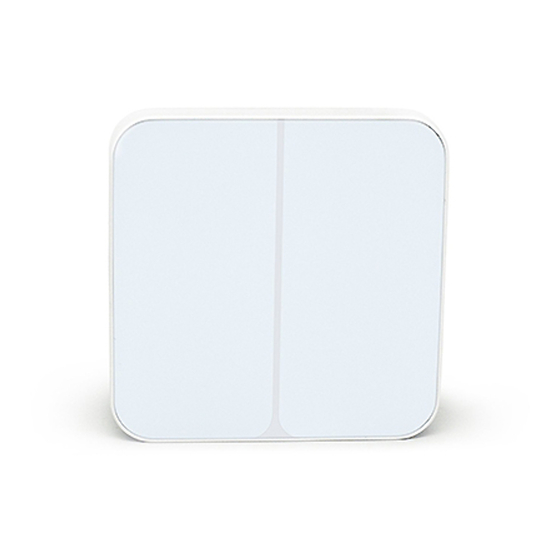
Aeotec WallMote.
Aeotec Wallmote has been crafted to control connected lighting using Z-Wave Plus
powered by Aeotec's Gen5
(http://aeotec.com/z-wave-wireless-switch)
To see whether Wallmote is known to be compatible with your Z-Wave system or not, please reference our Z-Wave
gateway comparison
(https://aeotec.freshdesk.com/solution/articles/6000176570-wallmote-technical-specification-)
Familiarize yourself with your WallMote.
1. WallMote
2. Back-Mount plate
3. Double-sided tape
4. Micro USB cable
https://aeotec.freshdesk.com/support/solutions/articles/6000176572-wallmote-user-guide-
(http://aeotec.com/z-wave-gen5)
by following that link.
(http://aeotec.com/z-wave-gateways)
Aeotec Wallmote user guide : Aeotec Group
technology. You can find out more about Wallmote
listing. The technical specifications of Wallmote
(http://aeotec.com/z-wave-plus)
can be viewed at that link.
. It is
1/9
Advertisement

Related Manuals for Aeotec WallMote


Summary of Contents for Aeotec WallMote
- Page 1 You can find out more about Wallmote (http://aeotec.com/z-wave-gen5) by following that link. (http://aeotec.com/z-wave-wireless-switch) To see whether Wallmote is known to be compatible with your Z-Wave system or not, please reference our Z-Wave gateway comparison listing. The technical specifications of Wallmote (http://aeotec.com/z-wave-gateways) can be viewed at that link.
- Page 2 Effective Touch area for WallMote. To further understand WallMote, it has a effective touch area for each available button. Any touch outside of the effective touch area will not trigger the WallMote button.
-
Page 3: Important Safety Information
WallMote and WallMote Quad are intended for indoor use in dry locations only. Do not use in damp, moist, and / or wet locations. Do not power permanently. Do not charge for more than 3 hours at a time. Do note apply permanent power. - Page 4 4. If your WallMote has been successfully added to your Z-Wave network, its green LED will be solid for 2 seconds and then off. If the adding was unsuccessful and the red LED will be solid for 2 seconds and then off, repeat the above steps.
-
Page 5: Advanced Functions
WallMote when you use a controller/gateway to add/include it. The green LED will be on for 2 seconds and then the orange LED will fast blink for 10 minutes (if the WallMote does not receive the Wake Up No More Info command from primary Controller) to indicate the inclusion is successful. - Page 6 You need to press the WallMote Action Button 2 times within 1 second when your security controller/gateway starts the network inclusion. The blue LED will be on for 2 seconds and then the orange LED will fast blink for 10 minutes (if the WallMote does not receive the Wake Up No More Info command from primary Controller) to indicate the inclusion is successful.
- Page 7 Dimmer control via sliding the button area. The WallMote also supports sliding control, when the parameter 4 [1 byte] has been set to 3, you can slide up or down on the button area to control a dimmer device by sliding up or down. Swiping up once will dim up a dimmer device by a certain percentage, while swiping down once will dim down a dimmer device by a certain percentage.
- Page 8 2. Wait until the RGB LED turns into a Yellow/Orange Color and beeps. 3. Release WallMote Action Button The LED on WallMote will now rapidly blink its Yellow/Orange LED while it is in its awake state. You may send in any configurations or commands from your current gateway to configure your WallMote.
- Page 9 Further steps for different Z-Wave Gateways. Most gateways will have specific steps to use WallMote Quad via group association (direct control), while others will have different steps to use its scene triggers through the gateway directly for more advanced controls. Below are the known steps required for the listed gateways.
Need help?
Do you have a question about the WallMote and is the answer not in the manual?
Questions and answers