Advertisement
Quick Links
1
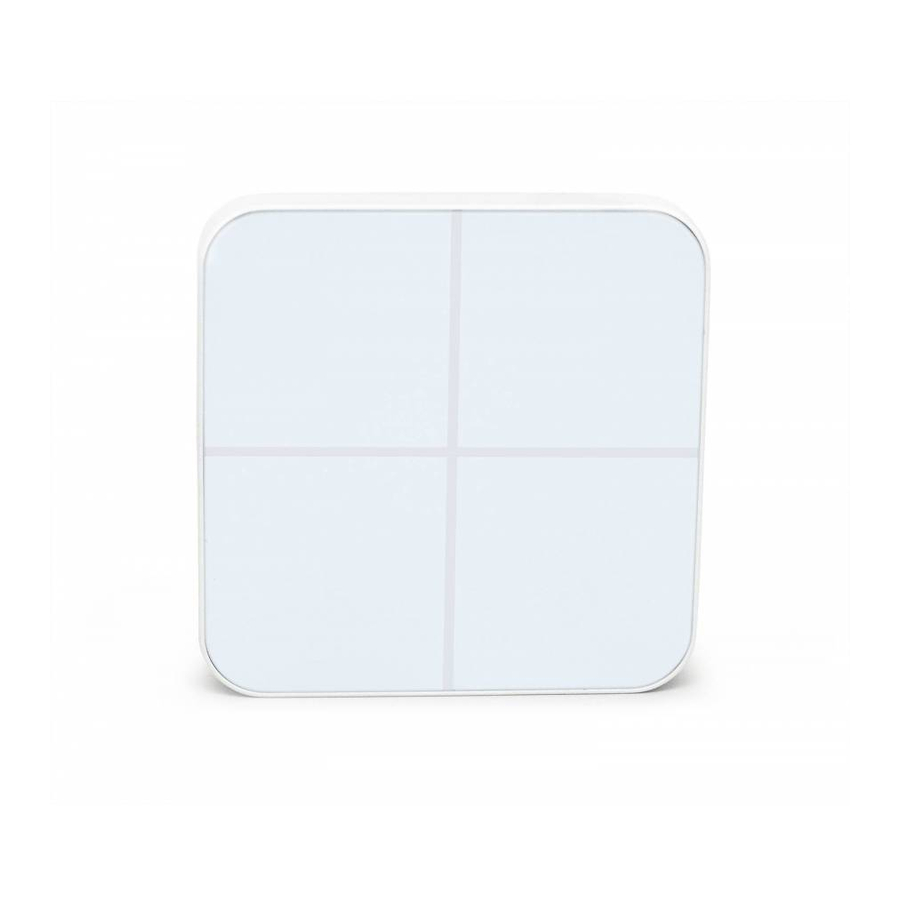
WallMote.
®
Aeotec WallMote is an intelligent Z-Wave remote controller that
mounted on a wall. It has 2 touch buttons that you can easily control
the Z-Wave devices in your home network via touching, long pressing
or sliding the button areas.
Its surface has a RGB LED to indicate the button actions also
accompanied by touch beep and vibration.
The WallMote is also a security Z-Wave device and supports Over The
Air (OTA) feature for the products firmware upgrade.
WallMote
Familiarize yourself with your WallMote.
2
1.
WallMote
2.
Back-Mount plate
View the expanded manual:
3.
Double-Sided tape
http://aeotec.com/support
4.
Micro USB cable
IMPORTANT!
①
This product has been fully tested and certified to work
with Z-Wave by the Z-Wave Alliance. It is crafted using
Z-Wave Plus, the latest device version of Z-Wave.
As such, if the product does not work with your
gateway, please be sure to check with your gateway
manufacturer that they have integrated this device with
③
their gateway for full operation.
Note: When the WallMote is placed on somewhere, keep the glass
button surface upward direction and no other physical surface or
RGB LED
desktop contact with the glass button surface to avoid false triggering
and battery consumption.
Quick start.
3
Button 1
Button 2
Installing your WallMote.
1.
Selecting a place or wall in your home to affix your WallMote's Back
Mount plate.
2.
Using the Double-sided tap, wipe the two surfaces clean of any oil
Main unit (Front)
or dust with a damp towel. When the surface has completely dried,
peel one side of the tape back and attach it to the corresponding
section on the rear side of the Back Mounting Plate.
Action Button
Magnet
Magnet
Magnet
②
Micro USB port
Main unit (Back)
Back-Mount plate
④
Adding your WallMote to your Z-Wave network.
With your mounting plates prepared to hold each component of your
WallMote, it's time to add it to your Z-Wave network.
1.
Let your Z-Wave primary controller/gateway enter into pairing/
inclusion mode.
2.
Take your WallMote near to your primary controller.
3.
Press the Action Button once on your WallMote, the LED will blink
with green color.
4.
If your WallMote has been successfully added to your Z-Wave
network, its green LED will be solid for 2 seconds and then off. If
4
Advanced.
the adding was unsuccessful and the red LED will be solid for 2
seconds and then off, repeat the above steps.
Send a wake up notification.
In order to send your WallMote new configuration commands from
With your WallMote now working as a part of your smart home, you'll
your Z-Wave controller or gateway, it will need to be woken up.
be able to configure it from your home control software or phone
application. Please refer to your software's user guide for precise
Remove your WallMote unit from its Back Mounting Plate, press and
instructions on configuring the WallMote to your needs.
hold the Action Button for 3 seconds(the buzzer chirp once and the
Attach your WallMote to its Back Mounting plate.
orange LED will be ON) on the back of the WallMote unit and then
release it. This will trigger and send a wake up notification command
With your WallMote added to the Z-Wave network. It's now time to
to your controller/gateway, then your WallMote will wake up for 10
insert the main unit into the corresponding Back Mount plate.
minutes and the orange LED will fast blink while it is awake (if the
Put the main unit in the top-left direction on the Back Mounting, and
WallMote does not receive the Wake Up No More Info from the
then push the WallMote into the Back Mounting Plate, the WallMote
primary Controller).
will be attracted by the magnets on the Back Mount plate, as the
figure below shows.
Removing your WallMote from a Z-Wave network.
Your WallMote can be removed from your Z-Wave network at any
may want your WallMote is a security device that uses secure/
time. You'll need to use your Z-Wave network's main controller/
encrypted message to communicate in Z-wave network, so a security
gateway. To do this, please refer to the part of their respective
enabled controller/gateway is needed for the WallMote to be used as
manuals that tell you how to remove devices from your network.
a security device. You need to press the WallMote's Action Button 2
times within 1 second when your security controller/gateway starts
1.
Put your primary controller into device removal mode.
the network inclusion. The blue LED will be on for 2 seconds and then
2.
Unlock your WallMote from the Back Mount plate and take the
the orange LED will fast blink for 10 minutes (if the WallMote does not
WallMote unit near to your primary controller.
receive the Wake Up No More Info command from primary Controller)
3.
Press the Action Button on your WallMote.
to indicate the inclusion is successful.
4.
If your WallMote is successfully removed from the Z-Wave network,
Advanced Parameter Configurations.
the LED will become a colourful gradient for a few seconds and
then turn off. If the removing was unsuccessful, the red LED will be
Not all gateways will allow you to further configure your Z-Wave
solid for 2 seconds and then turn off, repeat the above steps.
devices, but in the case that your gateway does allow it, the WallMote
has some available parameter configurations that will allow you to
Security or Non-security feature of your WallMote in Z-wave
configure it further to your liking.
network.
Touch beep
Including WallMote as a non-secure device:
This will enable or disable the sound effects when you press or touch
If you want your WallMote as a non-security device in your Z-wave
the sensing area. By default, this is enabled.
network, you just need to press the Action Button once on WallMote
when you use a controller/gateway to add/include it. The green LED
Parameter 1 [1 byte]
will be on for 2 seconds and then the orange LED will fast blink for
0: Disable
10 minutes (if the WallMote does not receive the Wake Up No More
1: Enable
Info command from primary Controller) to indicate the inclusion is
successful.
Note: You can also enable or disable the sound effects via pressing
and holding the Action Button for 12 seconds (the buzzer chirp once
Including WallMote as a secure device:
and the red LED will fast blink) and then release.
In order to take full advantage of all functionality the WallMote, you
Advertisement

Related Manuals for Aeotec WallMote


Summary of Contents for Aeotec WallMote
- Page 1 Its surface has a RGB LED to indicate the button actions also Unlock your WallMote from the Back Mount plate and take the inclusion mode. the orange LED will fast blink for 10 minutes (if the WallMote does not Button 1 Button 2 accompanied by touch beep and vibration.
- Page 2 The WallMote also supports sliding control, when the parameter 4 is 1: Enable you may wish to reset all of your WallMote’s settings to their factory TO THIS EQUIPMENT.SUCH MODIFICATIONS COULD VOID THE Customer, with all technical support and repair needs on our behalf.
- Page 3 Configuration parameters information Association information...
Need help?
Do you have a question about the WallMote and is the answer not in the manual?
Questions and answers