Advertisement
Please Contact Moen First
For Installation Help, Missing or
Replacement Parts
(USA)
1-800-BUY-MOEN (1-800-289-6636)
Mon - Fri 8:00 AM to 7:00 PM, Eastern
Sat. 9:00 AM to 3:00 PM Eastern
WWW.MOEN.COM
(Canada)
1-800-465-6130
Mon - Fri 7:30 AM to 7:00 PM, Eastern
WWW.MOEN.CA
Por favor, contáctese primero con Moen
Para obtener ayuda de instalación, piezas
faltantes o de recambio
01-800-718-4345
Lunes a viernes de 8:00 a 20:00 hs.
(Costa Este)
Sáb. 8:00 a 18:30 hs. (Costa Este)
WWW.MOEN.COM.MX
Veuillez d'abord contacter Moen
En cas de problèmes avec l'installation, ou pour
obtenir toute pièce manquante ou de rechange
1-800-465-6130
Du lundi au vendredi :
de 7 h 30 à 19 h, HE
WWW.MOEN.CA
HELPFUL TOOLS
For safety and ease of faucet replacement, Moen recommends the use of
these helpful tools.
Installation Guide
Guía de Instalación
Guide d'installation
TWO-HANDLE LAVATORY FAUCET
MODELS 8225, 8226, 8227, 8229, 8241, 8248
MEZCLADORA PARA LAVABO
DE DOS MANERALES
MODELOS 8225, 8226, 8227, 8229, 8241, 8248
ROBINET DE LAVABO À DEUX POIGNÉES
MODÈLES 8225, 8226, 8227, 8229, 8241, 8248
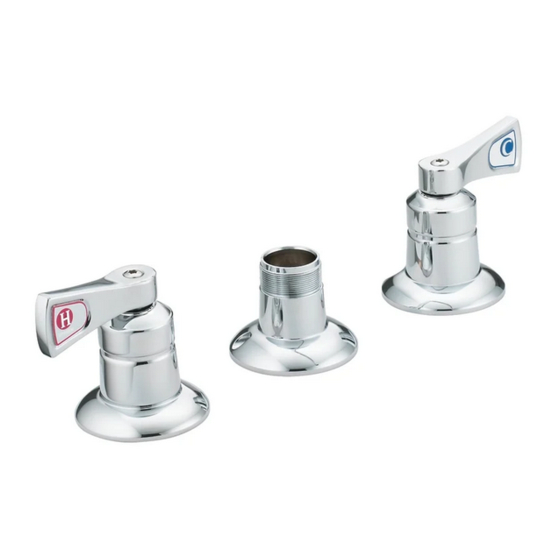
Style varies by model.
El estilo varía por el modelo.
Le style varie selon le modèle.
HERRAMIENTAS ÚTILES
Para que el cambio de la llave sea fácil y seguro, Moen le recomienda usar
estas útiles herramientas.
INS1254E - 6/15
OUTILS UTILES
Par mesure de sécurité et pour faciliter l'installation, Moen suggère
l'utilisation des outils suivants.
Sealant
Sellador
Mastic
Advertisement
Table of Contents

Related Manuals for Moen 8225


Summary of Contents for Moen 8225
- Page 1 OUTILS UTILES For safety and ease of faucet replacement, Moen recommends the use of Para que el cambio de la llave sea fácil y seguro, Moen le recomienda usar Par mesure de sécurité et pour faciliter l’installation, Moen suggère these helpful tools.
- Page 2 Parts List Remove plastic sleeve Optional spout Quite la manga plástica A. Torx Screw (x2) L. Spout Set Screw Surtidor opcional Enlever le manchon B. Handle-Hot M. Spout Base Bec facultatif en plastique C. Handle Hub (x2) N. Support Bracket D.
- Page 3 INS1254E - 6/15 Sealant Sellador Mastic Thread Valve Body Mounting Nuts (G), one on each side of Valve Body (H). Thread Spout Nut (O) to middle Apply sealant to underside of Spout Base (M). shank of Valve Body (H). Aplique sellador a la parte de abajo de la base del surtidor (M). Next, thread Lower Mounting Washers (F), one on each side of Valve Body (H).
- Page 4 Sealant Sellador Mastic (x2) Apply sealant to one side of each Upper Mounting Washers (E). Turn over and install over each portion of Valve Insert Valve Body Clips (D), one onto each groove of Valve Body (H). Push till clips are secured onto valve. Body (H) till seated on sink.
- Page 5 INS1254E - 6/15 Sealant Sellador Mastic Apply a bead of sealant to underside of each Handle Hub (C). Install Handle-Hot (B) and Handle-Cold (J) onto each portion of Handle Hubs (C) as shown. Install Handle Hub (C) over each portion Valve Body (H). Twist Handles so they point outward to each side.
- Page 6 Replace spout onto Spout Base (M). Install one end of Flexible Supply Lines (R) (not included) to each shank of Valve Body (H). Tighten Spout Nut using an adjustable wrench. Secure supply lines with wrench. Carefully remove rubber spout ring with scissors after installation if applicable. Instale un extremo de las líneas de suministro flexibles (R) (no incluidas) a cada tubo roscado del cuerpo de Vuelva a colocar el surtidor sobre el cubo del surtidor (M).
- Page 7 INS1254E - 6/15...
- Page 8 Il suffit d’écrire area code and telephone number. estado a otro o de una provincia o nación a otra. Moen lo à Moen inc. à l’adresse indiquée ci-dessous, pour expli- asesorará en el procedimiento a seguir para hacer válida quer le défaut, d’inclure une preuve d’achat, d’inscrire...
Need help?
Do you have a question about the 8225 and is the answer not in the manual?
Questions and answers