Table of Contents
Advertisement
Quick Links
Please Contact Moen First
For Installation Help, Missing or
Replacement Parts
(USA)
1-800-BUY-MOEN (1-800-289-6636)
Mon - Fri 8:00 AM to 7:00 PM, Eastern
Sat. 9:00 AM to 3:00 PM Eastern
WWW.MOEN.COM
(Canada)
1-800-465-6130
Mon - Fri 7:30 AM to 7:00 PM, Eastern
WWW.MOEN.CA
Por favor, contáctese primero con Moen
Para obtener ayuda de instalación, piezas
faltantes o de recambio
01-800-718-4345
Lunes a viernes de 8:00 a 20:00 hs.
(Costa Este)
Sáb. 8:00 a 18:30 hs. (Costa Este)
WWW.MOEN.MX
Veuillez d'abord contacter Moen
en cas de problèmes avec l'installation, ou pour
obtenir toute pièce manquante ou de rechange
1-800-465-6130
Du lundi au vendredi:
de 7 h 30 à 19 h, HE
WWW.MOEN.CA
HELPFUL TOOLS
For safety and ease of faucet replacement,
Moen recommends the use of these help-
ful tools.
Installation Guide
Guía de Instalación
Guide d'installation
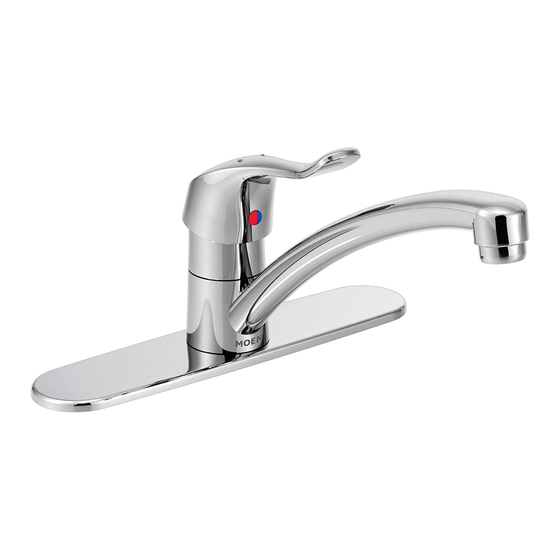
ONE-HANDLE KITCHEN FAUCET
MEZCLADORA MONOMANDO
PARA COCINA
ROBINET DE CUISINE À UNE POIGNÉE
Style varies by model.
El estilo varía por el modelo.
Le style varie selon le modèle.
HERRAMIENTAS ÚTILES
Para que el cambio de la llave sea fácil y
seguro, Moen le recomienda usar estas
útiles herramientas.
1
INS10137A - 3/14
OUTILS UTILES
Par mesure de sécurité et pour faciliter
l'installation, Moen suggère l'utilisation des
outils suivants.
Advertisement
Table of Contents

Related Manuals for Moen 8701


Summary of Contents for Moen 8701
- Page 1 For safety and ease of faucet replacement, Para que el cambio de la llave sea fácil y Par mesure de sécurité et pour faciliter Moen recommends the use of these help- seguro, Moen le recomienda usar estas l’installation, Moen suggère l’utilisation des ful tools.
- Page 2 CAUTION — TIPS FOR REMOVAL OF OLD FAUCET: Always turn water supply OFF before removing existing faucet or disassembling the valve. Open faucet handle to relieve water pressure and ensure that complete water shut-off has been accomplished. PRECAUCIÓN — CONSEJOS PARA CAMBIAR LA LLAVE MEZCLADORA: Siempre CIERRE la toma de agua antes de quitar la llave existente o desmontar...
- Page 3 INS10137A - 3/14 Go to step Go to step Vaya al paso Vaya al paso asser à l’étape asser à l’étape To install Faucet less Side Spray, go to Step A1. To install Faucet with Side Spray, go to Step 1. Para instalar la mezcladora sin rociador lateral, vaya al Paso A1.
- Page 4 Option / Opción/ Option Option / Opción / Option 1. For 3-Hole Installation option, attach Brace (M), Spacer (N), and Mounting Hardware Nut (O) to each If using Deck Plate (B) as option during 3-Hole Installation, thread Mounting Studs (L) to Deck Mounting Shank (L).
- Page 5 INS10137A - 3/14 Option / Opción/ Option For Faucet with Side Spray, Single Hole Installation, insert Faucet Body (A) through sink Deck Plate (B) may be used for installation on a 3-Hole Sink application. opening. La placa de cubierta (B) puede usarse para instalar en una aplicación de fregadero de 3 Para instalar una mezcladora con rociador lateral de un solo agujero, inserte el cuerpo de la agujeros.
- Page 6 Install Mounting Cup Bracket (C) to Faucet Body (A). 1. Thread Hardware Nut (D) onto shank of Faucet Body (A). 2. Using an adjustable wrench, tighten Hardware Nut (D) against Mounting Cup Bracket (C) Instale la ménsula copa de montaje (C) en el cuerpo de la mezcladora (A). until secure.
- Page 7 INS10137A - 3/14 Cold Frio Froid Caliente Chaud 1. Insert Side Spray Hose (H) into end of Quick Connect (I). Push in as far as possible until a "click" 1. Install supply lines from Faucet Bod (A) to shut off stops. is heard.
- Page 8 Il suffit d’écrire defect and include proof of purchase and your name, estado a otro o de una provincia o nación a otra. Moen lo à Moen inc. à l’adresse indiquée ci-dessous, pour expli- address, area code and telephone number.
Need help?
Do you have a question about the 8701 and is the answer not in the manual?
Questions and answers